Hi gang.
Seth Apter here with a new guest blog post. Like many of you, I have some favorite die sets that I find myself going back to and using over and over. My goal is always to make them look a bit different so that my projects don't all resemble each other. This creative challenge is one of my favorite parts of making art. For me the solution is building my own die cuts.

Instructions:
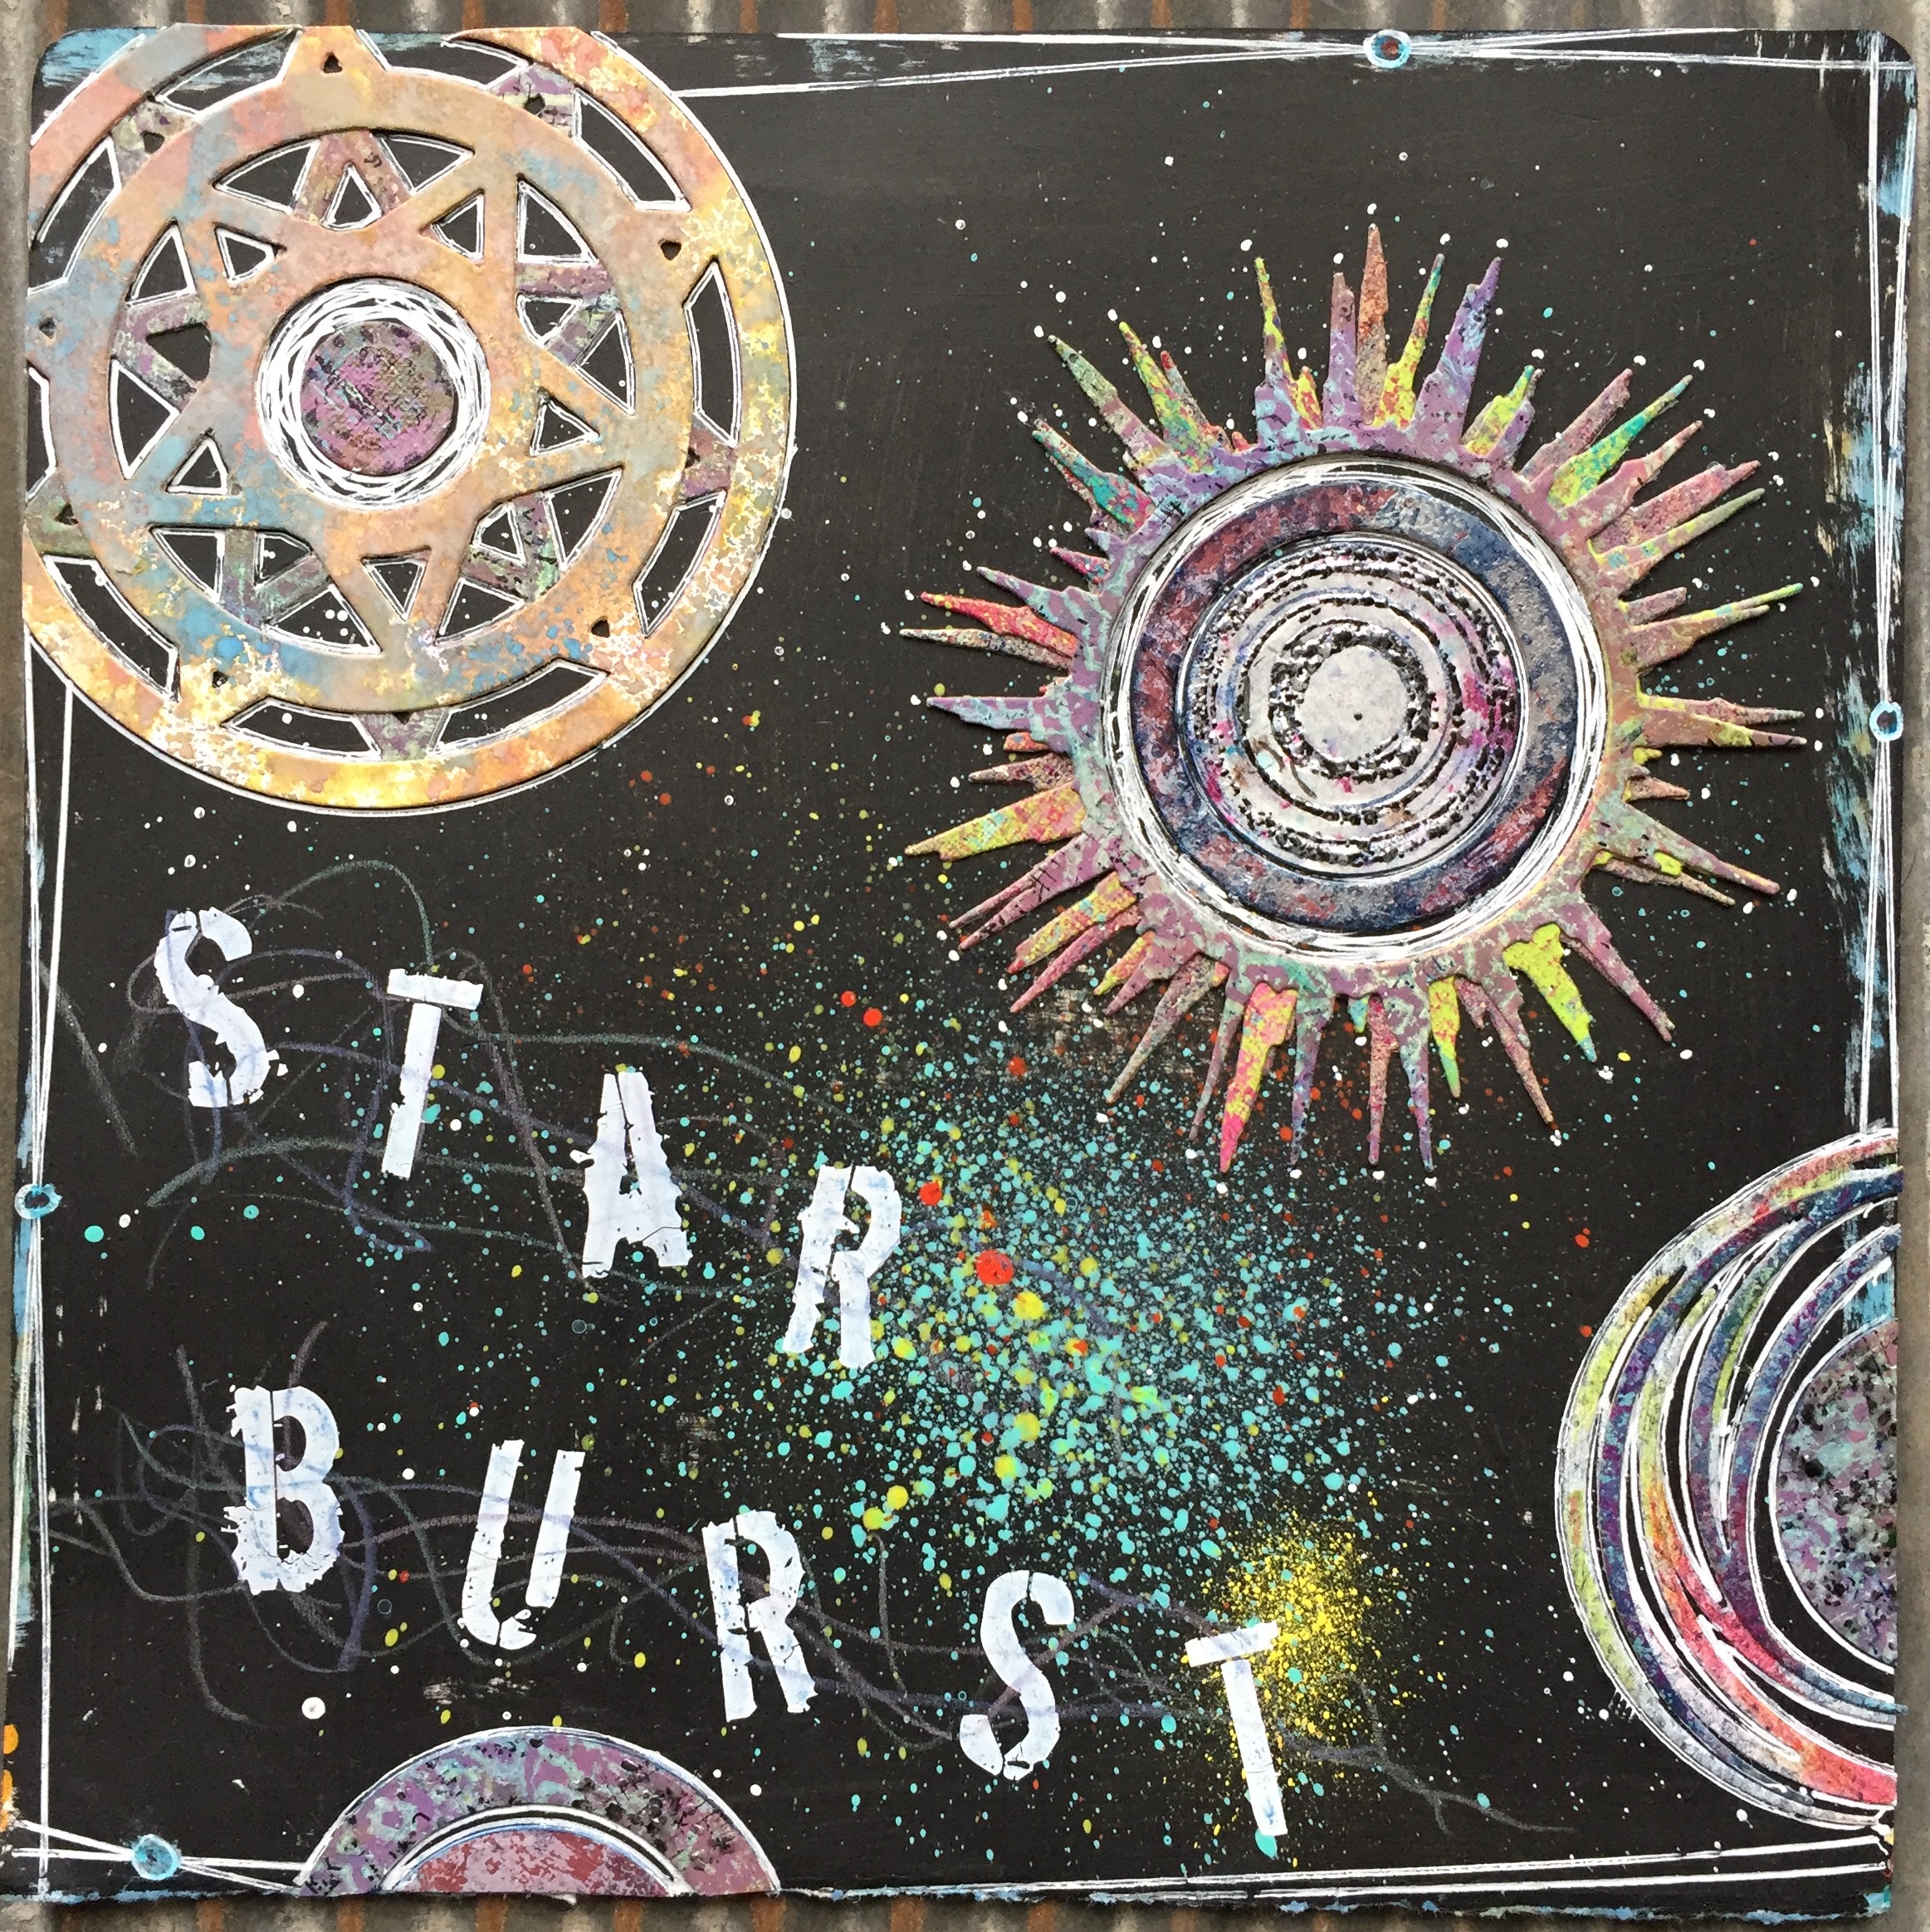
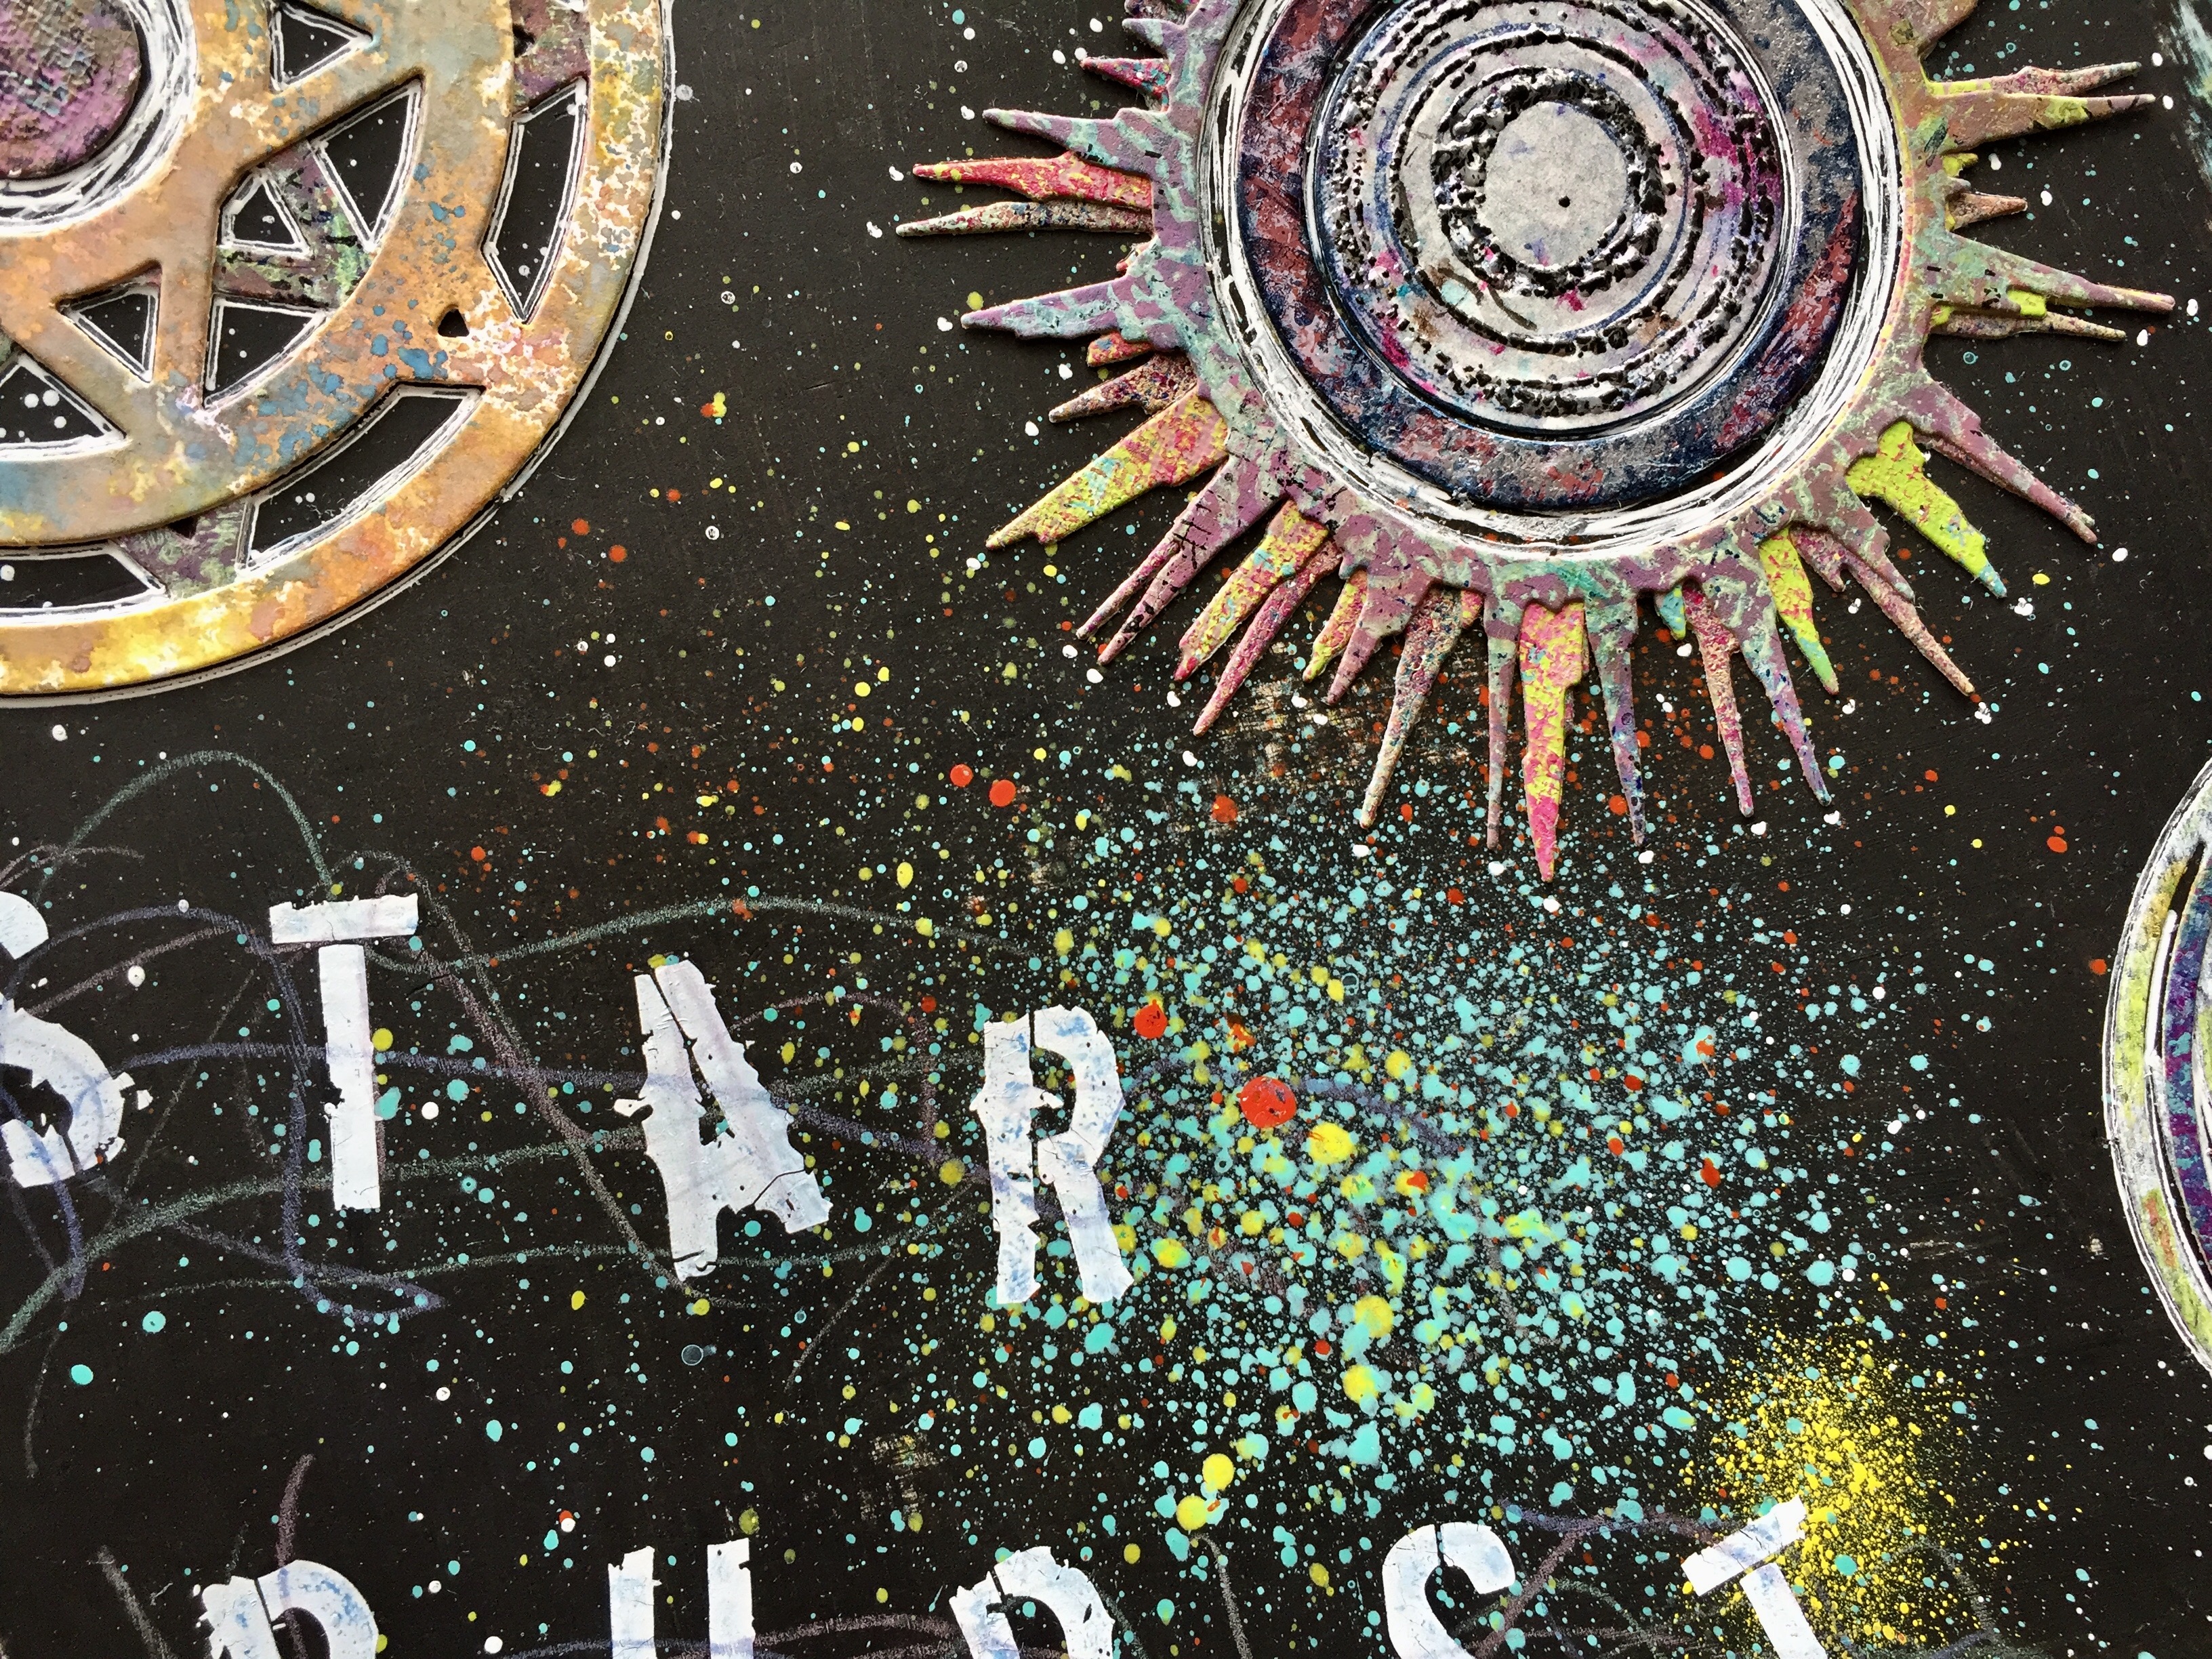
I start by choosing or creating a background. For Starburst I painted black gesso on an 8.25 inch square of watercolor paper which I splattered with paint from multiple colors of paint pens. I was going for the look of a night sky. I then chose three dies, all from my newly released collection, to represent planets and stars. First up,
Strands.

STRANDS
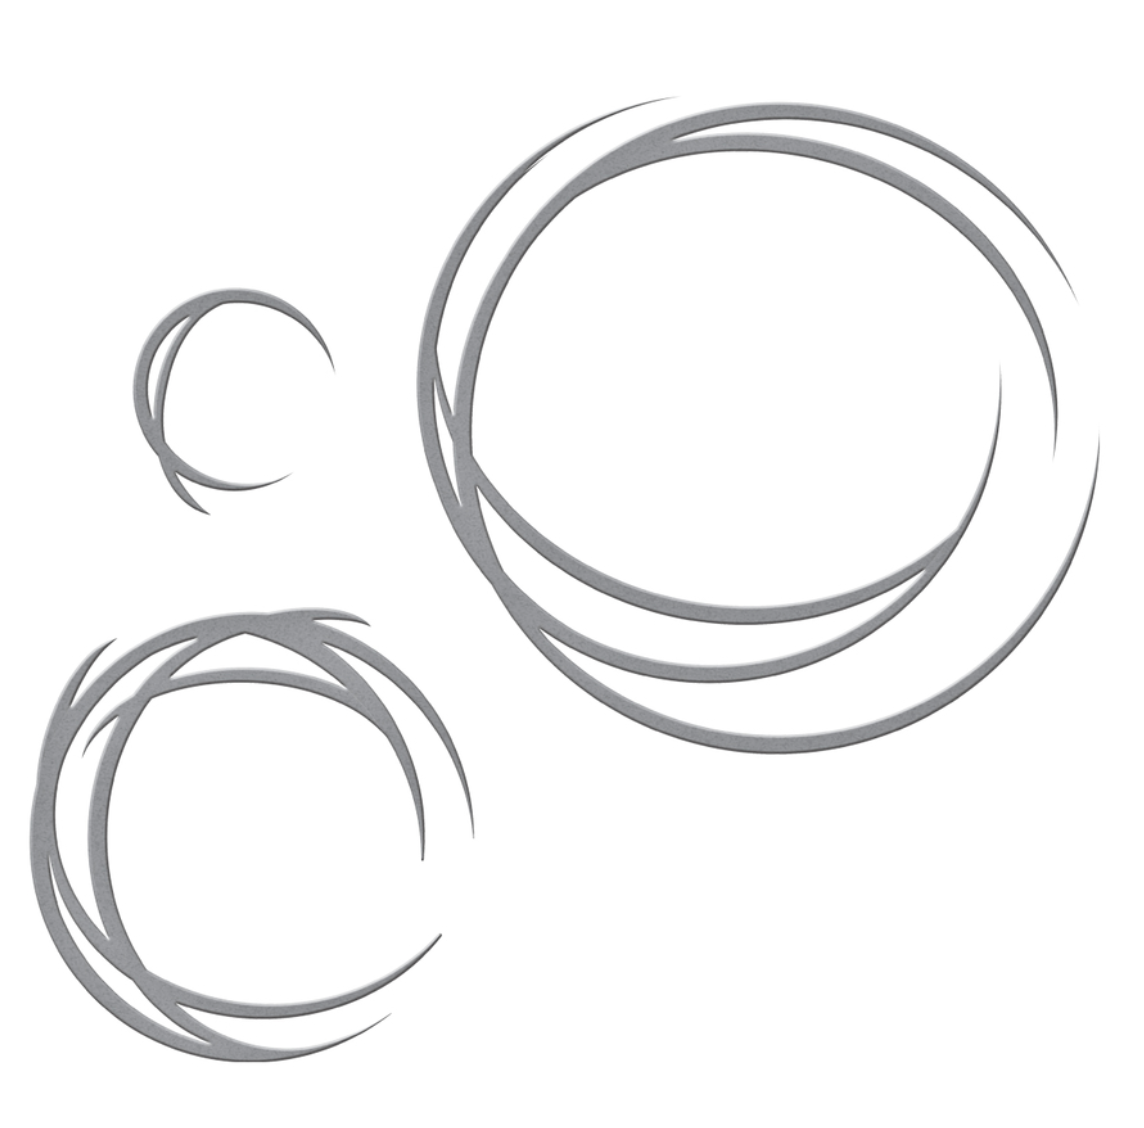
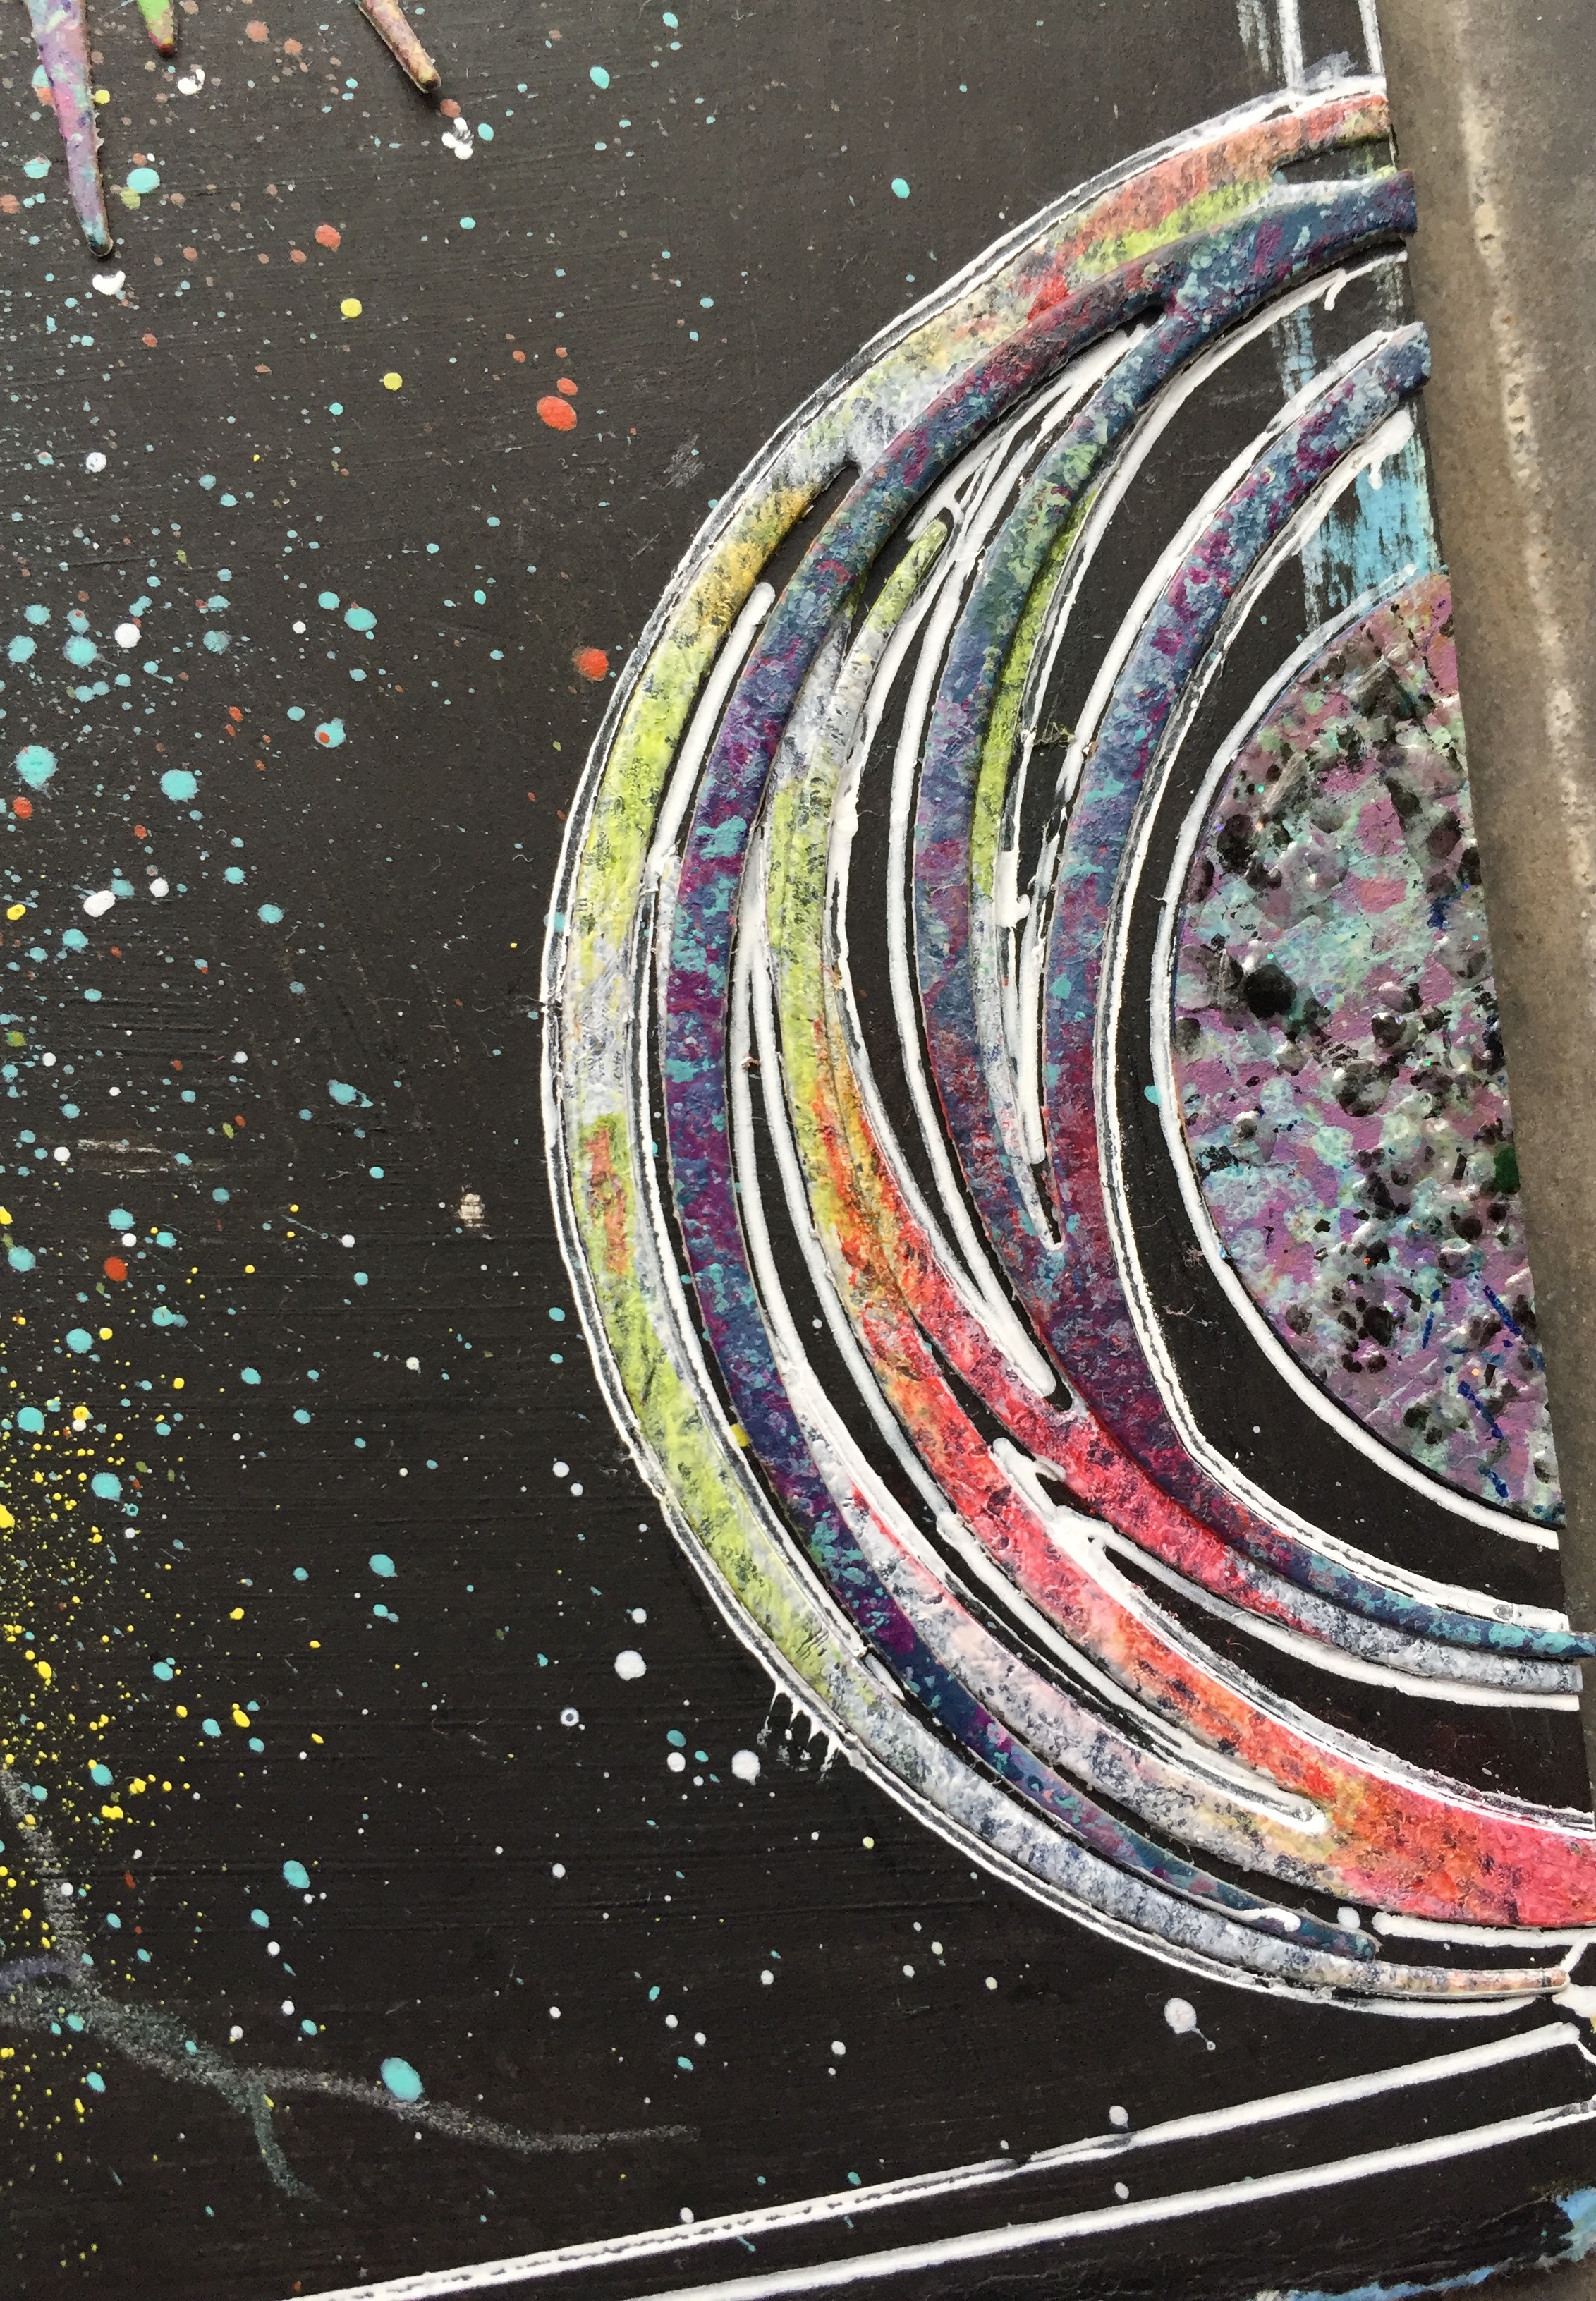
The dies in Strands on their own are thin and well spaced. But it is easy to build your own die cuts and layer them to create a completely different look and feel. I ran the largest die from the set through my
Platinum Die Cutting and Embossing Machine three times using three different hand painted papers. You could easily choose scrapbook paper for this step. Then all the cuts were glued and layered to the surface.

Next up was my new
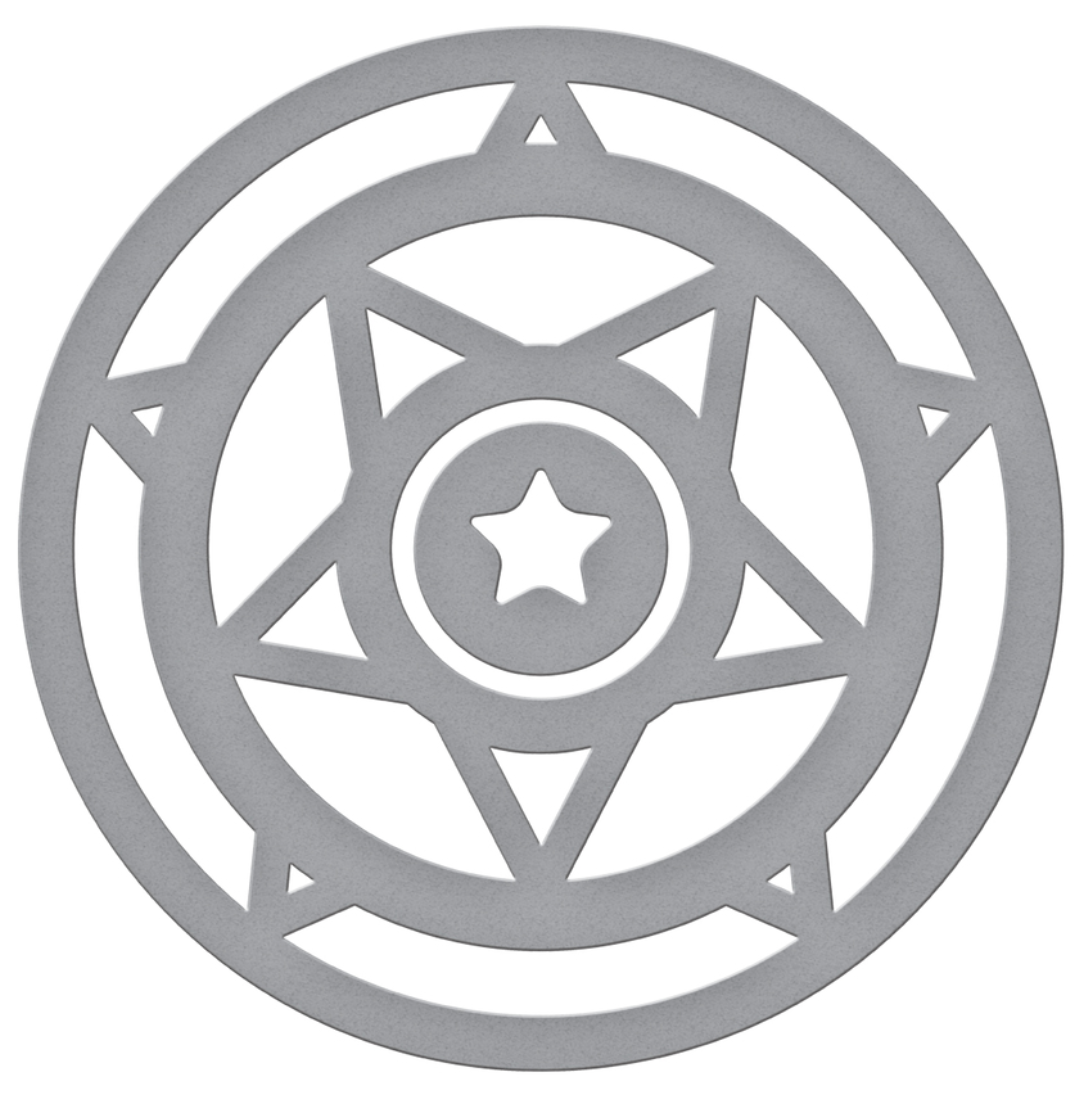
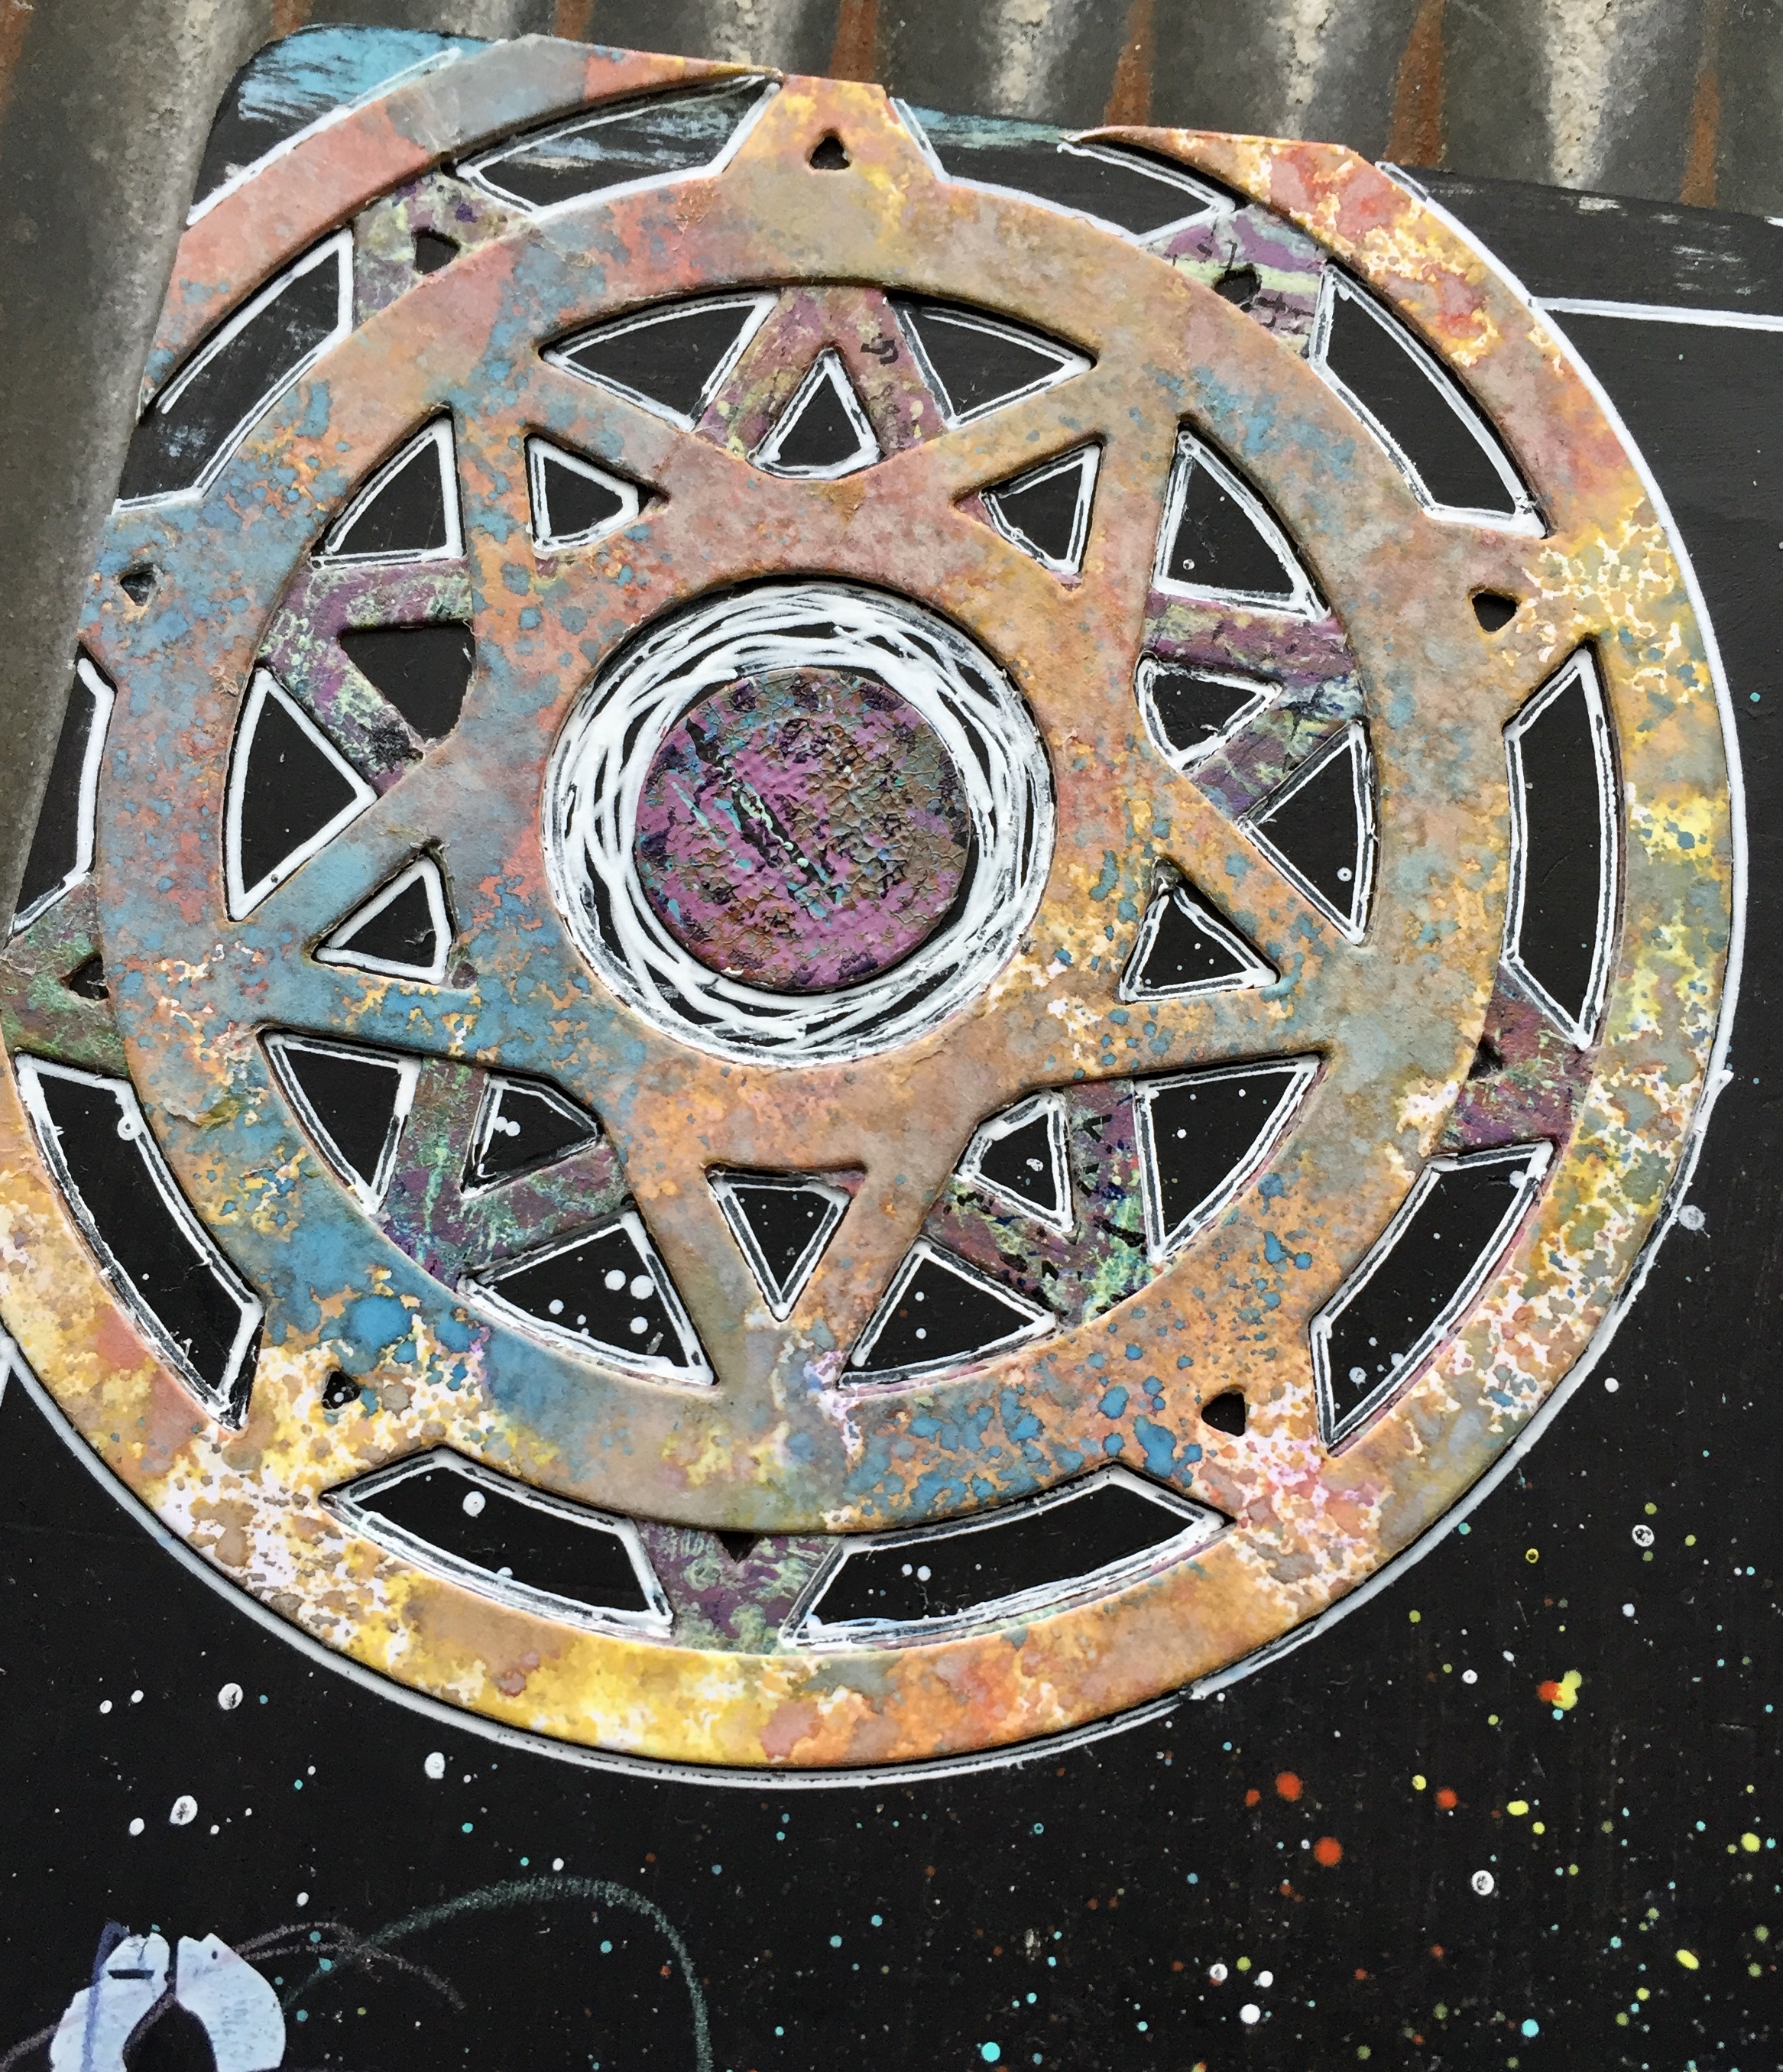
Starstruck die set, which being circular and containing an inner star seemed perfect for this project.

STARSTRUCK
For this element, I chose the main die from the set and ran it through the Platinum twice, each time with a different piece of hand painted paper. In this case, I chose two different pieces that had similar coloring so that the layers would blend together to look like a single die cut.

I saved
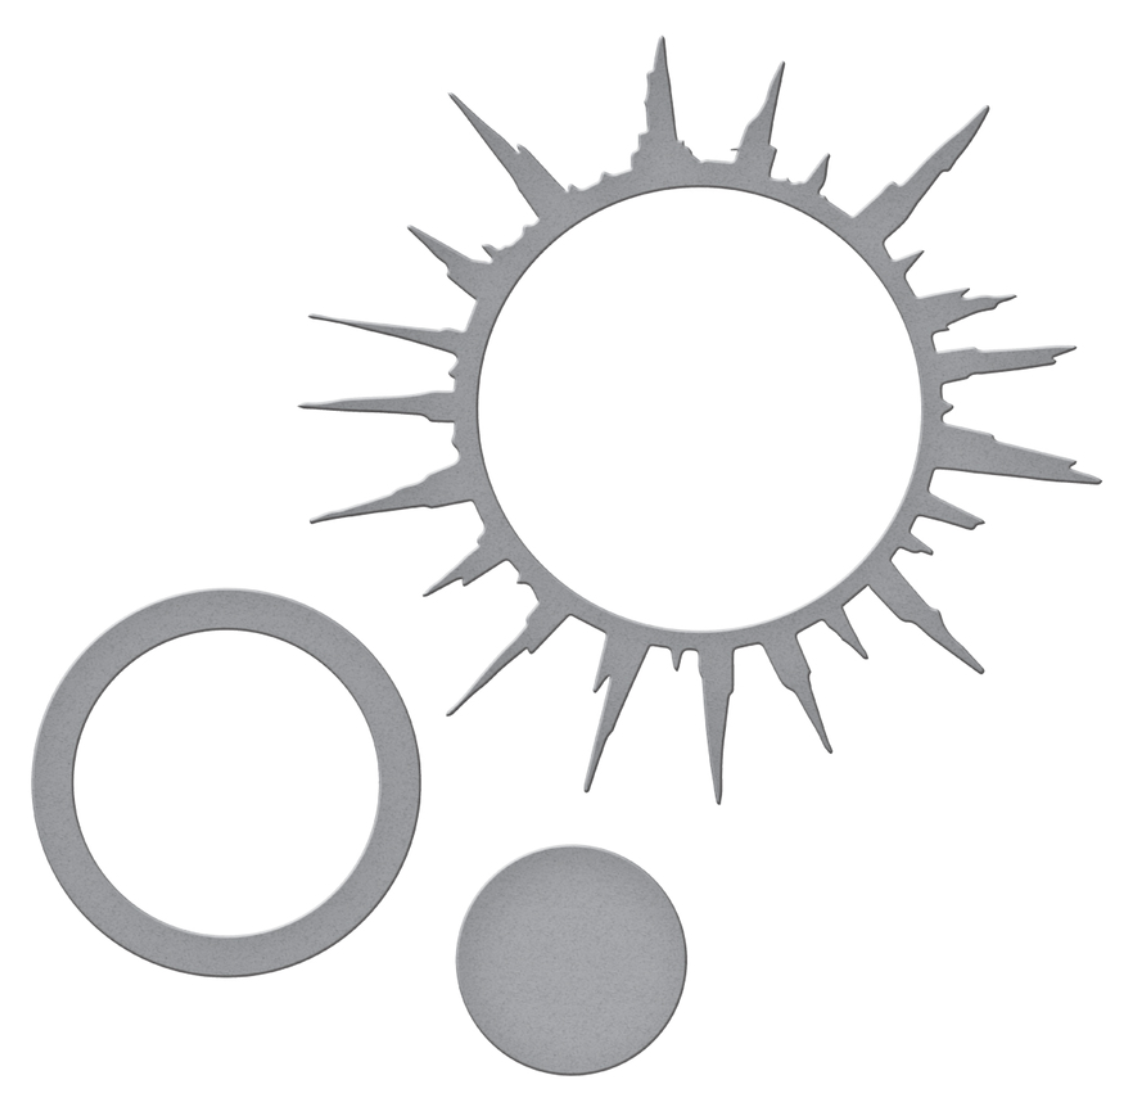
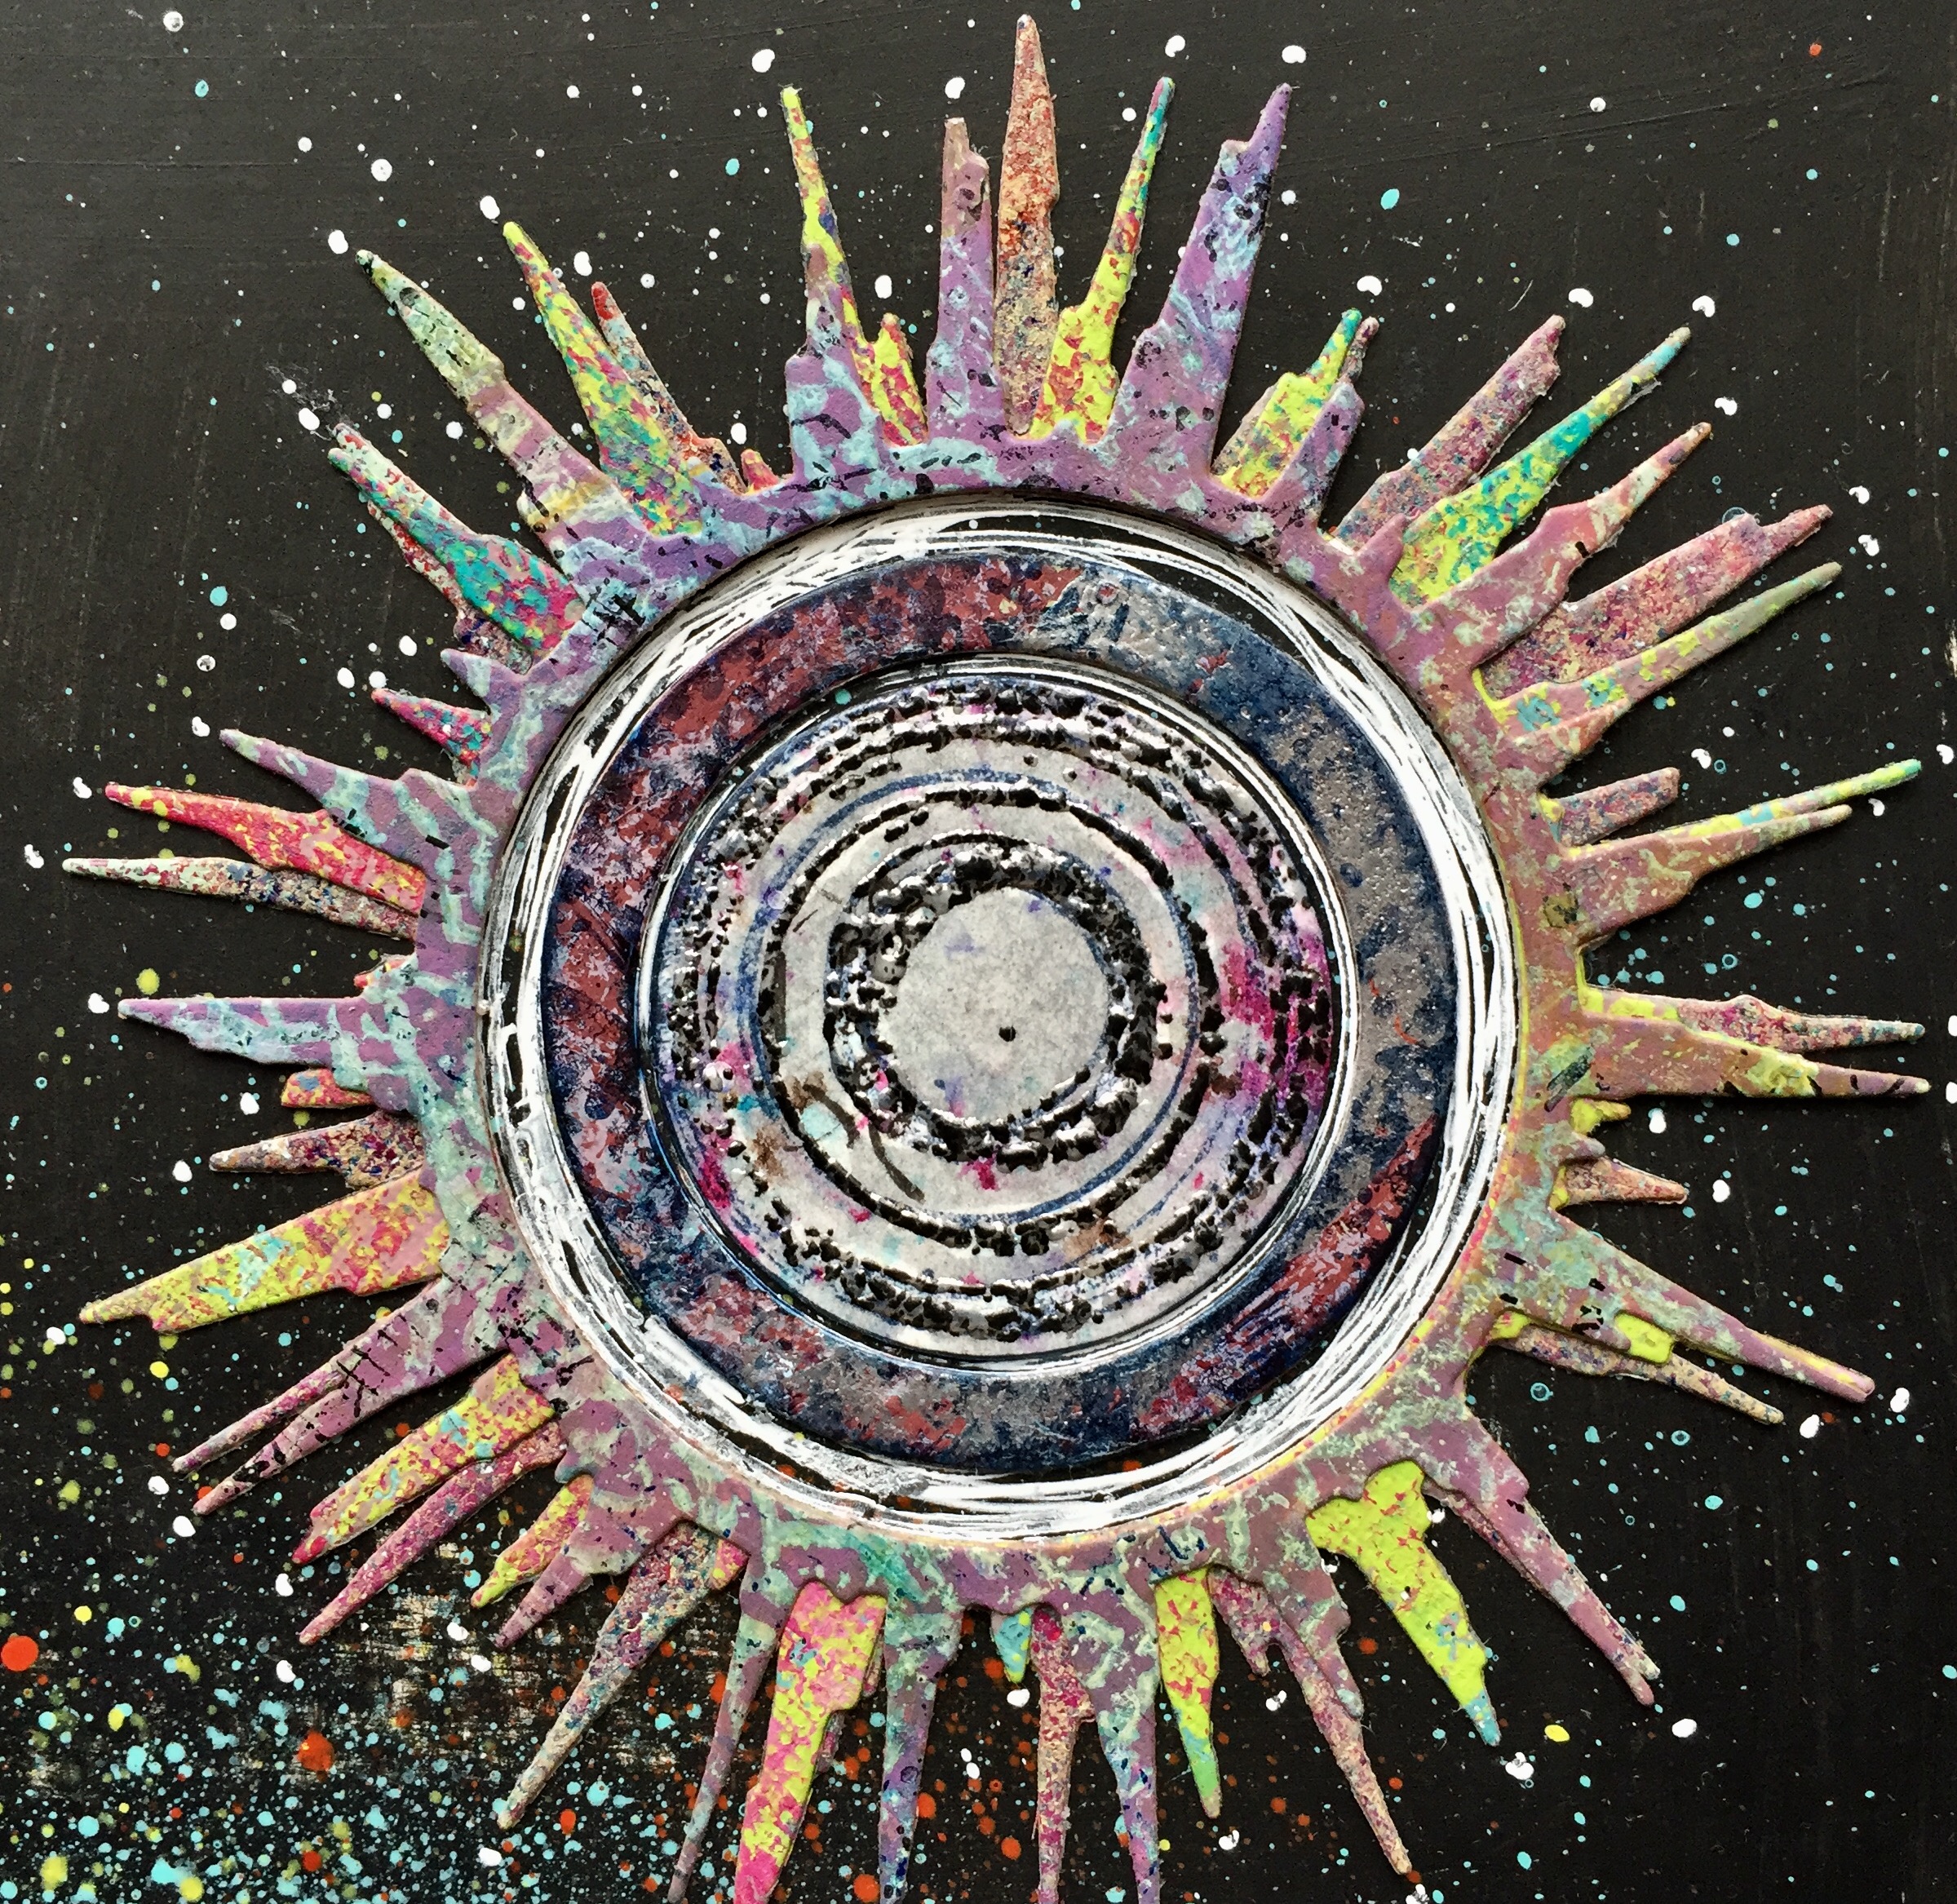
Sunburst, one of my favorites from the new collection, for last. As you add layers to this die cut, it keeps getting better and better.

SUNBURST
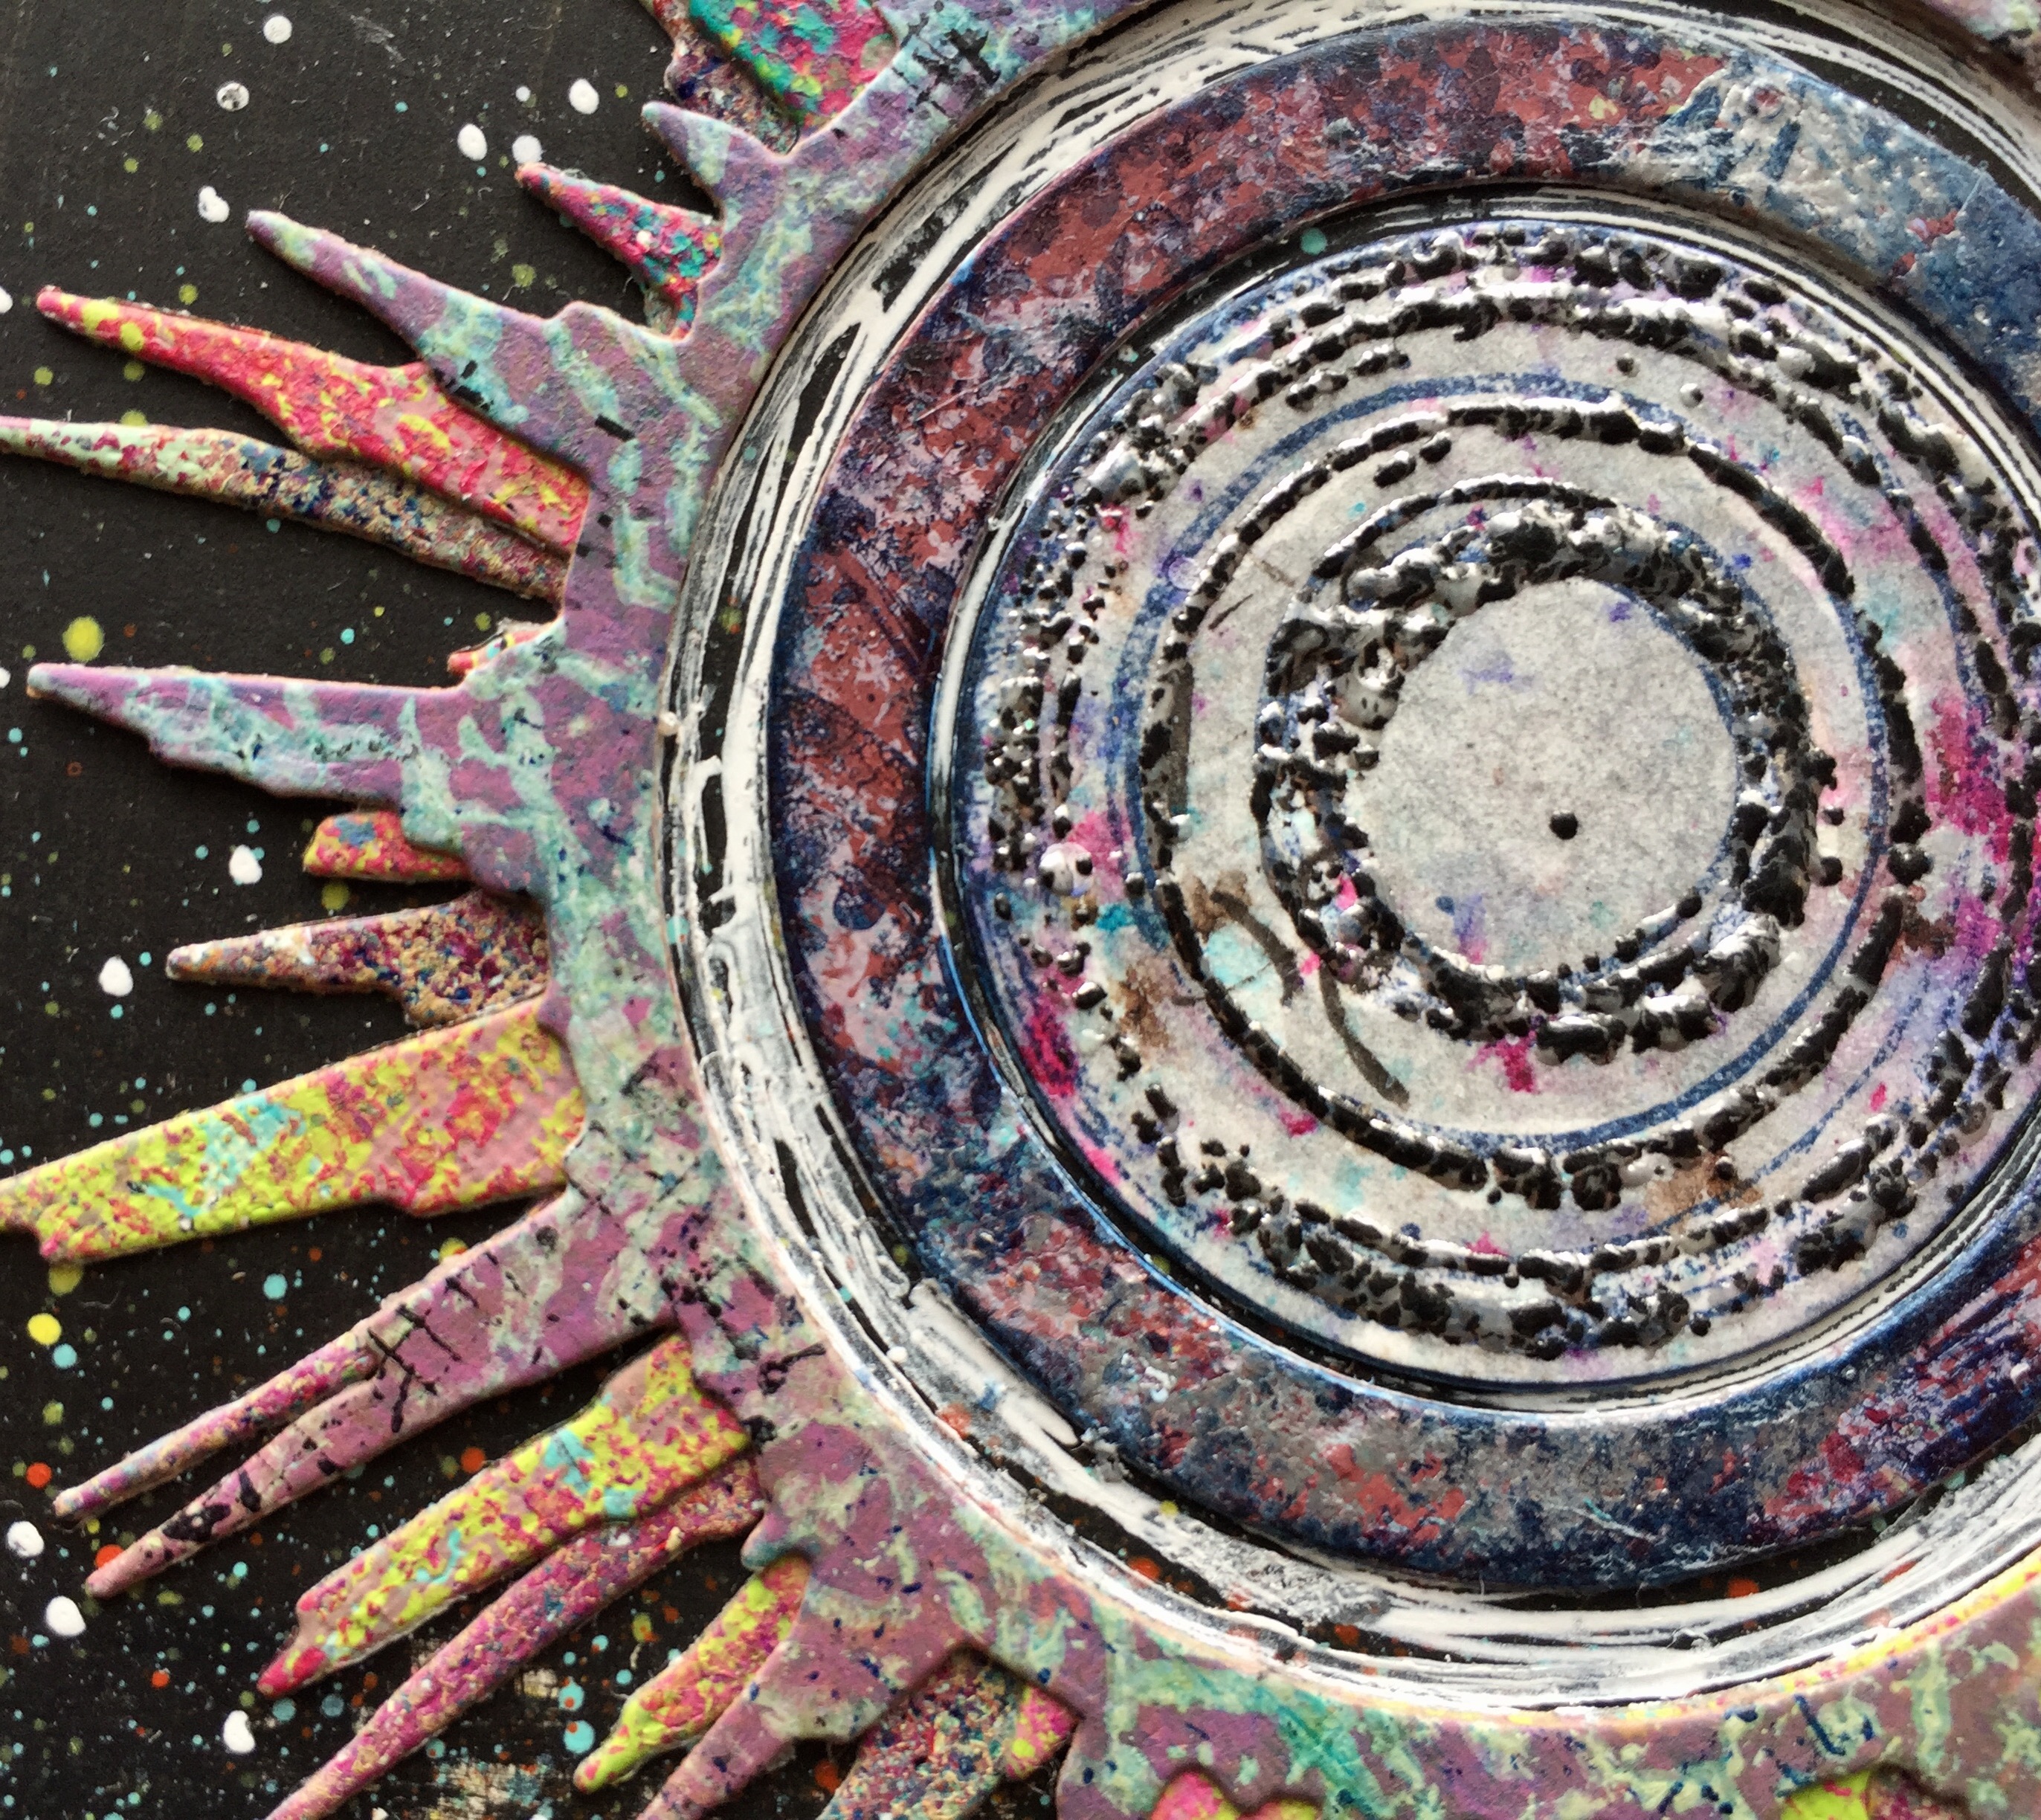
Three's a charm and I cut the largest die from this set three times using three different brightly colored, hand painted papers. They were then adhered on top of each other in slightly rotated layers onto the surface of this piece.

For all the die cut elements, I also added some additional circles and loops from my new die collection for more interest. The die cuts were outlined, and hand made marks added using a white gel pen. Embossing powders were added using my French Text rubber stamp for more texture. As a final touch, the title was added with rub on letters and covered with soft metallic scribbles.


I hope this post has given you some ideas on how to build your own die cuts and ways to keep your work fresh. You can see more of my ideas and designs
on my blog.
Spellbinders ® Supplies:
Other Supplies:
Painted watercolor paper, Black Gesso, Acrylic Paint Pens, Scissors, Adhesive, Ink Pads, Embossing Pad, Embossing Powder, Heat Gun, Gel Pen, Rub On Letters, Metallic Waxed Pastel Crayons


 />
/>