☃️ Banner logo ☃️ Up to 50% Off ☃️

Spellbinders Blog

Shaped Cards Video Series. Episode #3 – Your Kindness Makes Such A Difference

Shaped Cards Video Series. Episode #3 – Your Kindness Makes Such A Difference

Hello, everyone! This is Yana Smakula and thank you for joining me! This blog post and video continues the monthly feature I’m hosting on Spellbinders blog and Youtube channel called “Shaped Cards with Spellbinders”. Once a month I am posting a card and and video tutorial featuring a shaped card base using Spellbinders dies! You can catch previous episodes from this series HERE.

Spellbinders Shaped Cards Video Series. Episode #3 – Your Kindness Makes Such A Difference card by Yana Smakula. Using: S4-820 Vintage Pierced Banners, S4-817 Breanna’s Corset Label, S5-332 Hemstitch Ovals, S6-130 Coralene’s Chemise Layering Frame Large dies designed by Becca Feeken. #spellbinders #diecutting #cardmaking #handmade

Step By Step Instructions:

We have a full set of step by step instructions describing how to create this card.
  • Die-cut & emboss 2 Chemise Frames from the Coralene’s Chemise Layering Frame Large set out of white cardstock. Score one die cut about 1” - 1 1/2"  at the top. Add glue onto the flap and adhere both together to create a shaped card base.
  • Die-cut Rectangle insert from the Coralene’s Chemise Layering Frame Large set outo blue cardstock. Adhere onto the card.
  • Die-cut & emboss Extra Large Label from the Breanna’s Corset Label set out of white cardstock. Foam mount onto the card.
  • Die-cut & emboss medium Hemstitch Oval and Medium Hemstitch Oval insert from the Hemstitch Ovals set out of gold foil cardstock. Foam mount onto the card.
  • Die-cut & emboss Large Label from the Breanna’s Corset Label set out blue cardstock. Foam mount onto the card.
  • Die-cut & emboss Frame from the Coralene’s Chemise Layering Frame Large set out of gold foil cardstock, foam mount onto the card.
  • Die-cut & emboss small Hemstitch Oval and small Hemstitch Oval insert from the Hemstitch Ovals set out of gold foil cardstock. Foam mount onto the card.
  • Die-cut Straight Banner from the Vintage Pierced Banners set out of white cardstock. Stamp sentiment in black ink. Foam mount onto the card.
  • Add ribbon bow. Embellish card with pearls.
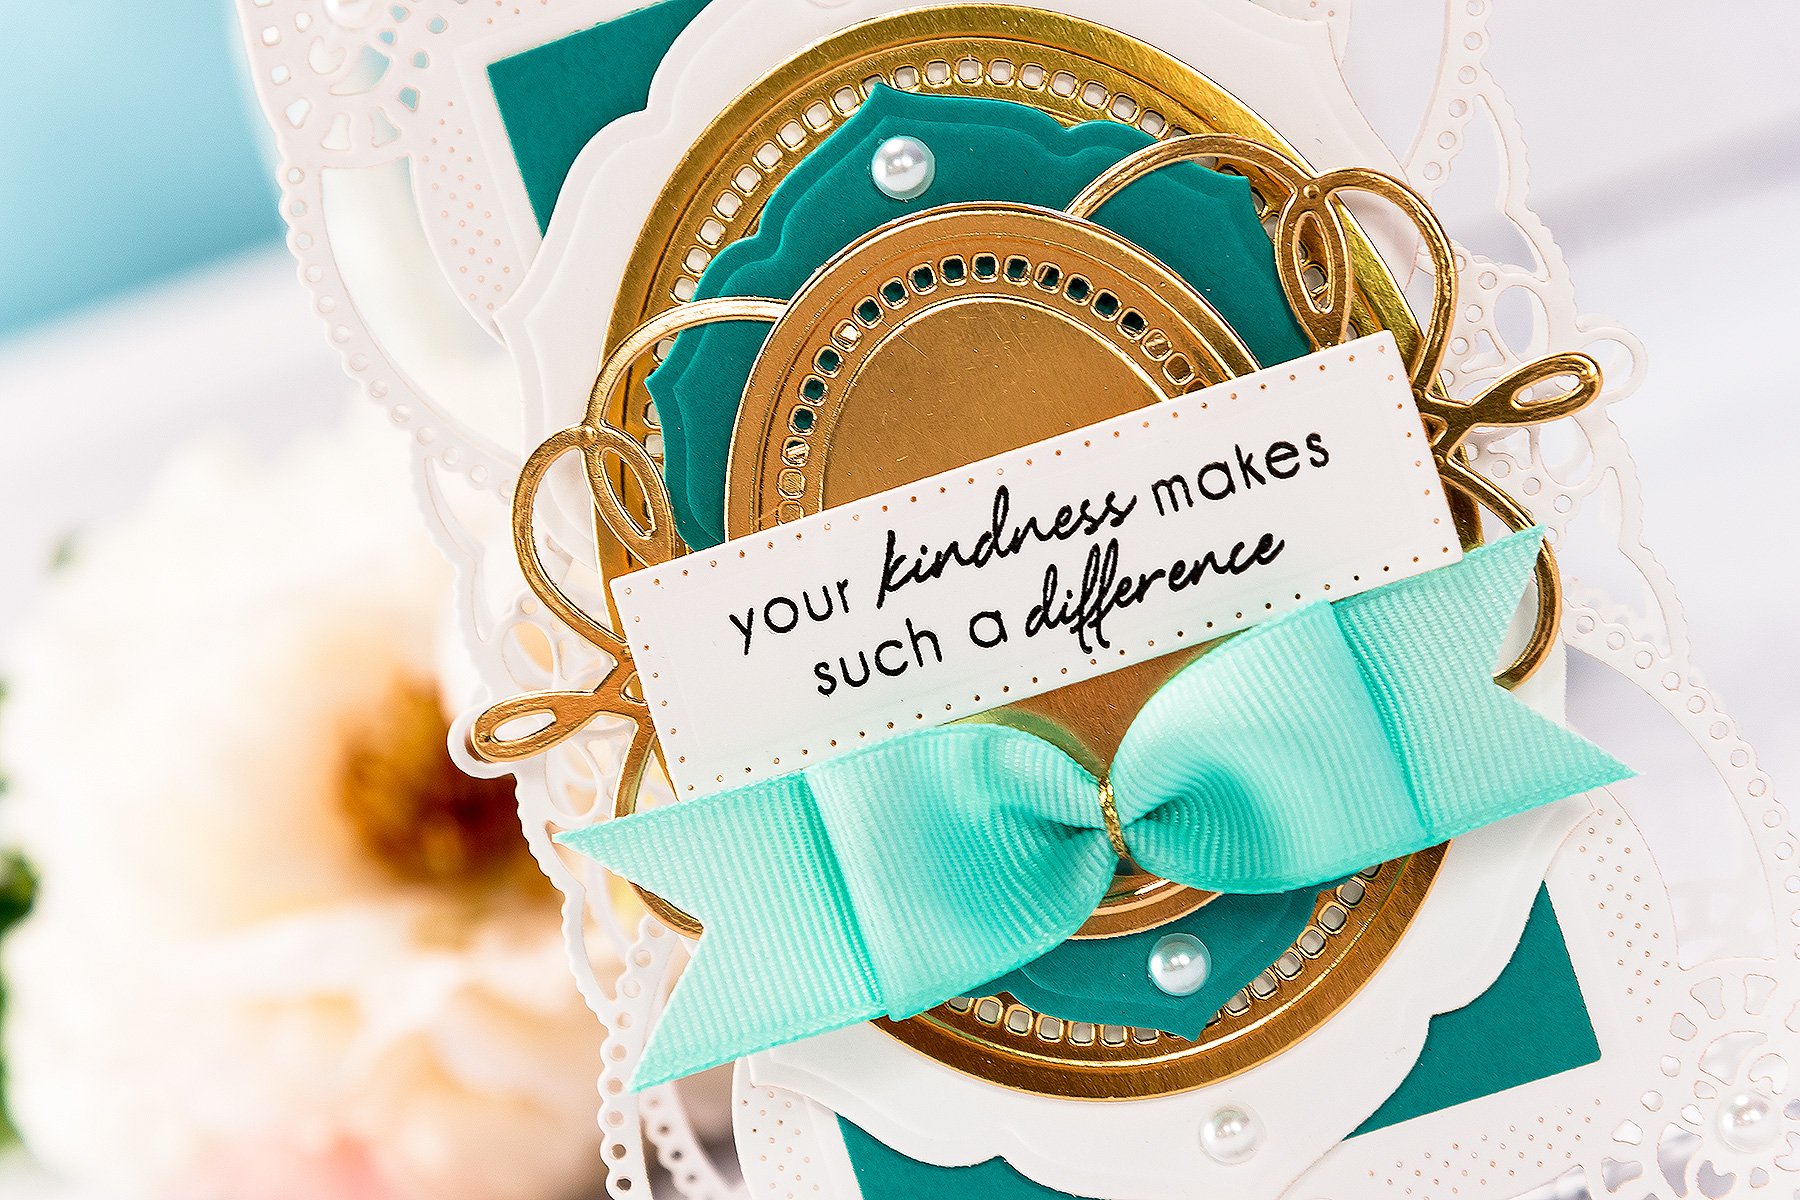
Spellbinders Shaped Cards Video Series. Episode #3 – Your Kindness Makes Such A Difference card by Yana Smakula. Using: S4-820 Vintage Pierced Banners, S4-817 Breanna’s Corset Label, S5-332 Hemstitch Ovals, S6-130 Coralene’s Chemise Layering Frame Large dies designed by Becca Feeken. #spellbinders #diecutting #cardmaking #handmade

Video Tutorial

Watch video tutorial below or on Youtube to learn how to make this project:

Spellbinders Supplies:

Other Supplies:

White Cardstock (Neenah Solar White 110LB & 80 LB); Gold Foil Cardstock; My Colors Cardstock - Tropical Sea; Scrapbook Adhesives Foam Adhesive Squares; Tape Runner; Clear Stamp (Altenew - Sentiments & Quotes, Mama Elephant - Heartfelt Wishes); Versafine Onyx Black Ink; Self Adhesive Pearls; 1" Teal Grosgrain Ribbon; Glue
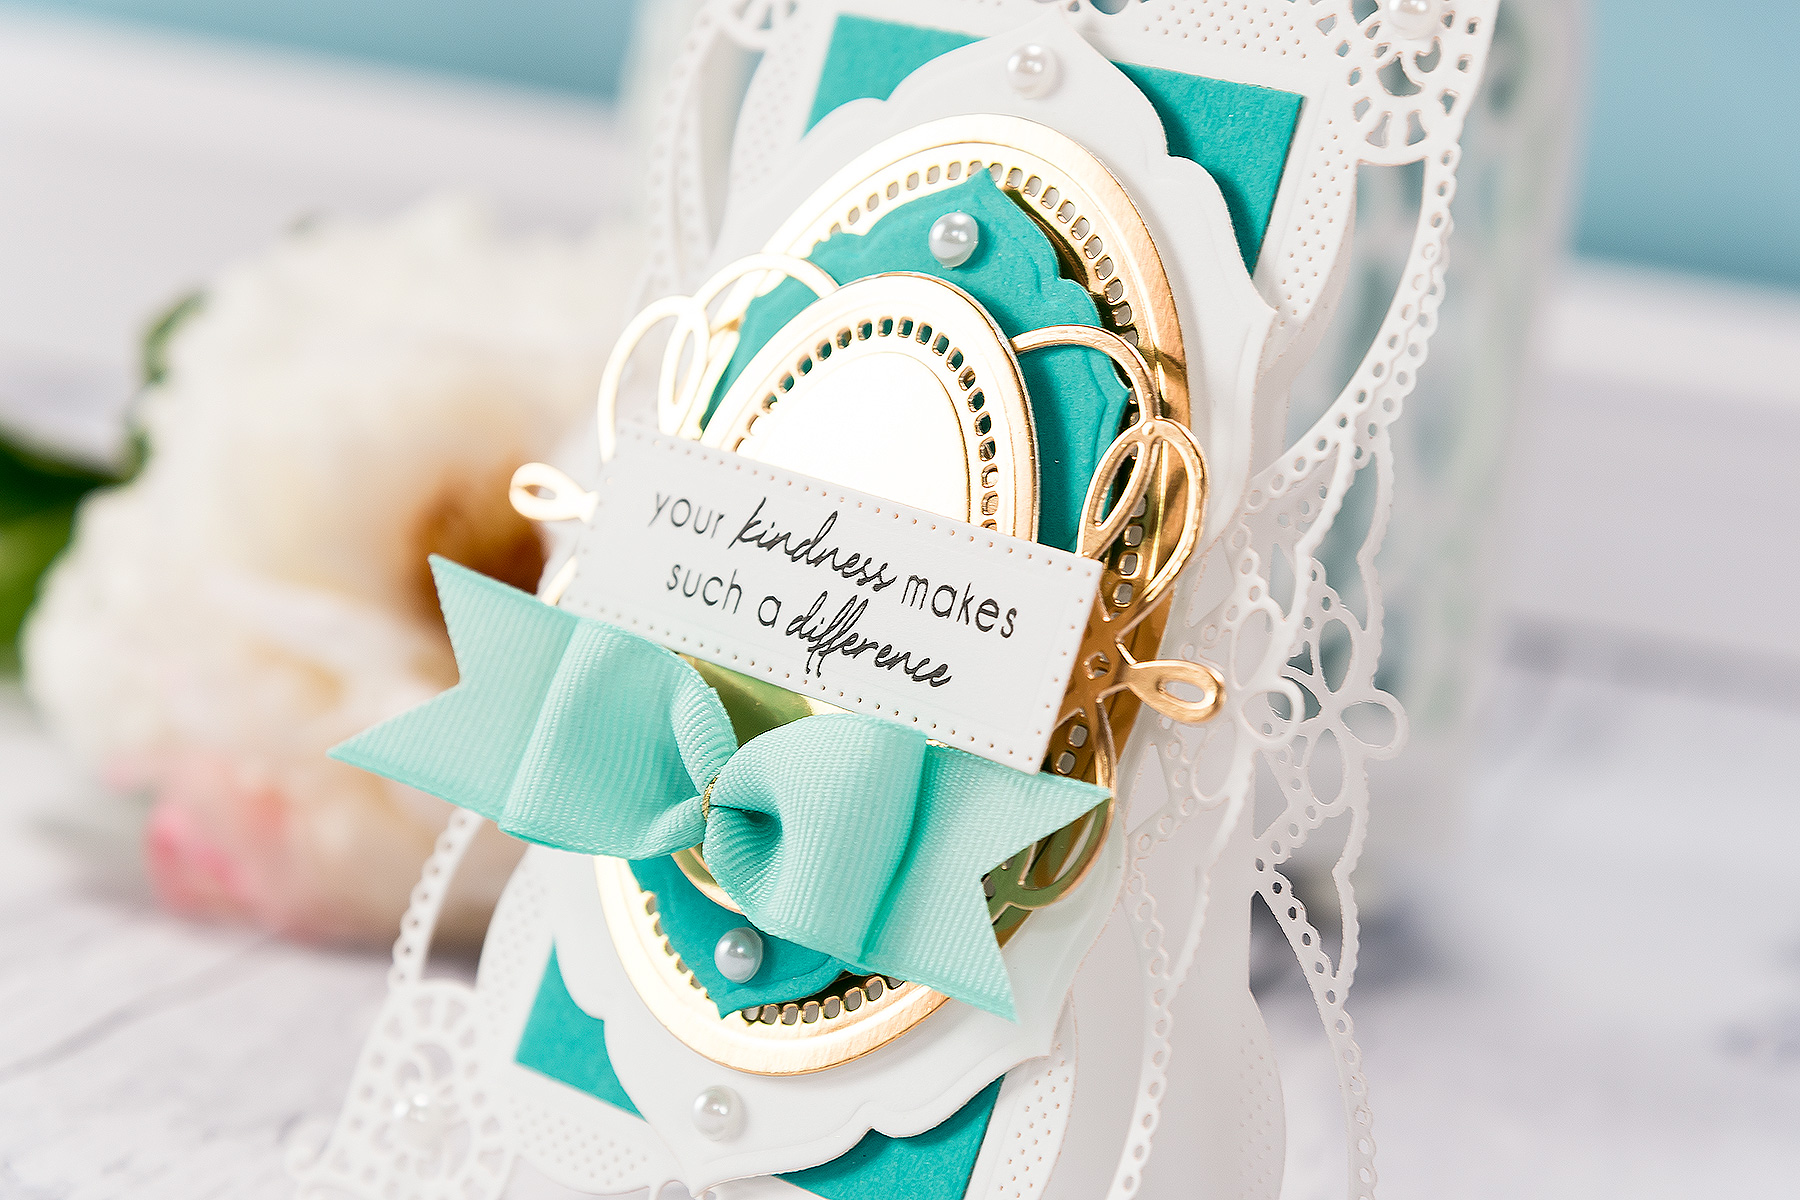
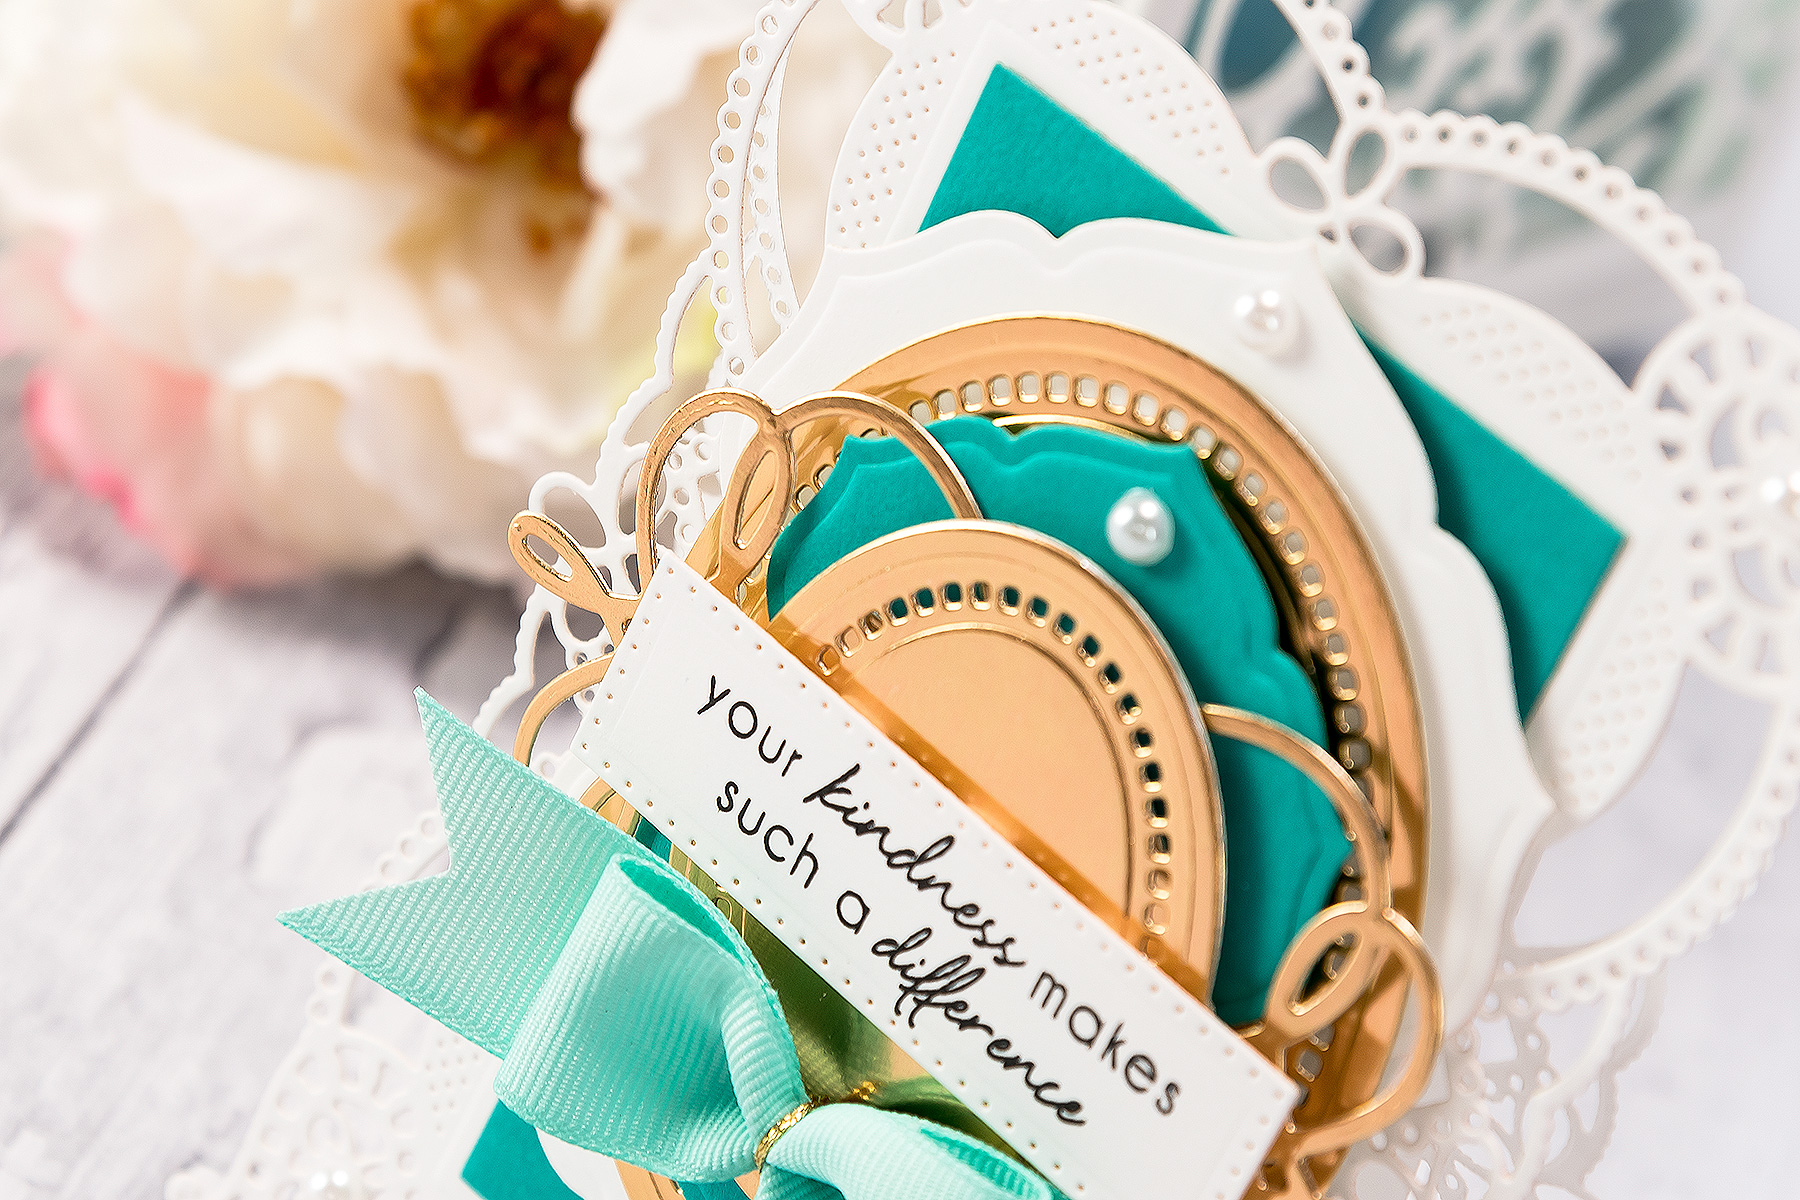
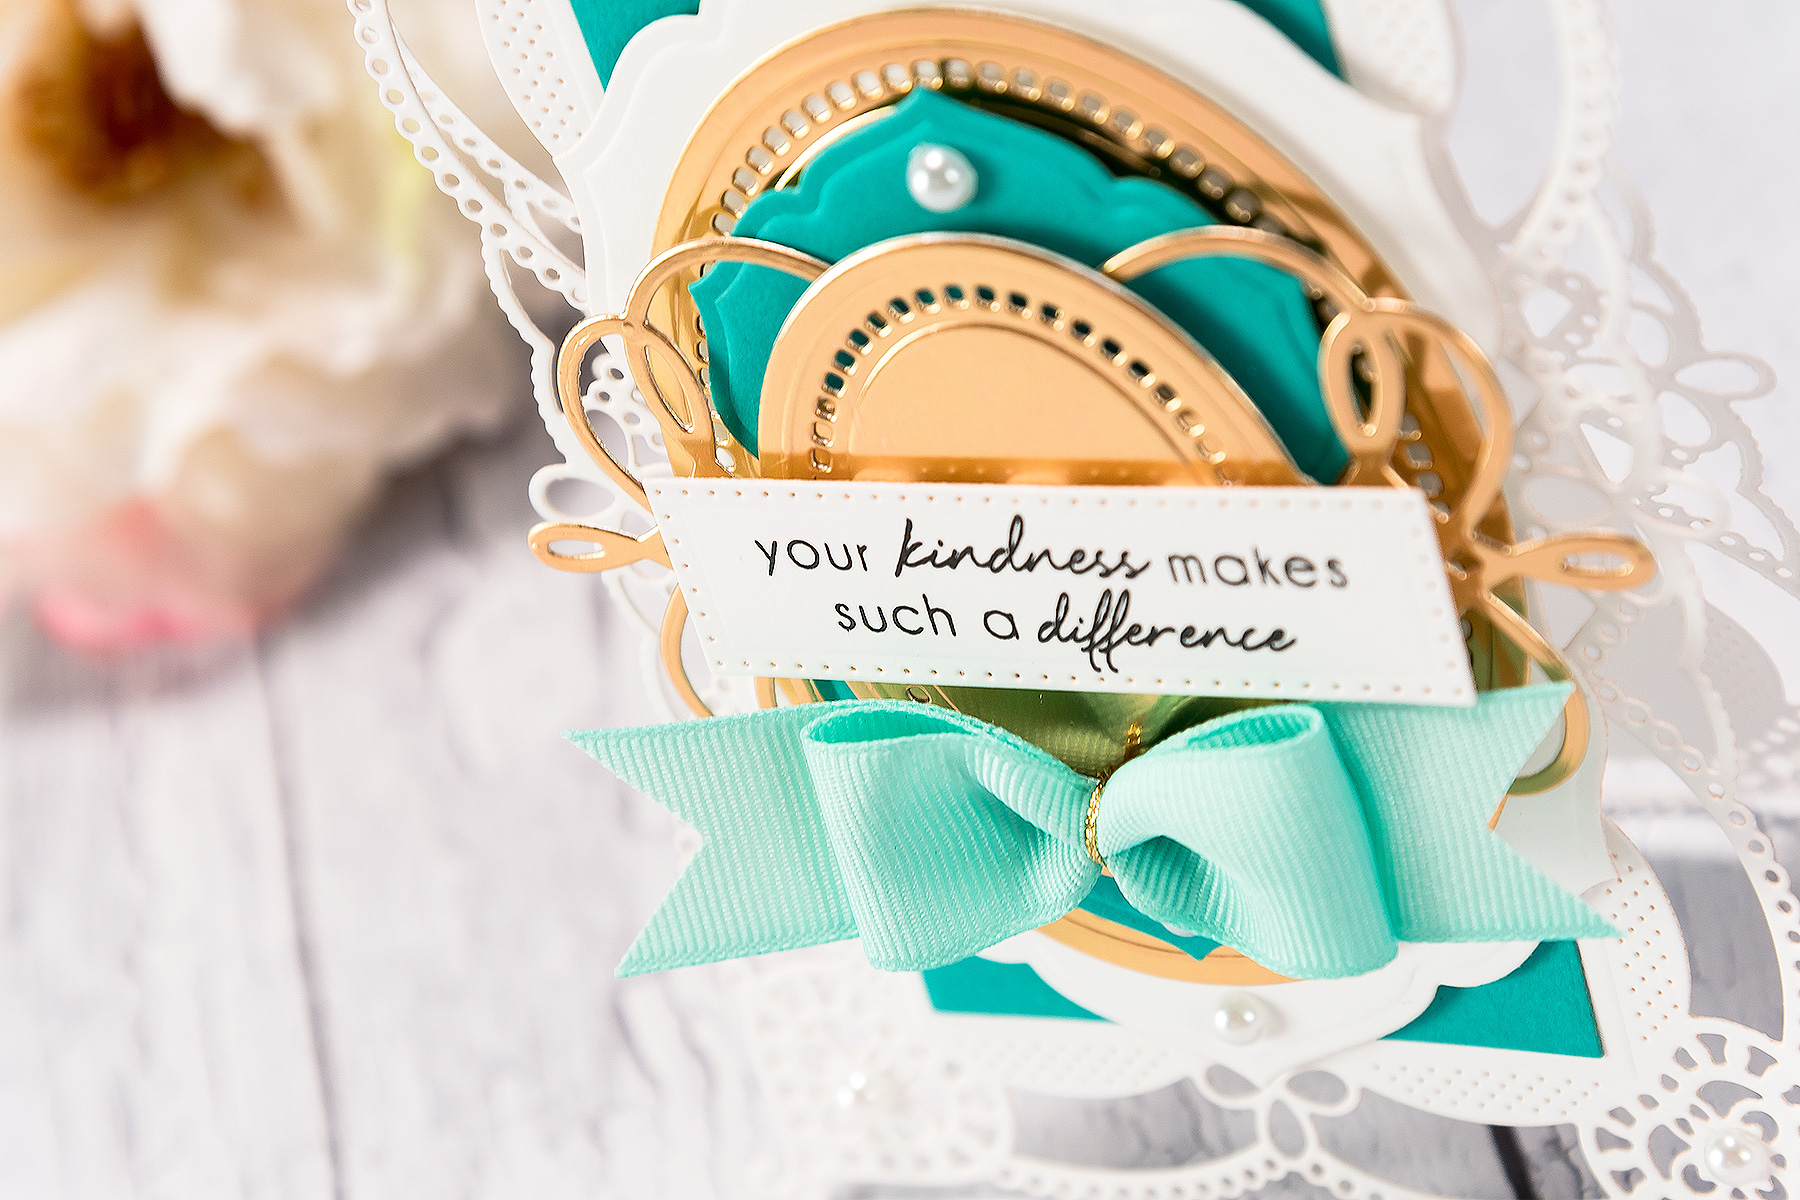
Spellbinders Shaped Cards Video Series. Episode #3 – Your Kindness Makes Such A Difference card by Yana Smakula. Using: S4-820 Vintage Pierced Banners, S4-817 Breanna’s Corset Label, S5-332 Hemstitch Ovals, S6-130 Coralene’s Chemise Layering Frame Large dies designed by Becca Feeken. #spellbinders #diecutting #cardmaking #handmade

Spellbinders Shaped Cards Video Series. Episode #3 – Your Kindness Makes Such A Difference card by Yana Smakula. Using: S4-820 Vintage Pierced Banners, S4-817 Breanna’s Corset Label, S5-332 Hemstitch Ovals, S6-130 Coralene’s Chemise Layering Frame Large dies designed by Becca Feeken. #spellbinders #diecutting #cardmaking #handmade Spellbinders Shaped Cards Video Series. Episode #3 – Your Kindness Makes Such A Difference card by Yana Smakula. Using: S4-820 Vintage Pierced Banners, S4-817 Breanna’s Corset Label, S5-332 Hemstitch Ovals, S6-130 Coralene’s Chemise Layering Frame Large dies designed by Becca Feeken. #spellbinders #diecutting #cardmaking #handmade

Thank you so much for stopping by today and have fun die cutting!

Read more

Video: Faux Watercolor Stamping with Poinsettia Holiday 3D Shading Stamp

Video: Faux Watercolor Stamping with Poinsettia Holiday 3D Shading Stamp

Hello there! You all know Spellbinders for our dies, but we also have a big assortment of beautiful, unique stamps! This is Yana Smakula and today I have a Faux Watercolor Poinsettia Background video tutorial to share using our Poinsettia 3D Shading stamp. This really is a very easy card to make and the more you practice - the better your result will be. It might look intimidating at first, but believe me - this is an easy project to make and it doesn’t take more than 20 minutes to stamp.

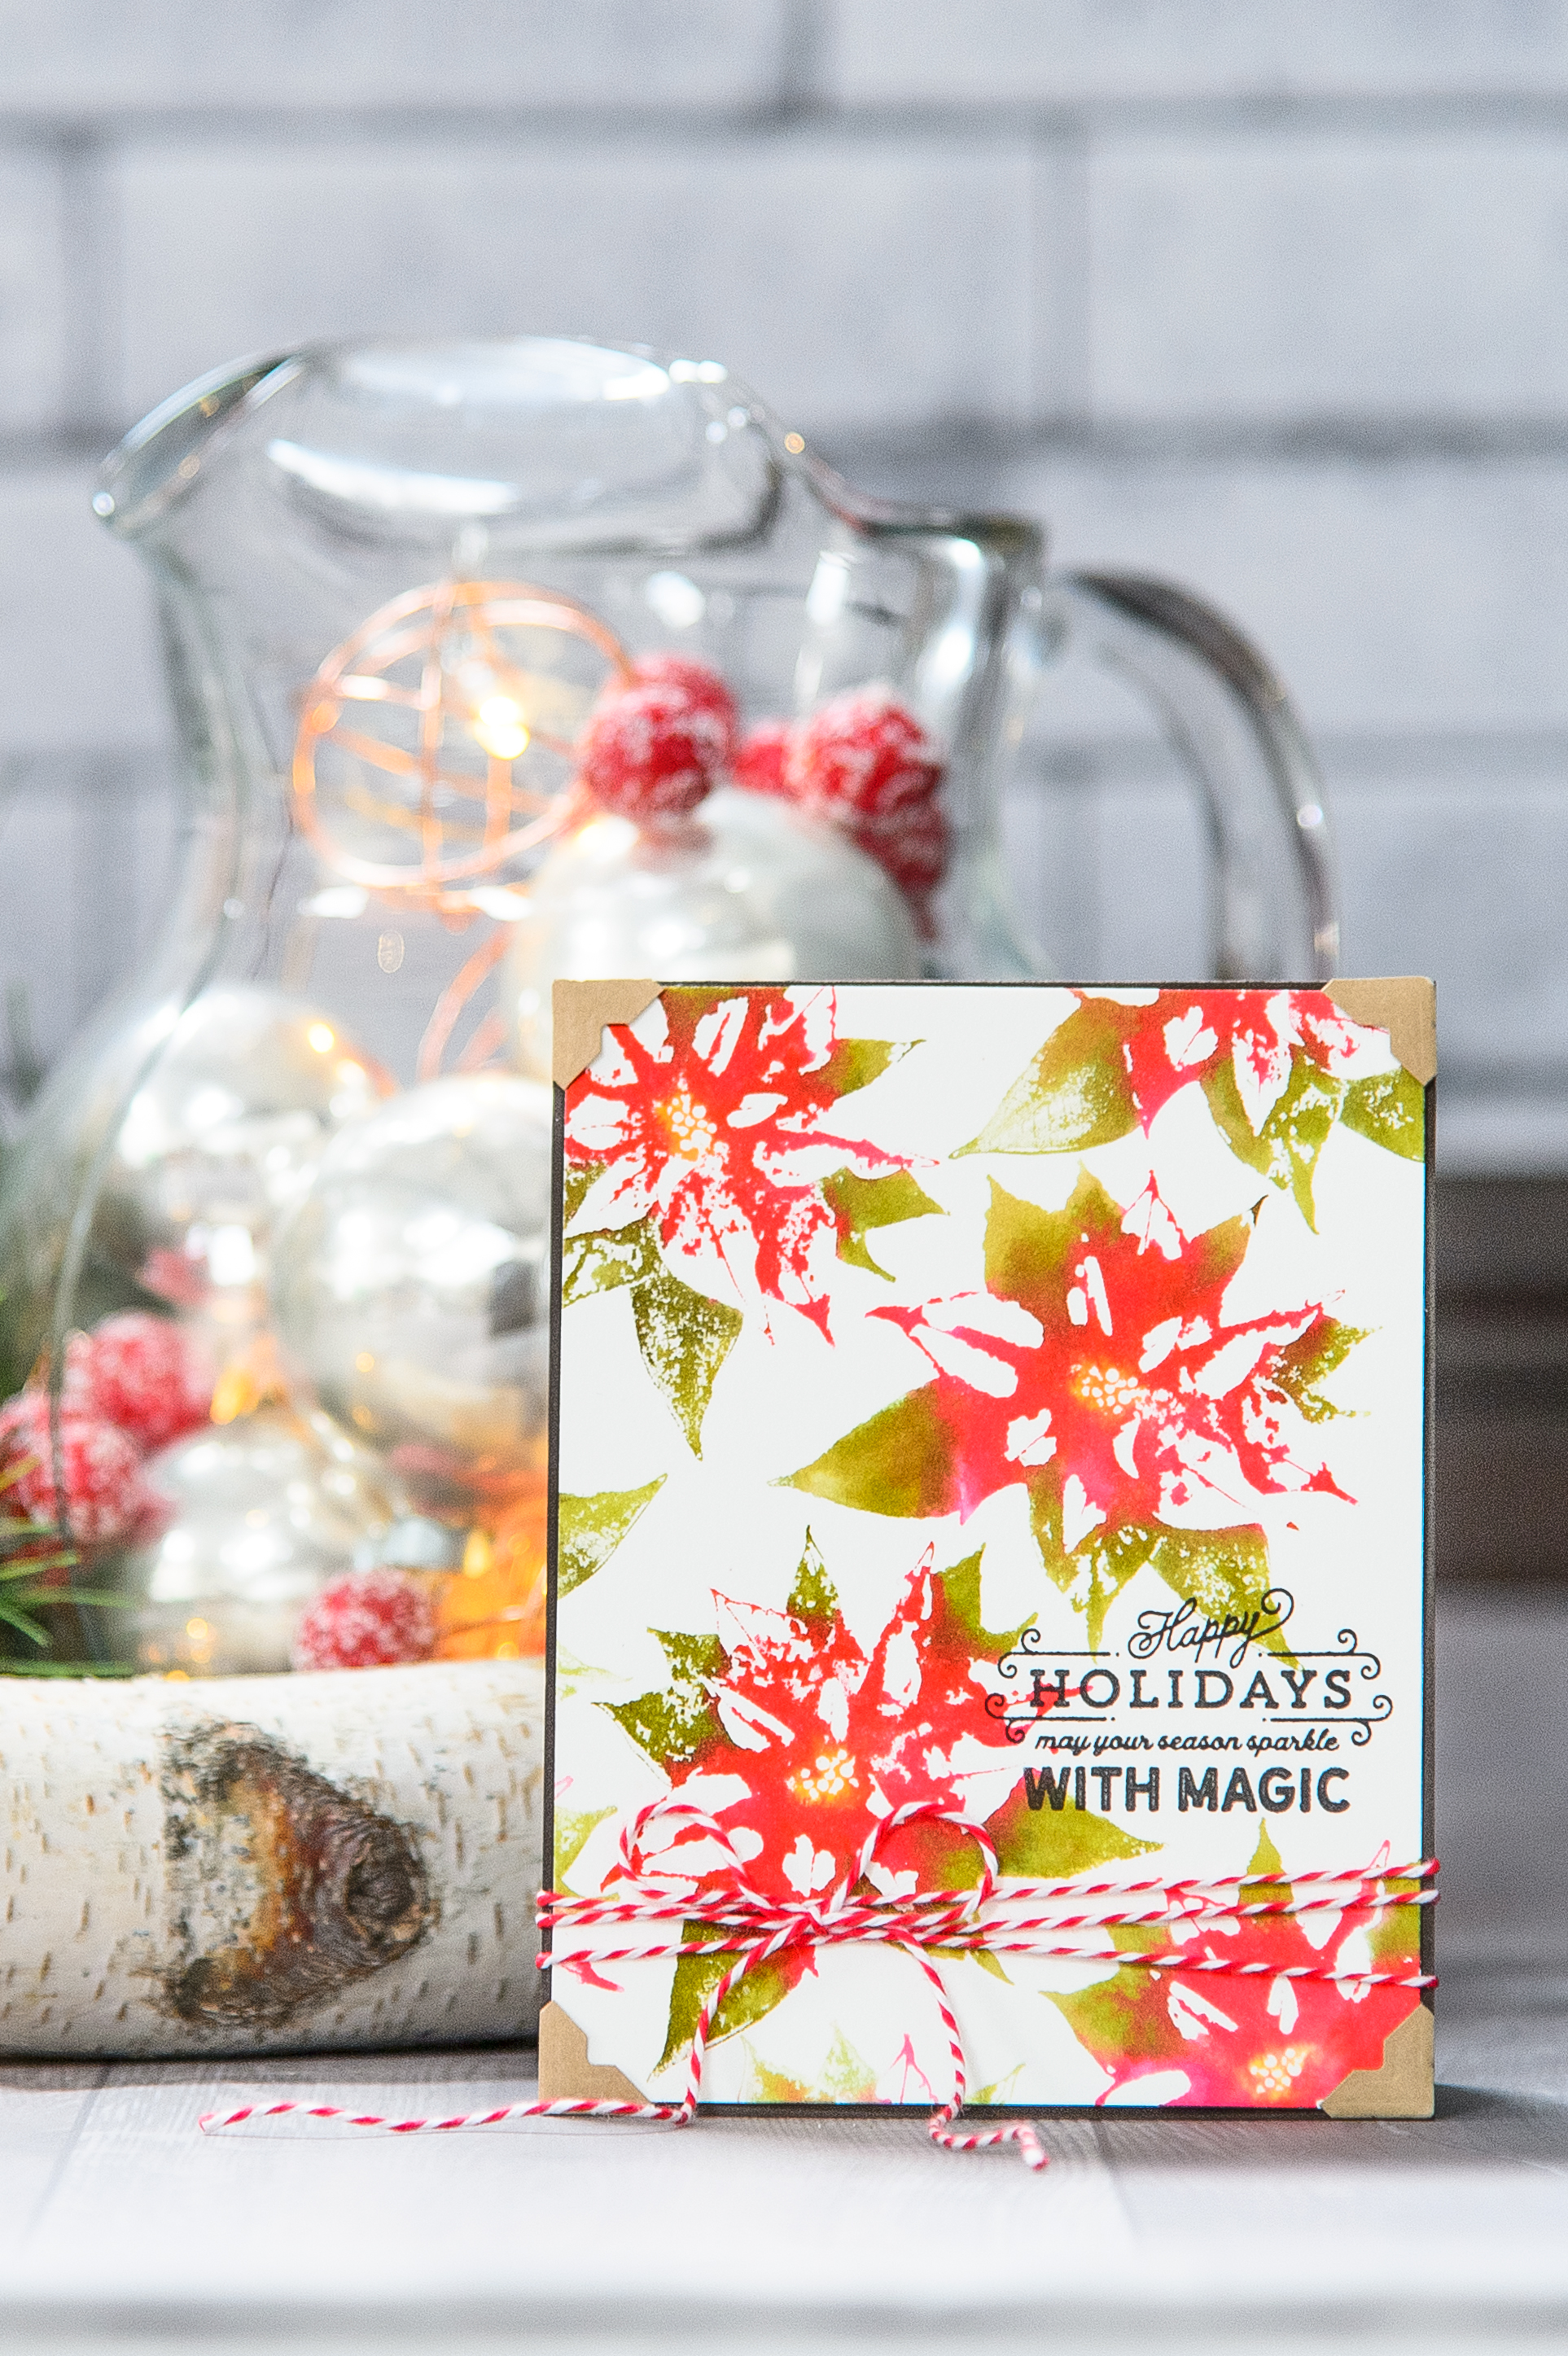
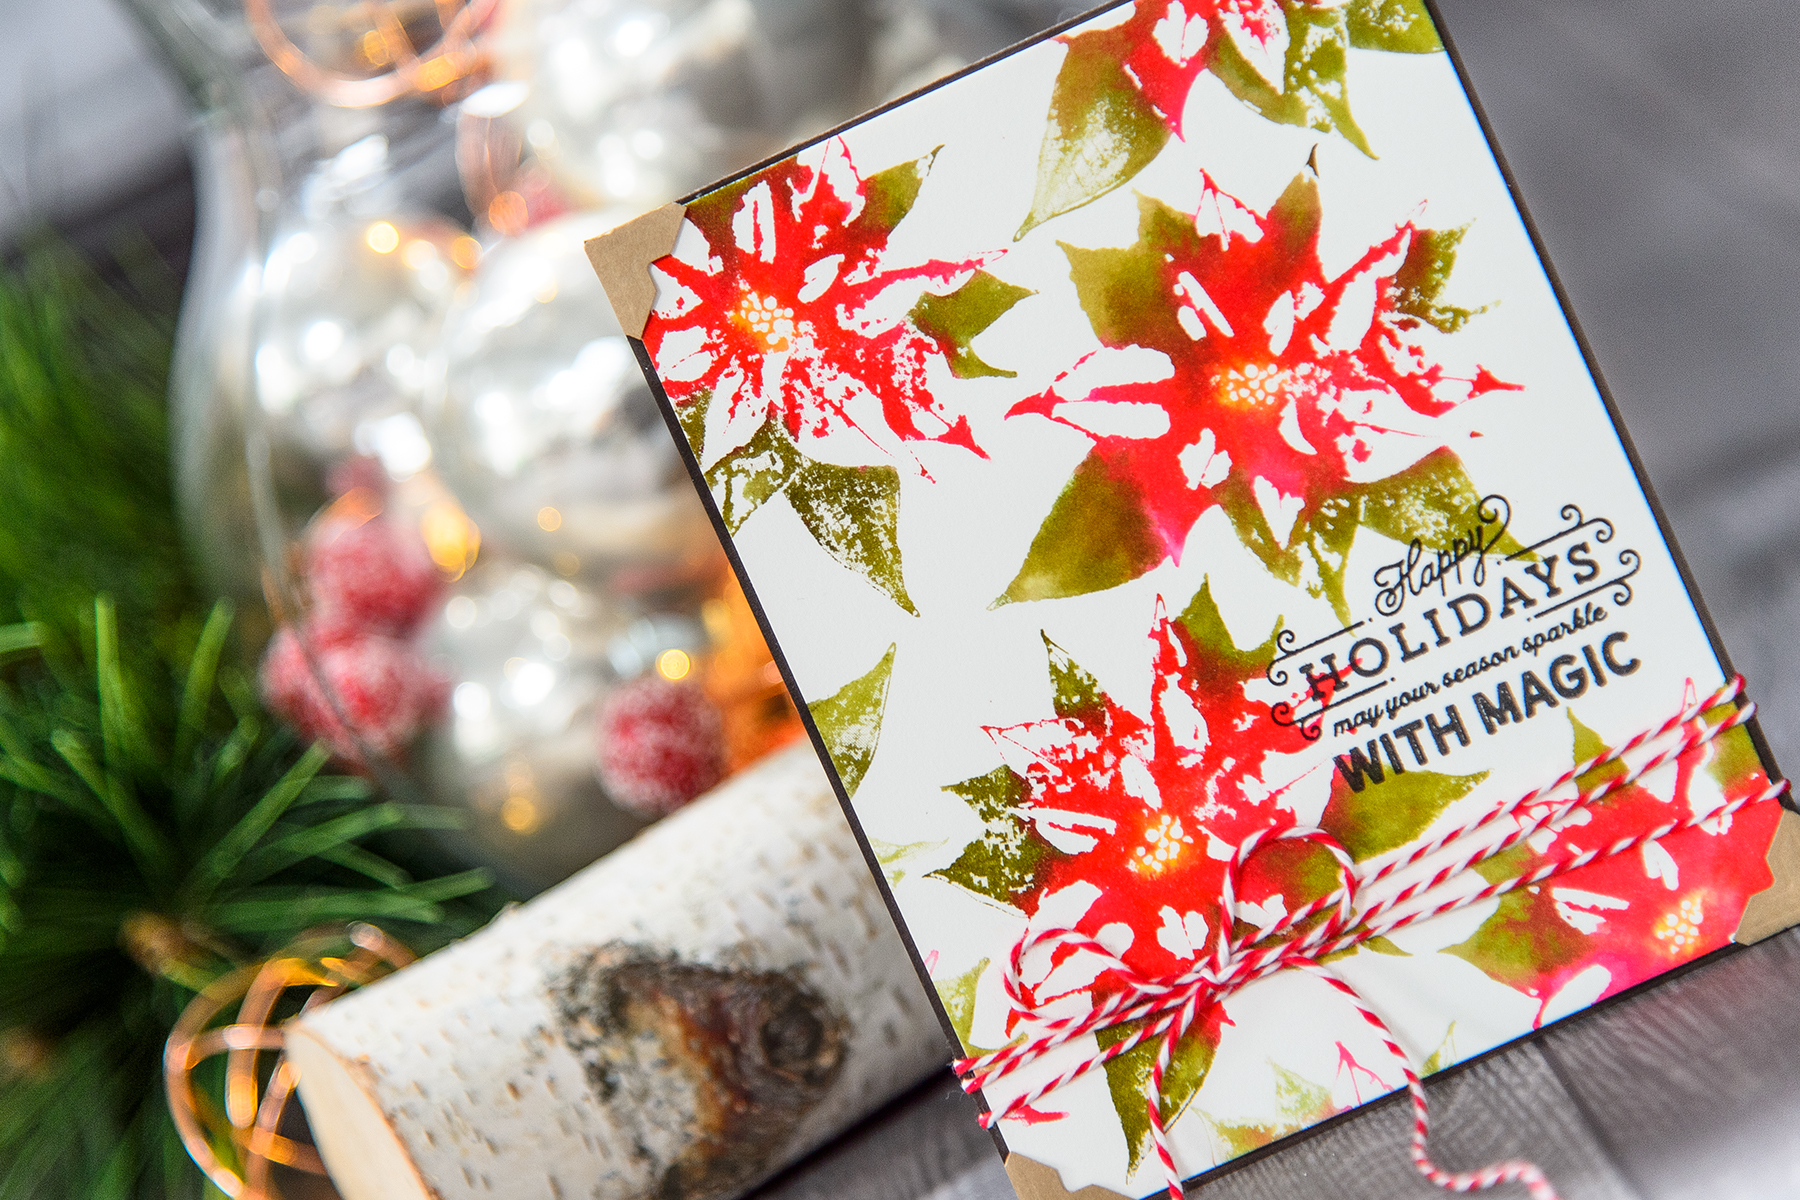
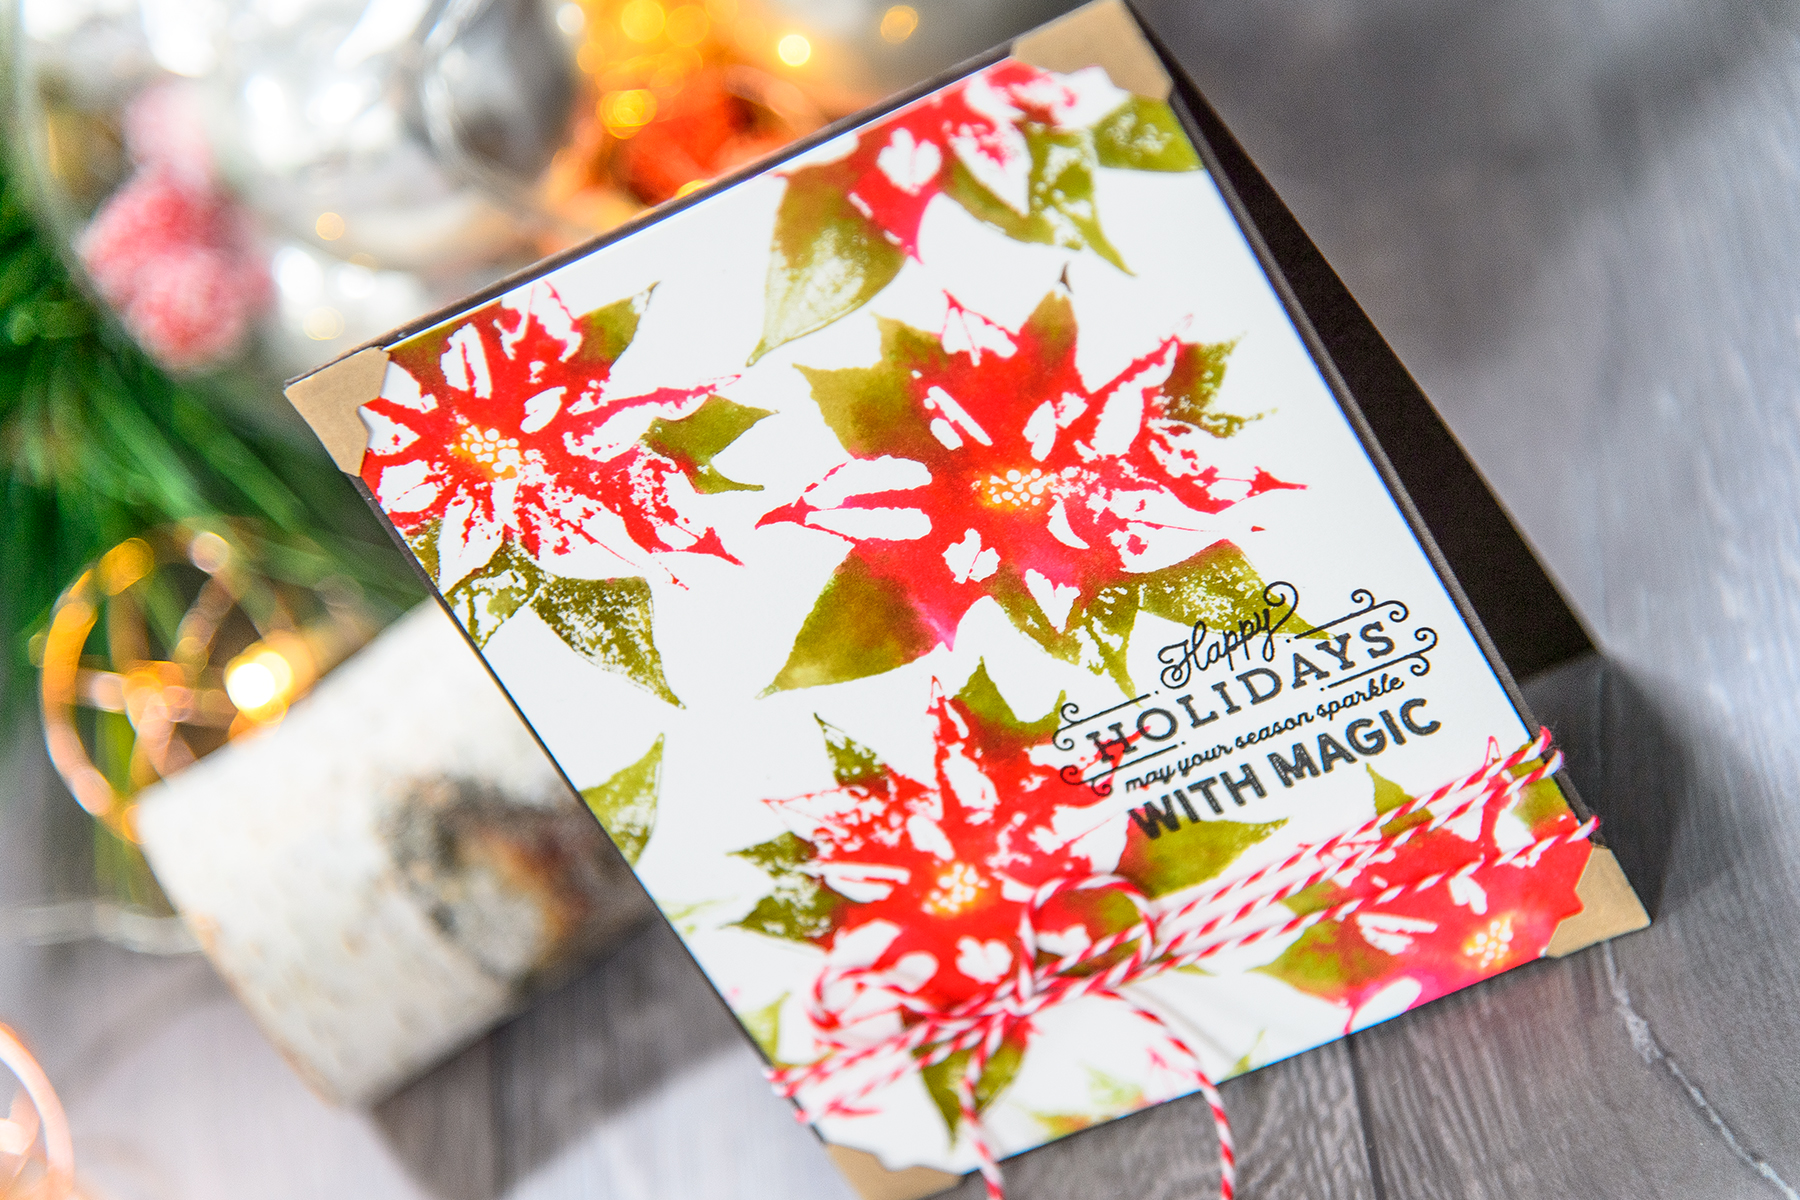
Faux Watercolor Stamping with Poinsettia Holiday 3D Shading Stamp. Video tutorial. Happy Holidays Card by Yana Smakula for Spellbinders #spellbinders #stamping #christmascard #fauxwatercolor

I started working on my project by stamping a sentiment in black ink. Pick one you like best and stamp it somewhere onto your panel. I stamped mine slightly off the right. I need to mention that you will need to use specialty ink and paper for this project. I used Arches Hot Pressed watercolor paper - this is high quality smooth watercolor paper. Make sure to use watercolor paper and not regular paper as you'l be adding lots of water and the paper must be able to handle all of that water. As for the ink I used Tsukineko Versafine Onyx black ink - this is waterproof ink, any other waterproof ink will work for this.

Faux Watercolor Stamping with Poinsettia Holiday 3D Shading Stamp. Video tutorial. Happy Holidays Card by Yana Smakula for Spellbinders #spellbinders #stamping #christmascard #fauxwatercolor

Once you have your sentiment in place go ahead and start working on the background. I decided to use Zig Clean Color Real Brush Markers in Mid Green, Olive Green and Carmine Red to color this image (any watercolor markers can be used for this technique). I will say it is a bit difficult to figure out which sections of the image need to be colored green (leaves) and which sections need to be colored red (petals). It is helpful to stamp this image in black onto a piece of scrap paper to make it easier to see which sections need to be green and which red.

Faux Watercolor Stamping with Poinsettia Holiday 3D Shading Stamp. Video tutorial. Happy Holidays Card by Yana Smakula for Spellbinders #spellbinders #stamping #christmascard #fauxwatercolor

Next, I sprayed my image with water - not too much, but not too little, and again this is where practice makes perfect; do make a few test impressions and count how many times you spritzed your stamp to remember how much water you need to have the look you like. I placed my stamp onto paper and let it sit there for several seconds, this gave the ink some time to transfer onto the paper. You can press down a bit, no need to press too hard. The beautify of this technique is that no matter what you do - no two images will ever look the same, there will be slight variations to each. I repeated inking and stamping my poinsettias until my background was complete.

Faux Watercolor Stamping with Poinsettia Holiday 3D Shading Stamp. Video tutorial. Happy Holidays Card by Yana Smakula for Spellbinders #spellbinders #stamping #christmascard #fauxwatercolor

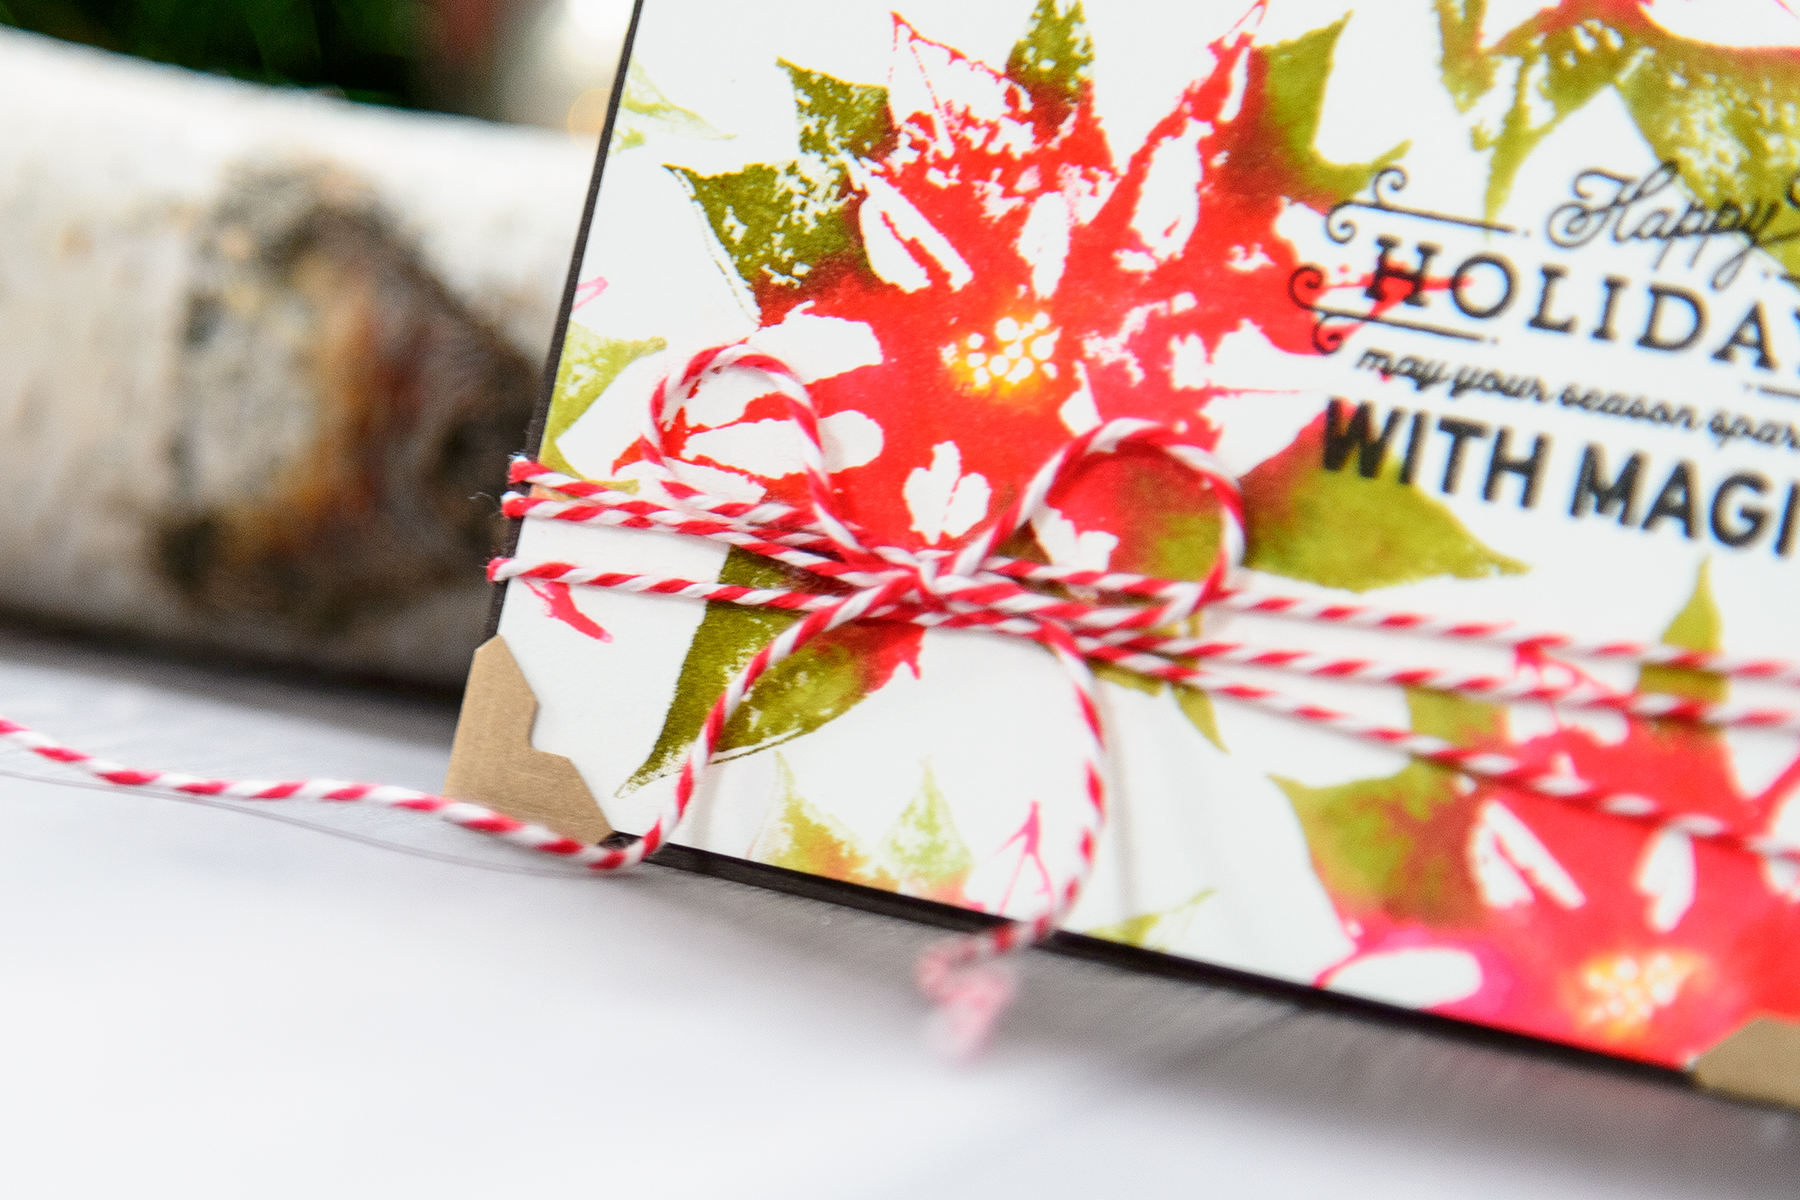
  After my background was done I let it dry and trimmed it to 4 ⅛ x 5 ⅜”.  I made an A2 top folding card base out of brown cardstock and adhered my stamped panel onto it using brown photo corners. Finally, I embellished my card using red and white twine.

Step By Step Instructions:

We have a full set of step by step instructions describing how to create this card.
  • Cut watercolor paper to 4 ⅛ x 5 ⅜”.
  • Stamp sentiment in black ink.
  • Color poinsettia stamp with markers. Mist with water, stamp onto watercolor paper. Let the stamp sit on paper for a few seconds to give ink time to transfer.
  • Repeat stamping poinsettias to fill in the entire background.
  • Create 4 ¼ x 5 ½ “ top folding card base out of brown cardstock
  • Affix poinsettia panel onto card base with the help of photo corners.
  • Wrap twine 3 times around the card, time into a bow.

Video tutorial:

Watch video tutorial below or on Youtube to learn how to make this project:

Spellbinders Supplies:

Other Supplies:

Cardstock: Simon Says Stamp Dark Chocolate Cardstock; Arches Hot Pressed Watercolor Paper; Tsukineko Versafine Onyx Black Ink; Zig Clean Color Real Brush Markers (046 Mid Green, 043 Olive Green, 022 Carmine Red); Scrapbook Adhesives Creative Photo Corners in Natural; Doodlebug Ladybug Twine; Mama Elephant Retro Holiday Labels Clear Stamp; Ranger Mister Water Bottle. Have you ever tried this technique? Are you excited to try? Do let me know in the comments below. And have fun stamping!

Faux Watercolor Stamping with Poinsettia Holiday 3D Shading Stamp. Video tutorial. Happy Holidays Card by Yana Smakula for Spellbinders #spellbinders #stamping #christmascard #fauxwatercolor

Read more

Video: Faux Watercolor Stamping with Poinsettia Holiday 3D Shading Stamp

Video: Faux Watercolor Stamping with Poinsettia Holiday 3D Shading Stamp

Hello there! You all know Spellbinders for our dies, but we also have a big assortment of beautiful, unique stamps! This is Yana Smakula and today I have a Faux Watercolor Poinsettia Background video tutorial to share using our Poinsettia 3D Shading stamp. This really is a very easy card to make and the more you practice - the better your result will be. It might look intimidating at first, but believe me - this is an easy project to make and it doesn’t take more than 20 minutes to stamp.

Faux Watercolor Stamping with Poinsettia Holiday 3D Shading Stamp. Video tutorial. Happy Holidays Card by Yana Smakula for Spellbinders #spellbinders #stamping #christmascard #fauxwatercolor

I started working on my project by stamping a sentiment in black ink. Pick one you like best and stamp it somewhere onto your panel. I stamped mine slightly off the right. I need to mention that you will need to use specialty ink and paper for this project. I used Arches Hot Pressed watercolor paper - this is high quality smooth watercolor paper. Make sure to use watercolor paper and not regular paper as you'l be adding lots of water and the paper must be able to handle all of that water. As for the ink I used Tsukineko Versafine Onyx black ink - this is waterproof ink, any other waterproof ink will work for this.

Faux Watercolor Stamping with Poinsettia Holiday 3D Shading Stamp. Video tutorial. Happy Holidays Card by Yana Smakula for Spellbinders #spellbinders #stamping #christmascard #fauxwatercolor

Once you have your sentiment in place go ahead and start working on the background. I decided to use Zig Clean Color Real Brush Markers in Mid Green, Olive Green and Carmine Red to color this image (any watercolor markers can be used for this technique). I will say it is a bit difficult to figure out which sections of the image need to be colored green (leaves) and which sections need to be colored red (petals). It is helpful to stamp this image in black onto a piece of scrap paper to make it easier to see which sections need to be green and which red.

Faux Watercolor Stamping with Poinsettia Holiday 3D Shading Stamp. Video tutorial. Happy Holidays Card by Yana Smakula for Spellbinders #spellbinders #stamping #christmascard #fauxwatercolor

Next, I sprayed my image with water - not too much, but not too little, and again this is where practice makes perfect; do make a few test impressions and count how many times you spritzed your stamp to remember how much water you need to have the look you like. I placed my stamp onto paper and let it sit there for several seconds, this gave the ink some time to transfer onto the paper. You can press down a bit, no need to press too hard. The beautify of this technique is that no matter what you do - no two images will ever look the same, there will be slight variations to each. I repeated inking and stamping my poinsettias until my background was complete.

Faux Watercolor Stamping with Poinsettia Holiday 3D Shading Stamp. Video tutorial. Happy Holidays Card by Yana Smakula for Spellbinders #spellbinders #stamping #christmascard #fauxwatercolor

  After my background was done I let it dry and trimmed it to 4 ⅛ x 5 ⅜”.  I made an A2 top folding card base out of brown cardstock and adhered my stamped panel onto it using brown photo corners. Finally, I embellished my card using red and white twine.

Step By Step Instructions:

We have a full set of step by step instructions describing how to create this card.
  • Cut watercolor paper to 4 ⅛ x 5 ⅜”.
  • Stamp sentiment in black ink.
  • Color poinsettia stamp with markers. Mist with water, stamp onto watercolor paper. Let the stamp sit on paper for a few seconds to give ink time to transfer.
  • Repeat stamping poinsettias to fill in the entire background.
  • Create 4 ¼ x 5 ½ “ top folding card base out of brown cardstock
  • Affix poinsettia panel onto card base with the help of photo corners.
  • Wrap twine 3 times around the card, time into a bow.

Video tutorial:

Watch video tutorial below or on Youtube to learn how to make this project:

Spellbinders Supplies:

Other Supplies:

Cardstock: Simon Says Stamp Dark Chocolate Cardstock; Arches Hot Pressed Watercolor Paper; Tsukineko Versafine Onyx Black Ink; Zig Clean Color Real Brush Markers (046 Mid Green, 043 Olive Green, 022 Carmine Red); Scrapbook Adhesives Creative Photo Corners in Natural; Doodlebug Ladybug Twine; Mama Elephant Retro Holiday Labels Clear Stamp; Ranger Mister Water Bottle. Have you ever tried this technique? Are you excited to try? Do let me know in the comments below. And have fun stamping!

Faux Watercolor Stamping with Poinsettia Holiday 3D Shading Stamp. Video tutorial. Happy Holidays Card by Yana Smakula for Spellbinders #spellbinders #stamping #christmascard #fauxwatercolor

Read more