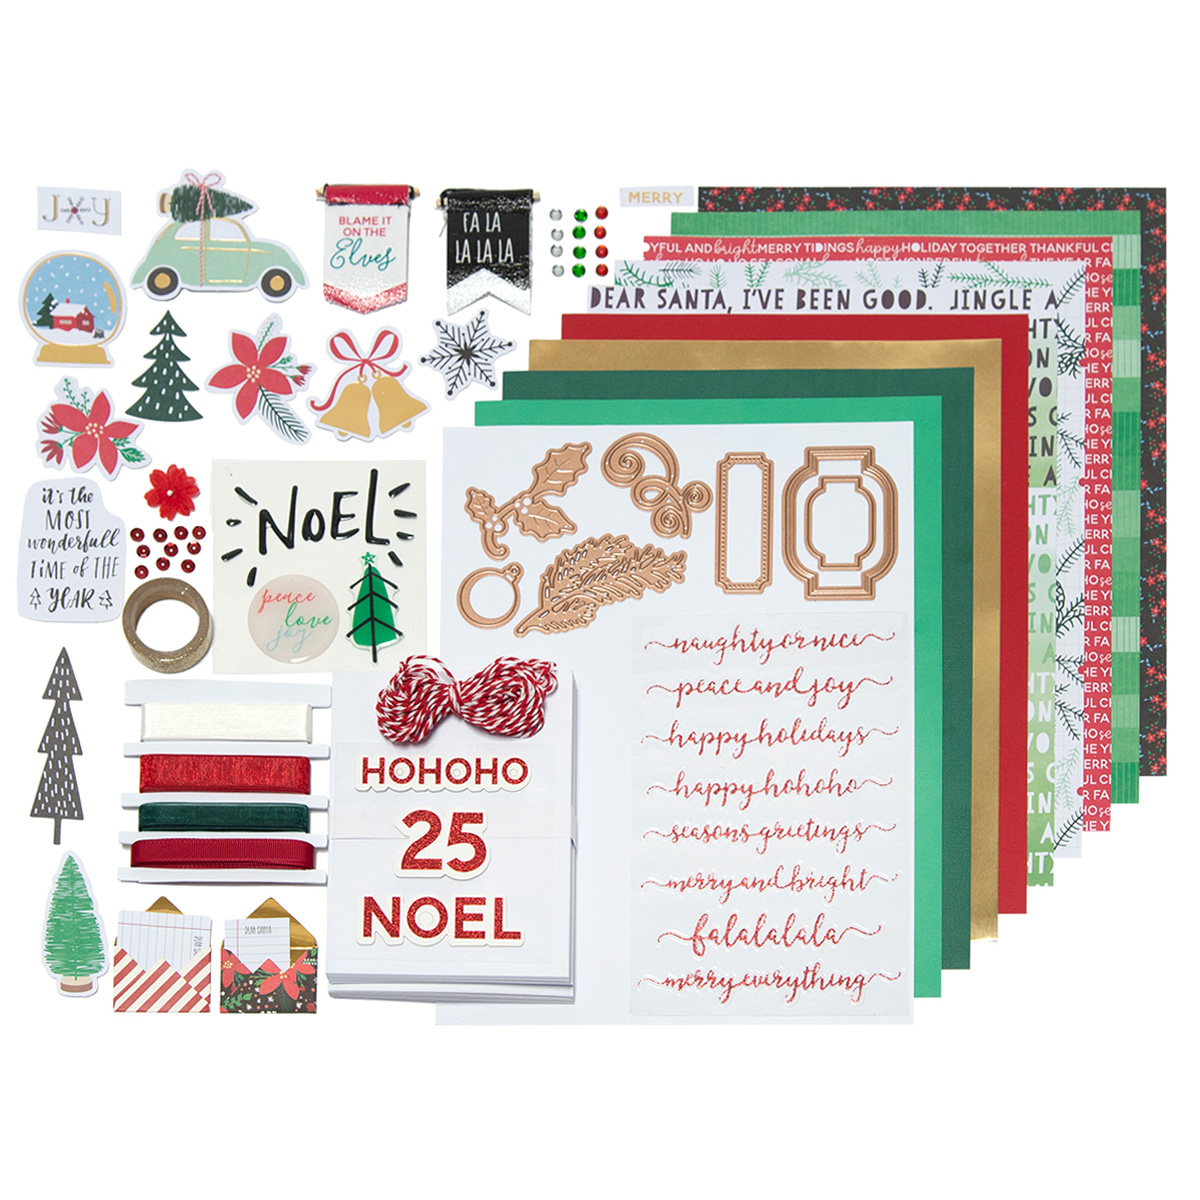
Our November Card Kit of the Month is here! This kit, like any other of our Card Kits, gives you everything you need to create 10 unique cards and more.
Enjoy the step by step tutorial below as well as the video tutorial to get you started with this month’s kit! Make sure to show us what you create by tagging #SpellbindersClubKits on social media! This kit will be available November 1, 2017, make sure to get yours!
THIS KIT INCLUDES:
10 Cards & 10 Envelopes ; 10 Sheets of 8.5 x 11" Paper/Cardstock ; Set of 7 Dies ; 5 Colors of Ribbon & Twine; Sequins & Rhinestones; Die Cut Shapes & Embellishments; Sentiments & Stickers; Glitter washi tape; Sheet of Adhesive & Foam Dots.
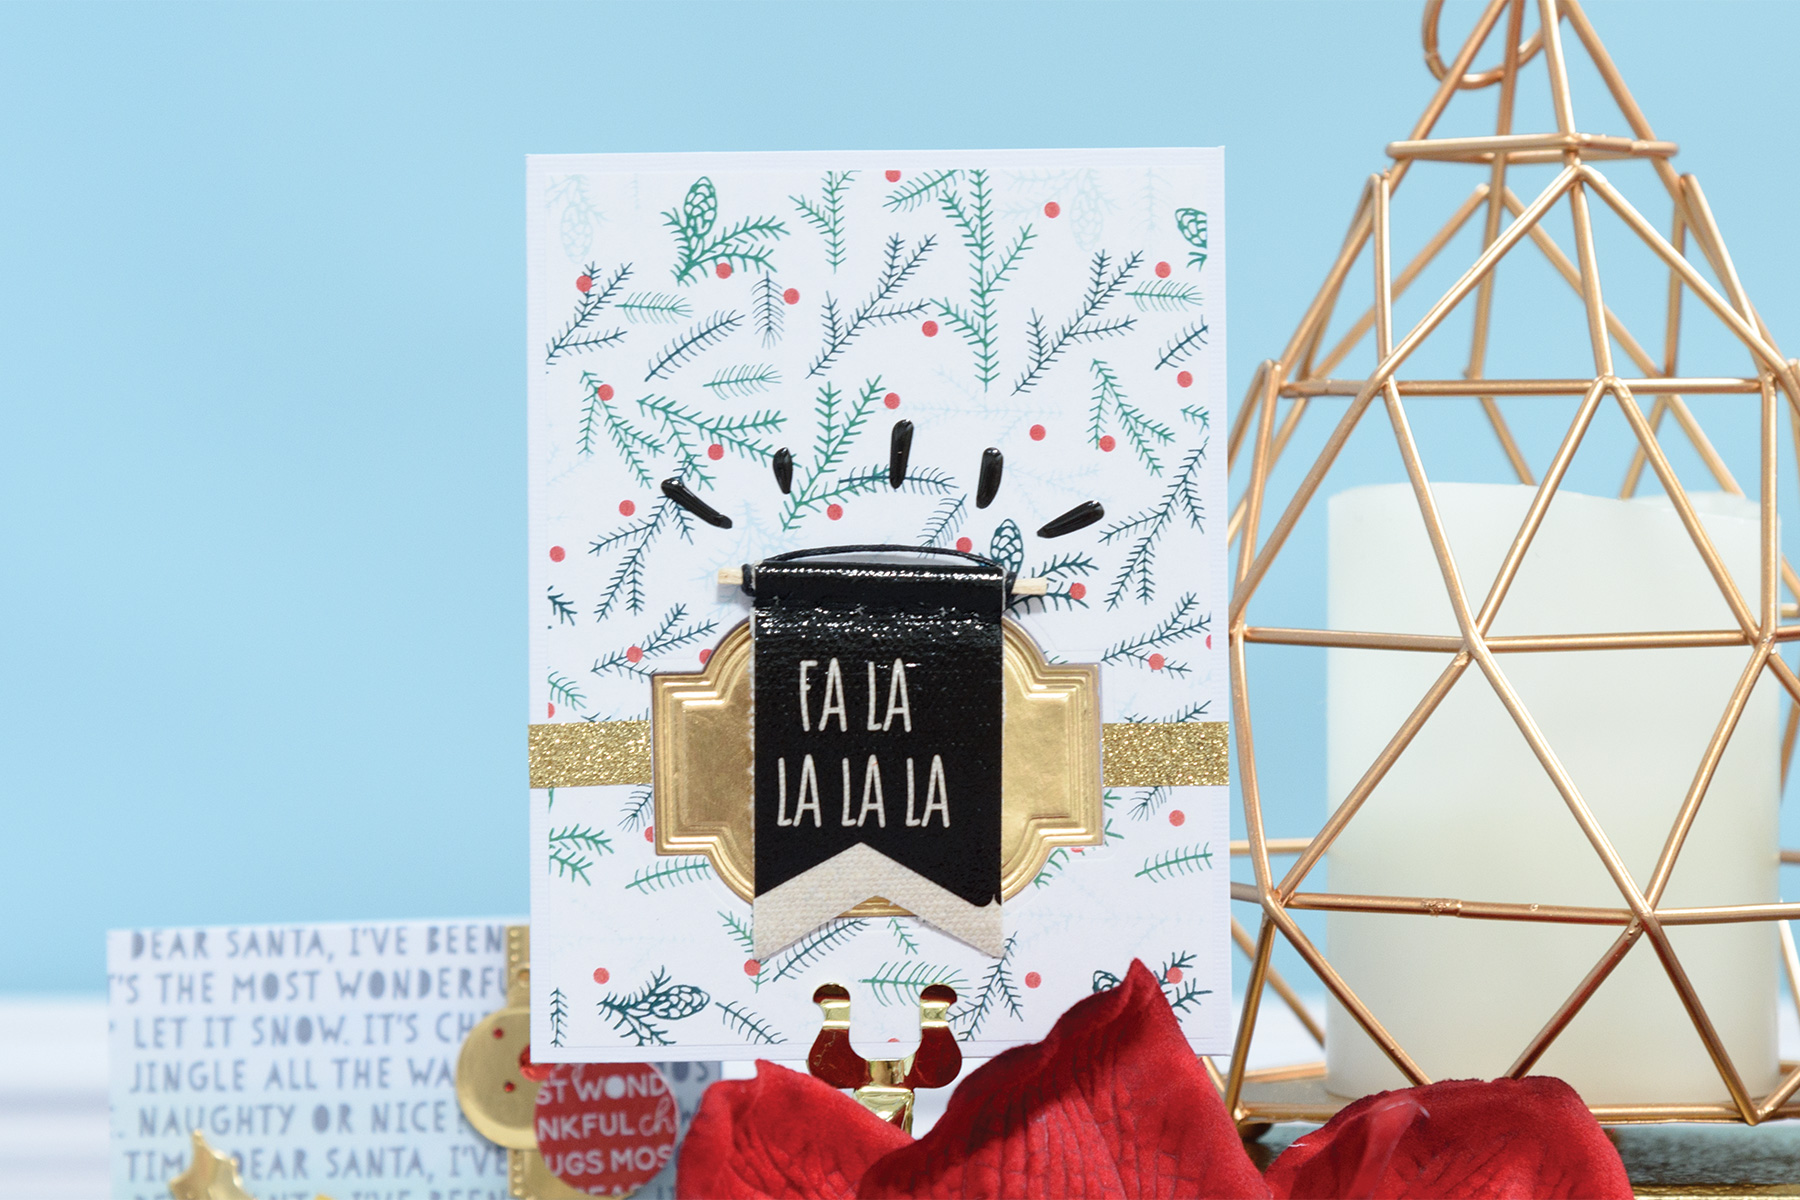
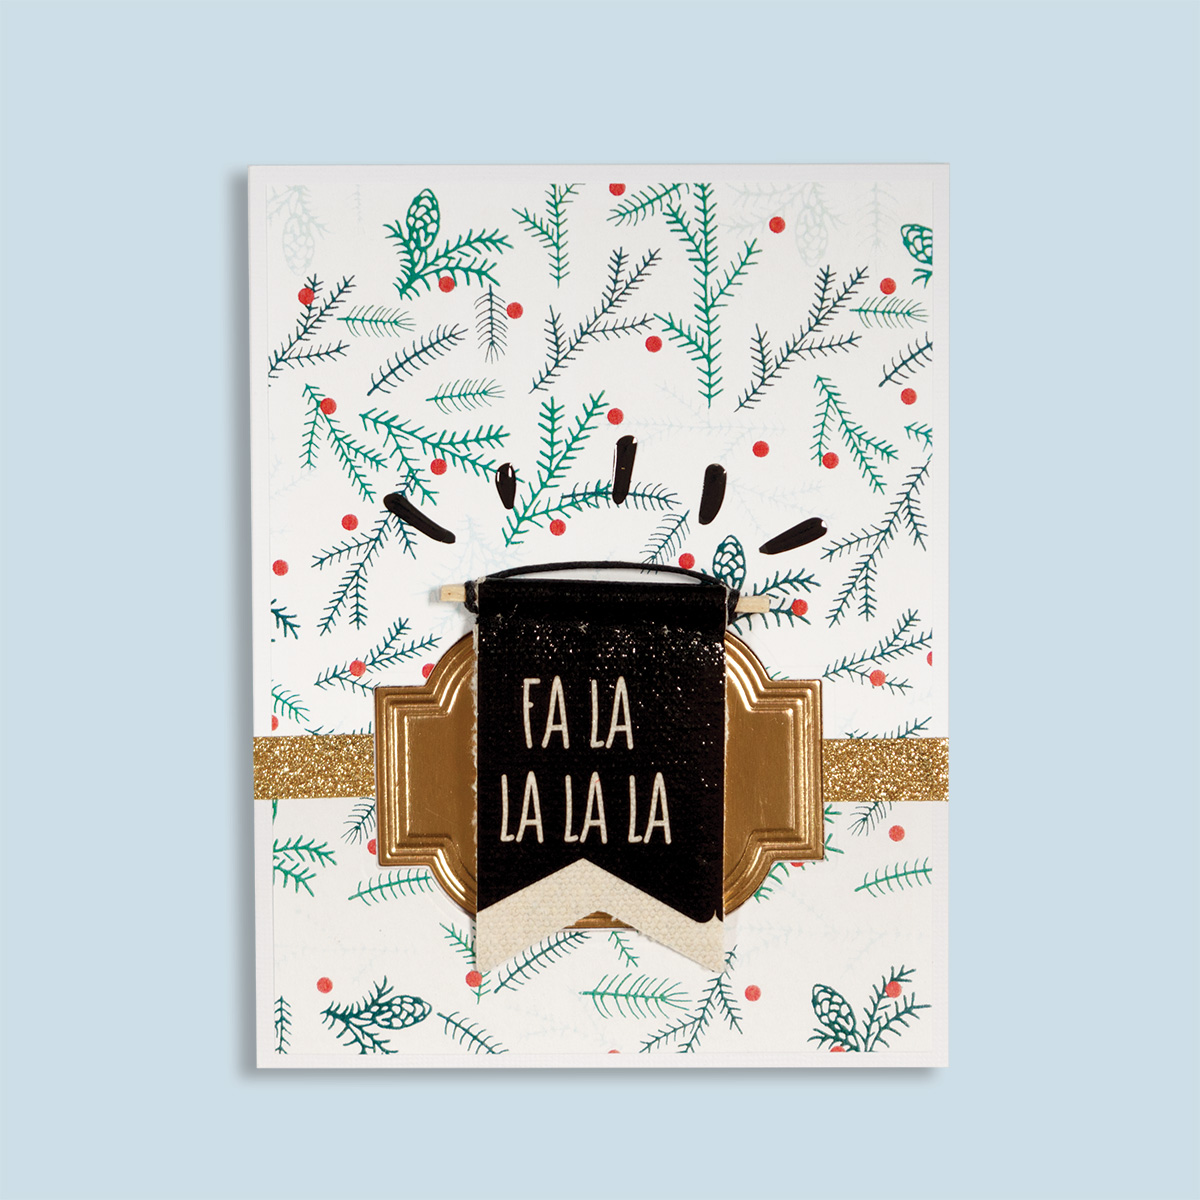
Fa La La La Card
Catch step by step instructions for this project:
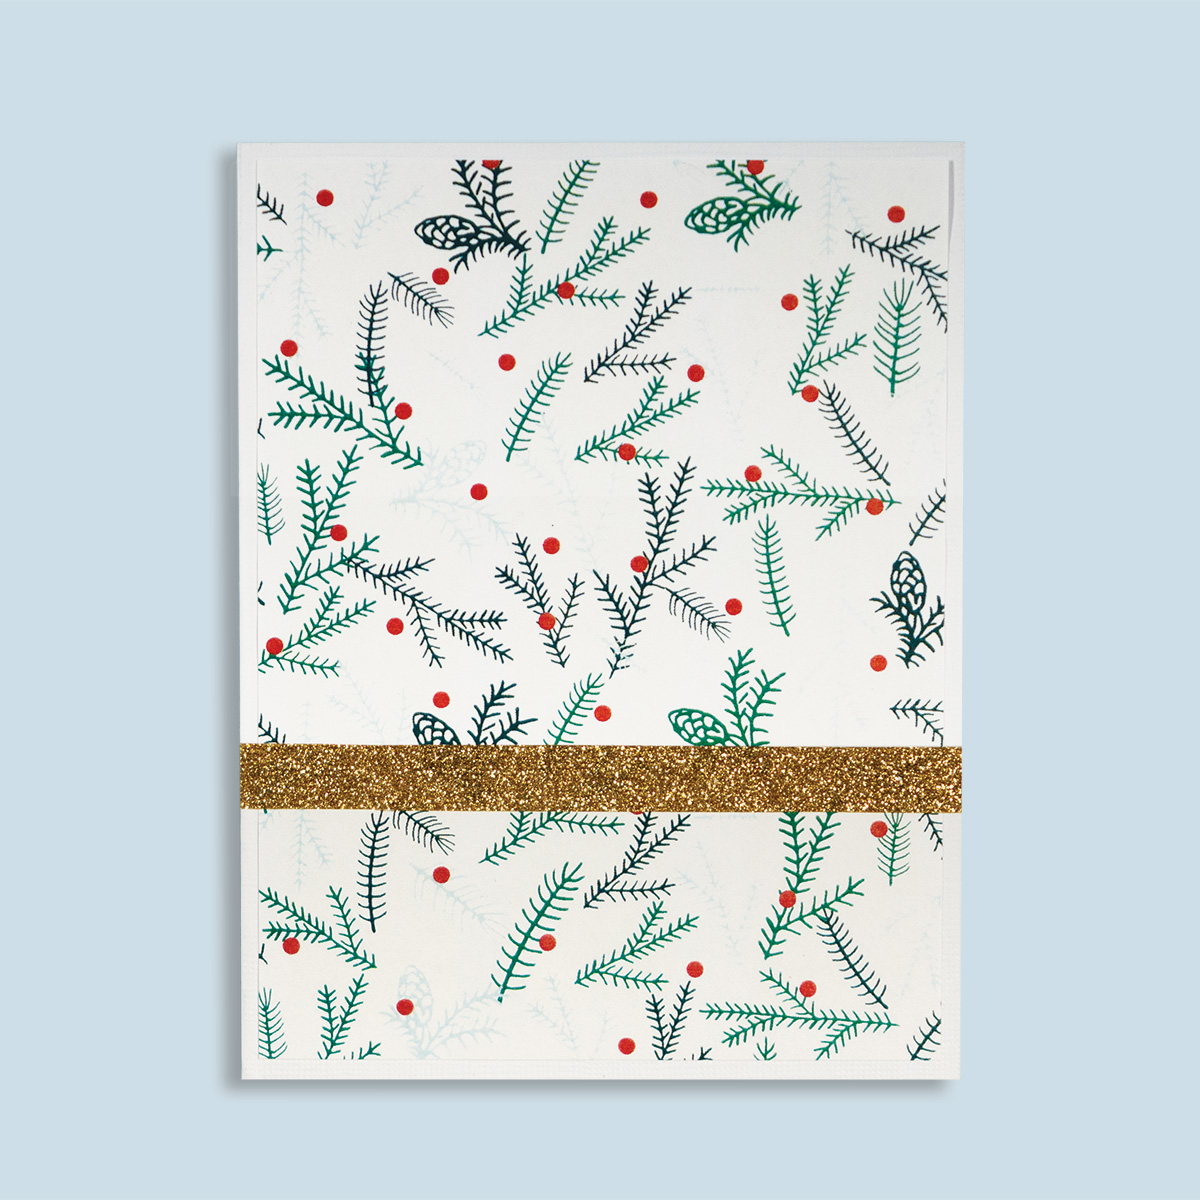
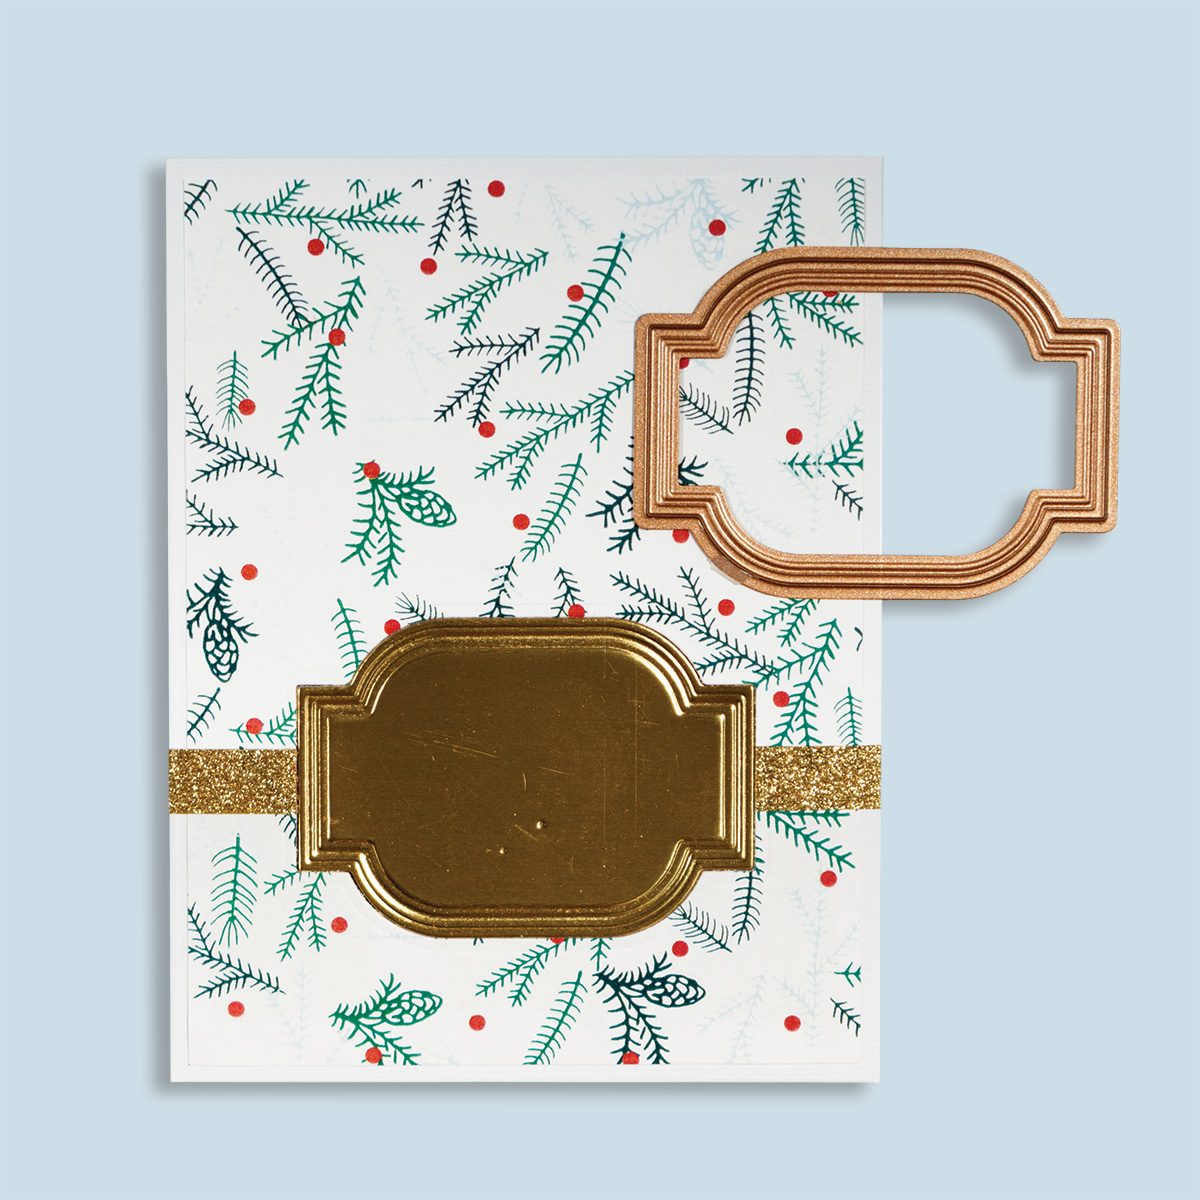
Step 1: Adhere patterned paper and gold tape onto the card base.
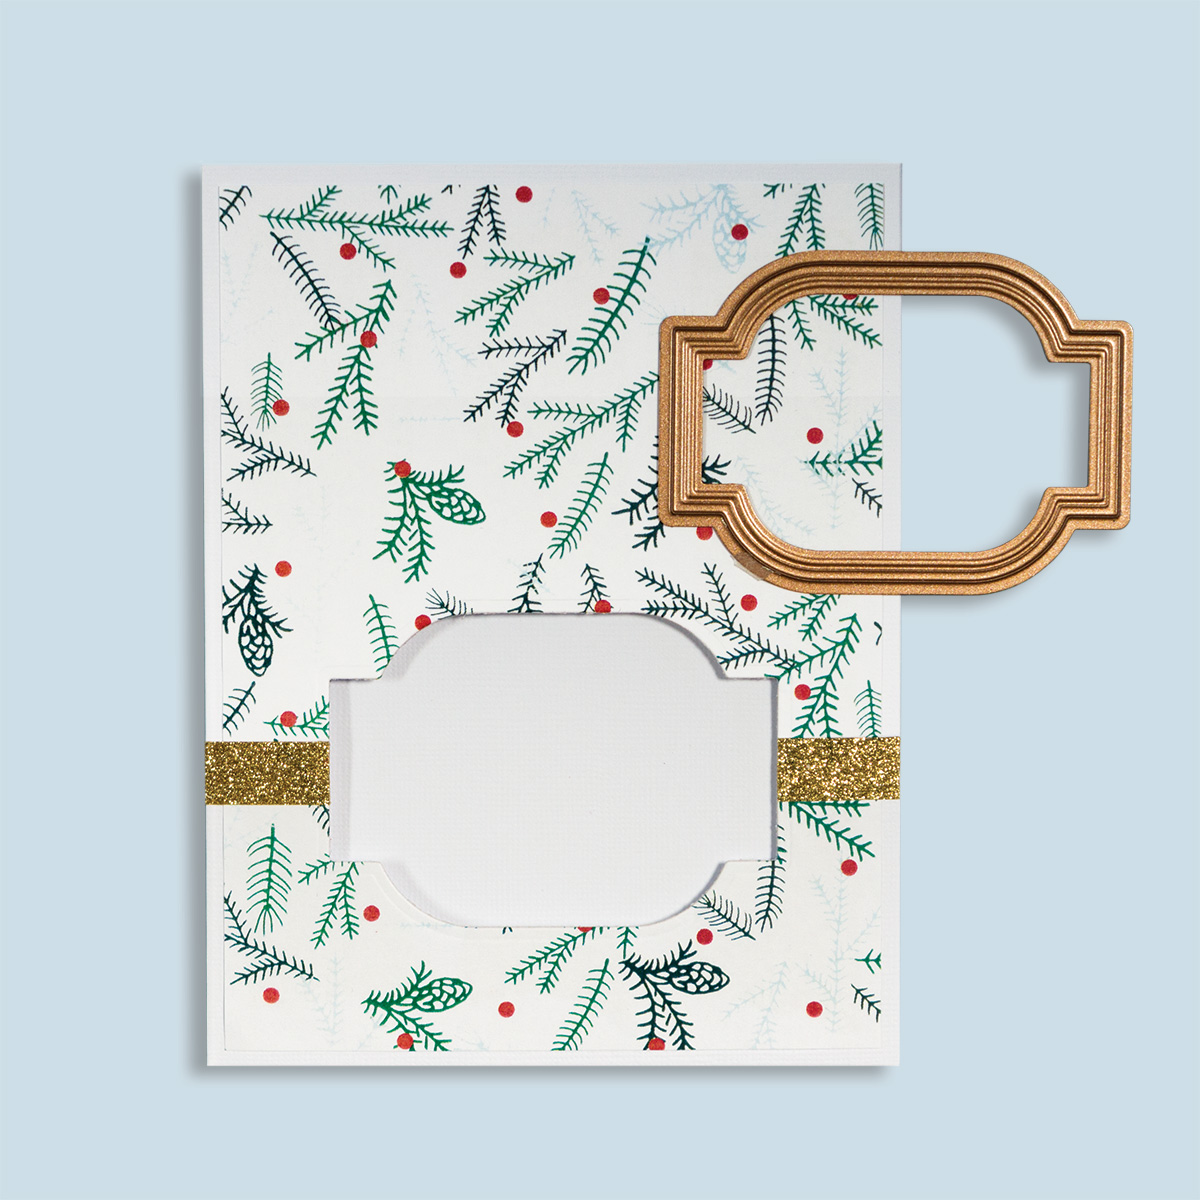
Step 2: Die-cut window in the front panel of the card base.
Step 3: Die-cut label out of gold foil yardstick. Adhere inside the window opening on the inside of the card.
Step 4: Embellish.
Video Tutorial – 25 Card
Watch video tutorial using this month kit below or on Youtube.
Additional inspiration
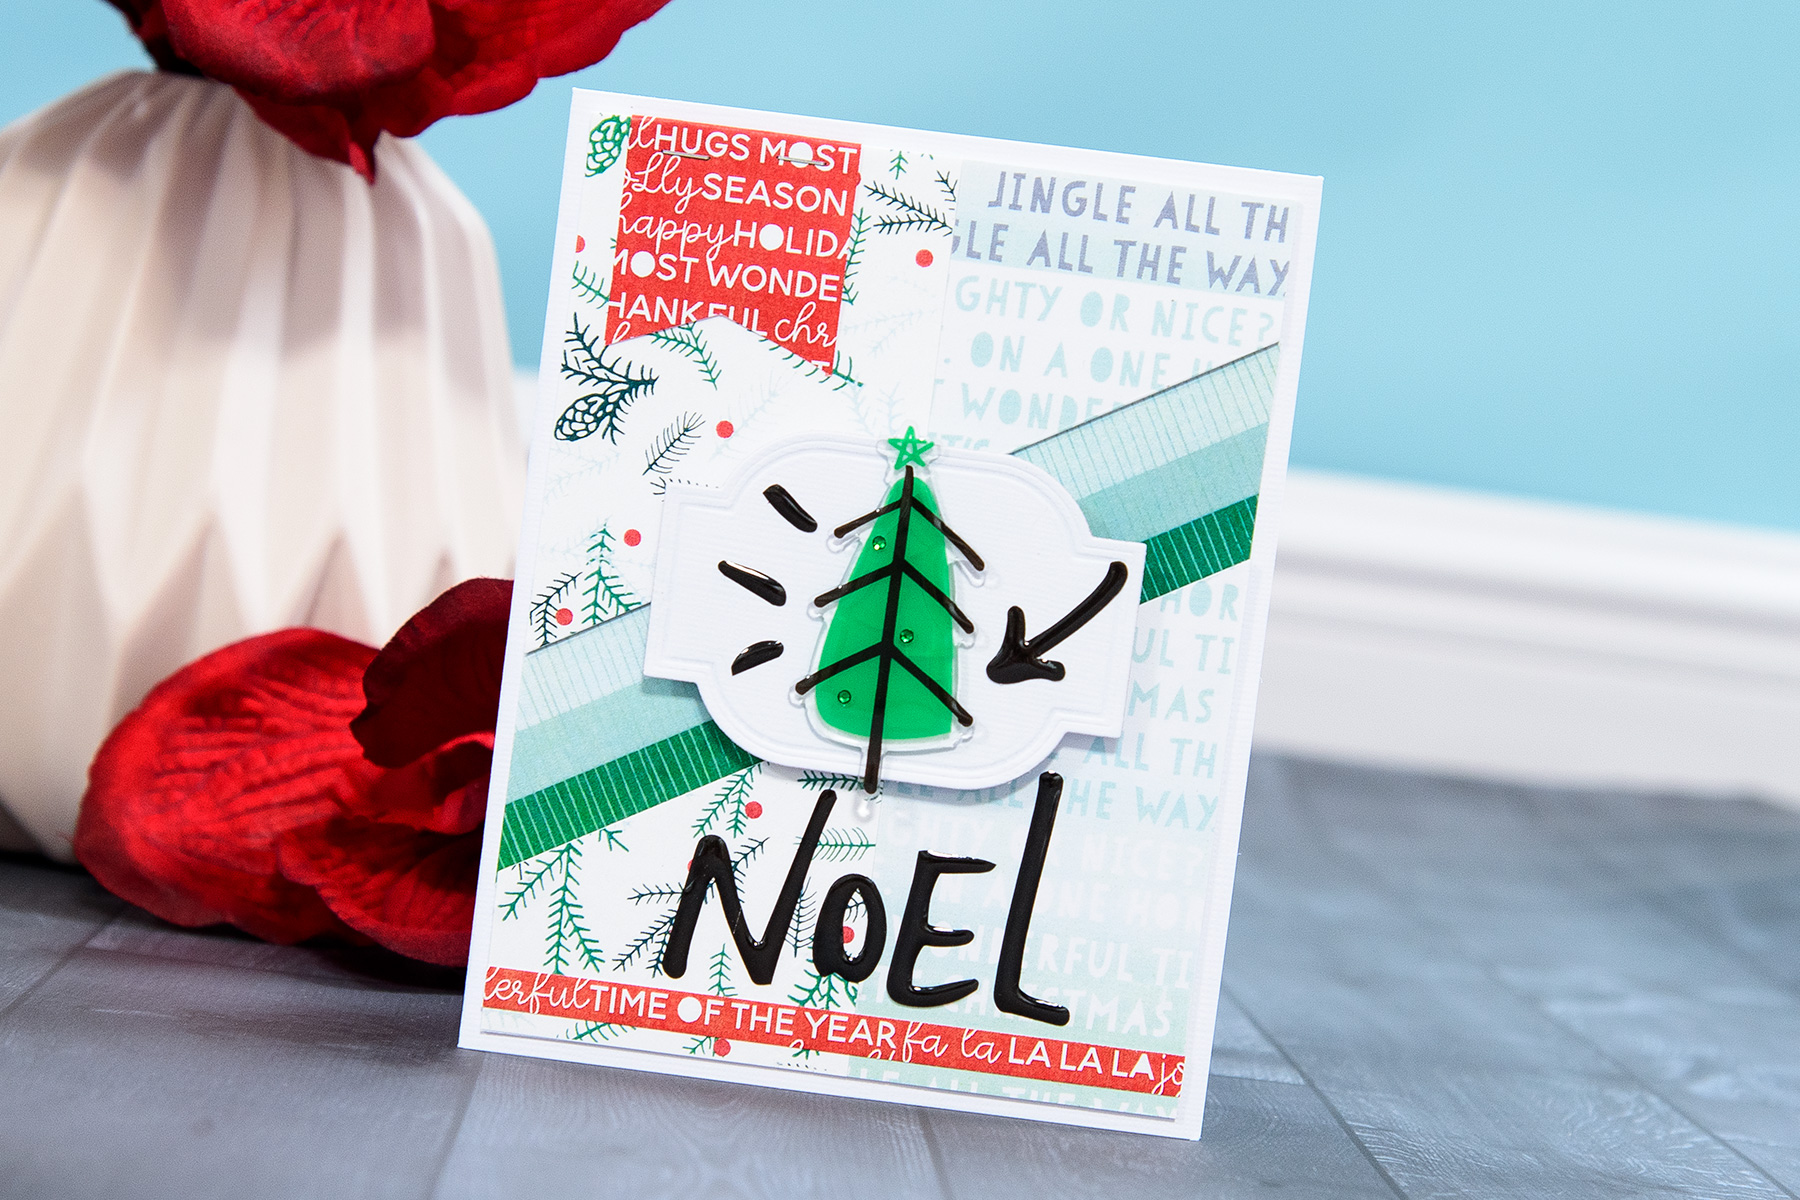
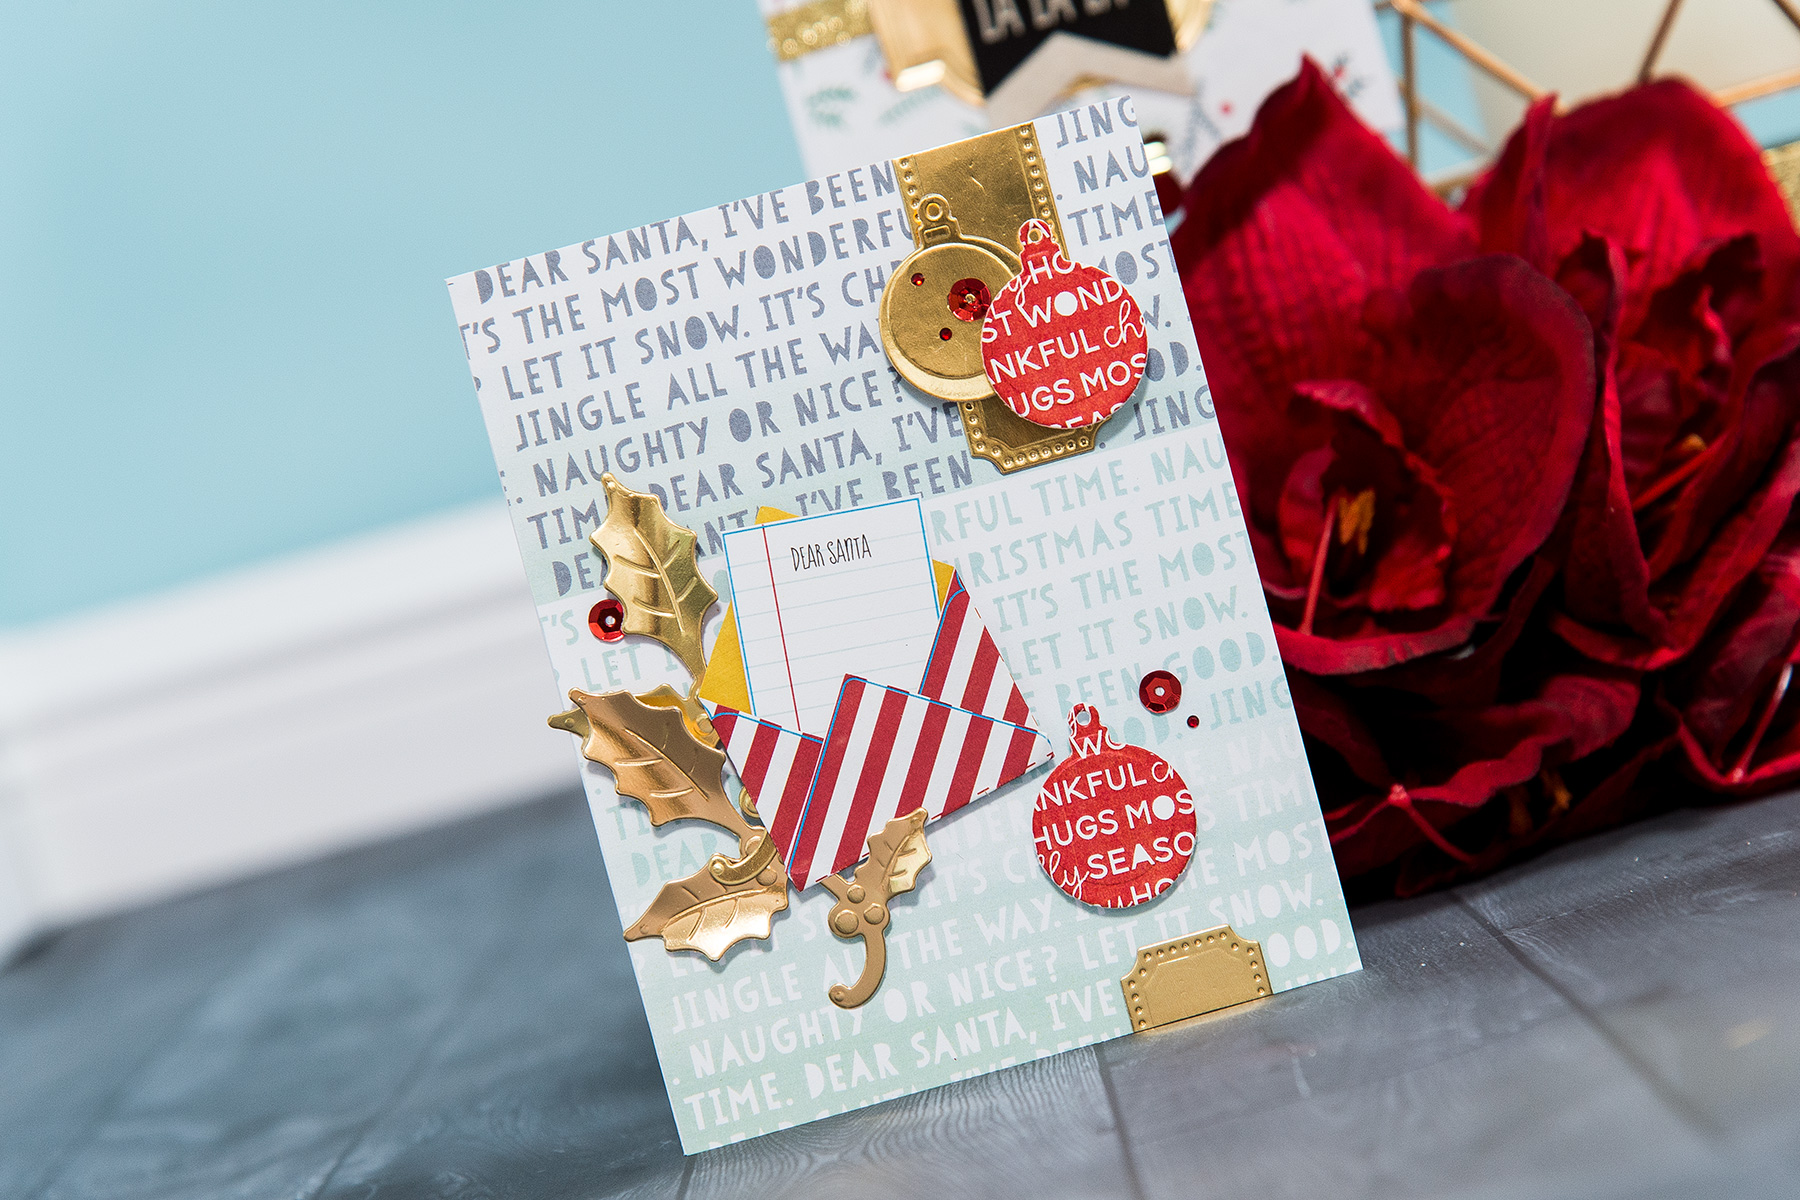
We have more than 3 projects to inspire you with this month, check out other card ideas created using November 2017 Card Kit:
Our November Card Kit of the Month is here! This kit, like any other of our Card Kits, gives you everything you need to create 10 unique cards and more.
Enjoy the step by step tutorial below as well as the video tutorial to get you started with this month’s kit! Make sure to show us what you create by tagging #SpellbindersClubKits on social media! This kit will be available November 1, 2017, make sure to get yours!
THIS KIT INCLUDES:
10 Cards & 10 Envelopes ; 10 Sheets of 8.5 x 11" Paper/Cardstock ; Set of 7 Dies ; 5 Colors of Ribbon & Twine; Sequins & Rhinestones; Die Cut Shapes & Embellishments; Sentiments & Stickers; Glitter washi tape; Sheet of Adhesive & Foam Dots.
Fa La La La Card
Catch step by step instructions for this project:
Step 1: Adhere patterned paper and gold tape onto the card base.
Step 2: Die-cut window in the front panel of the card base.
Step 3: Die-cut label out of gold foil yardstick. Adhere inside the window opening on the inside of the card.
Step 4: Embellish.
Video Tutorial – 25 Card
Watch video tutorial using this month kit below or on Youtube.
Additional inspiration
We have more than 3 projects to inspire you with this month, check out other card ideas created using November 2017 Card Kit:
Quick Technique is all about sharing simple projects using our products and showcasing fun and fresh techniques! We hope you’ll love this new installment on our blog and will give some (or possibly all?) of these techniques a try!
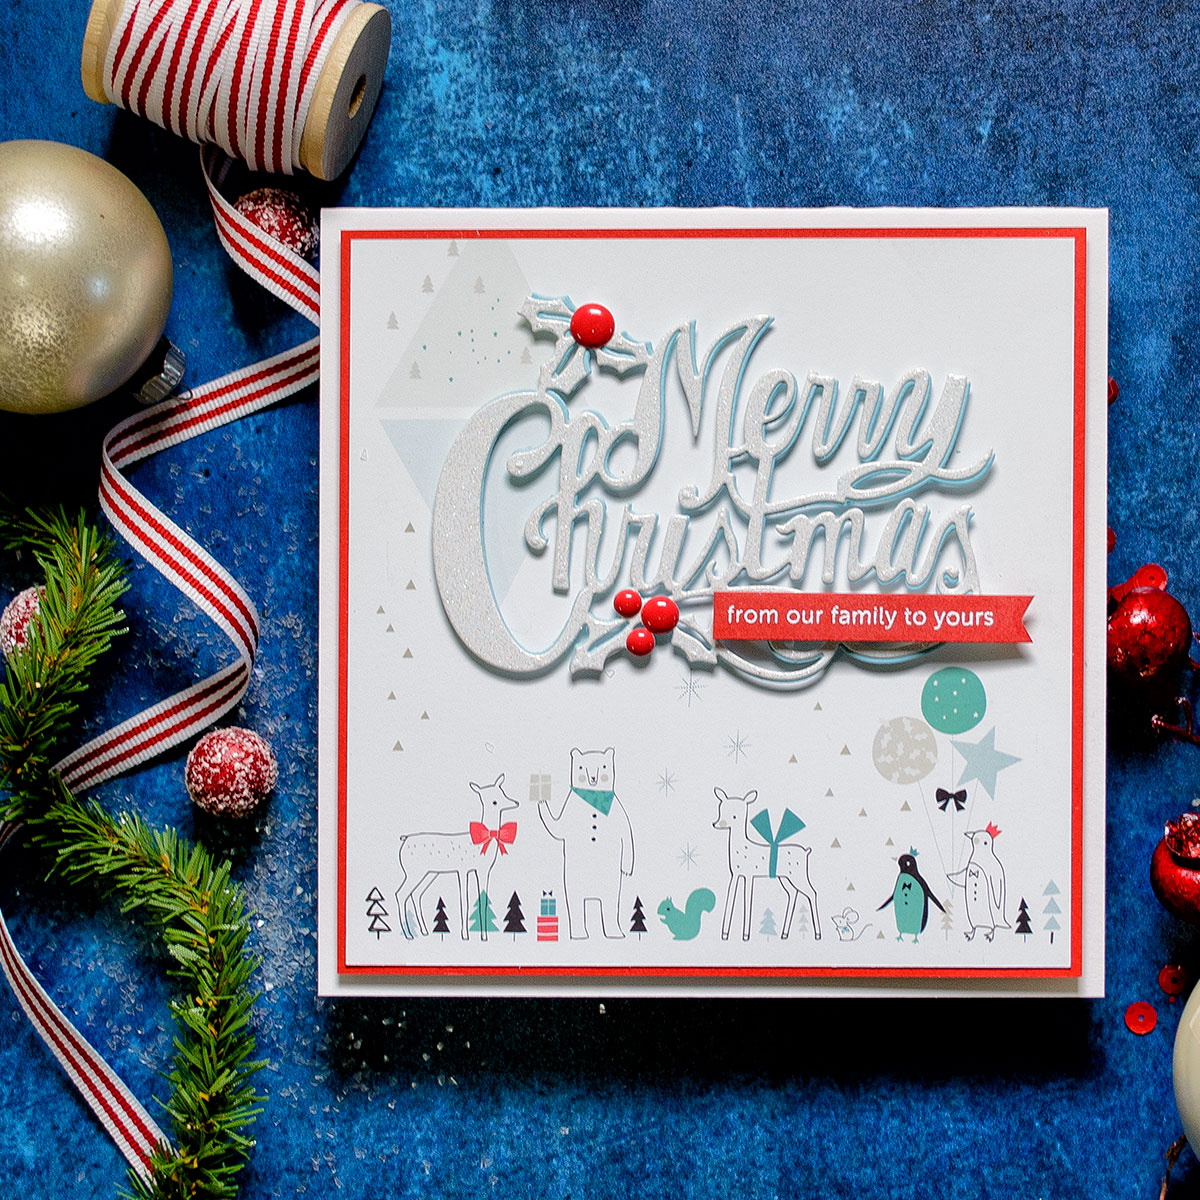
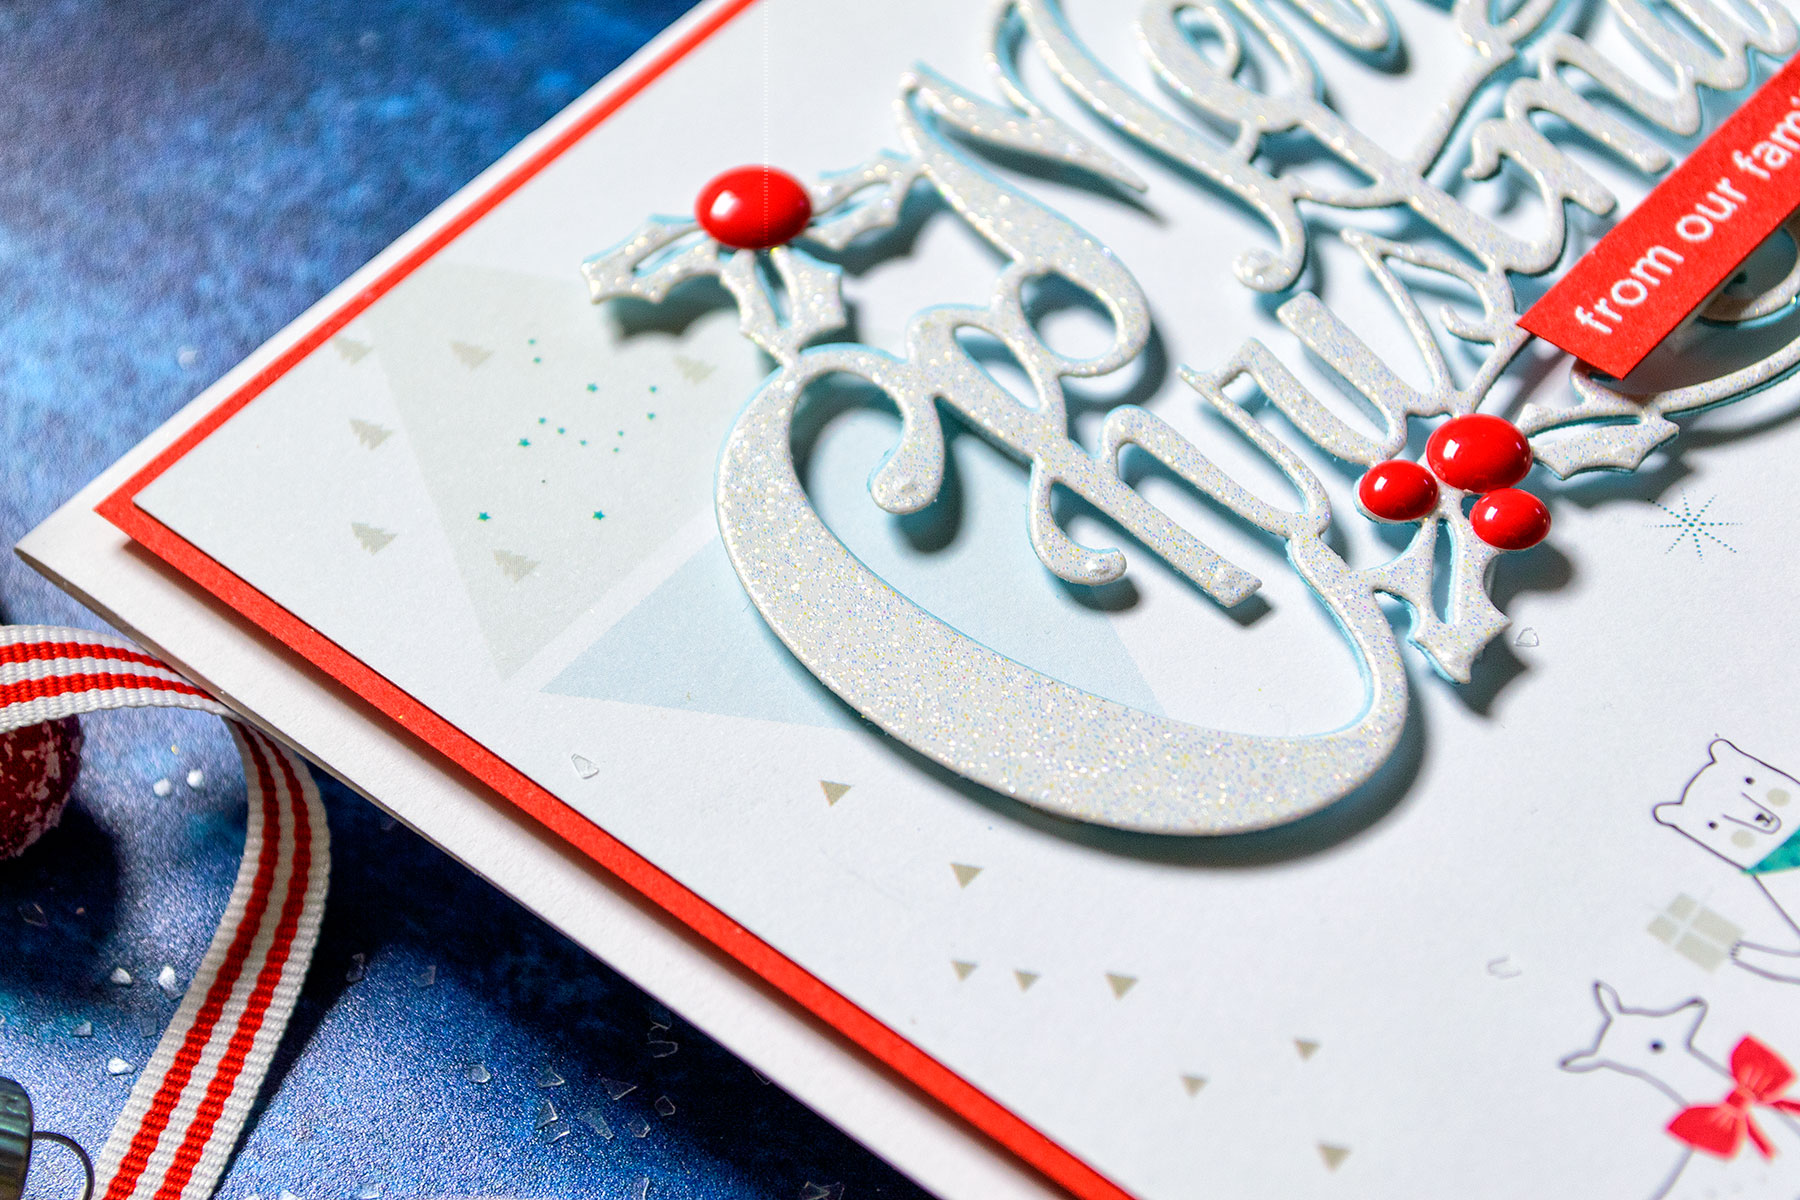
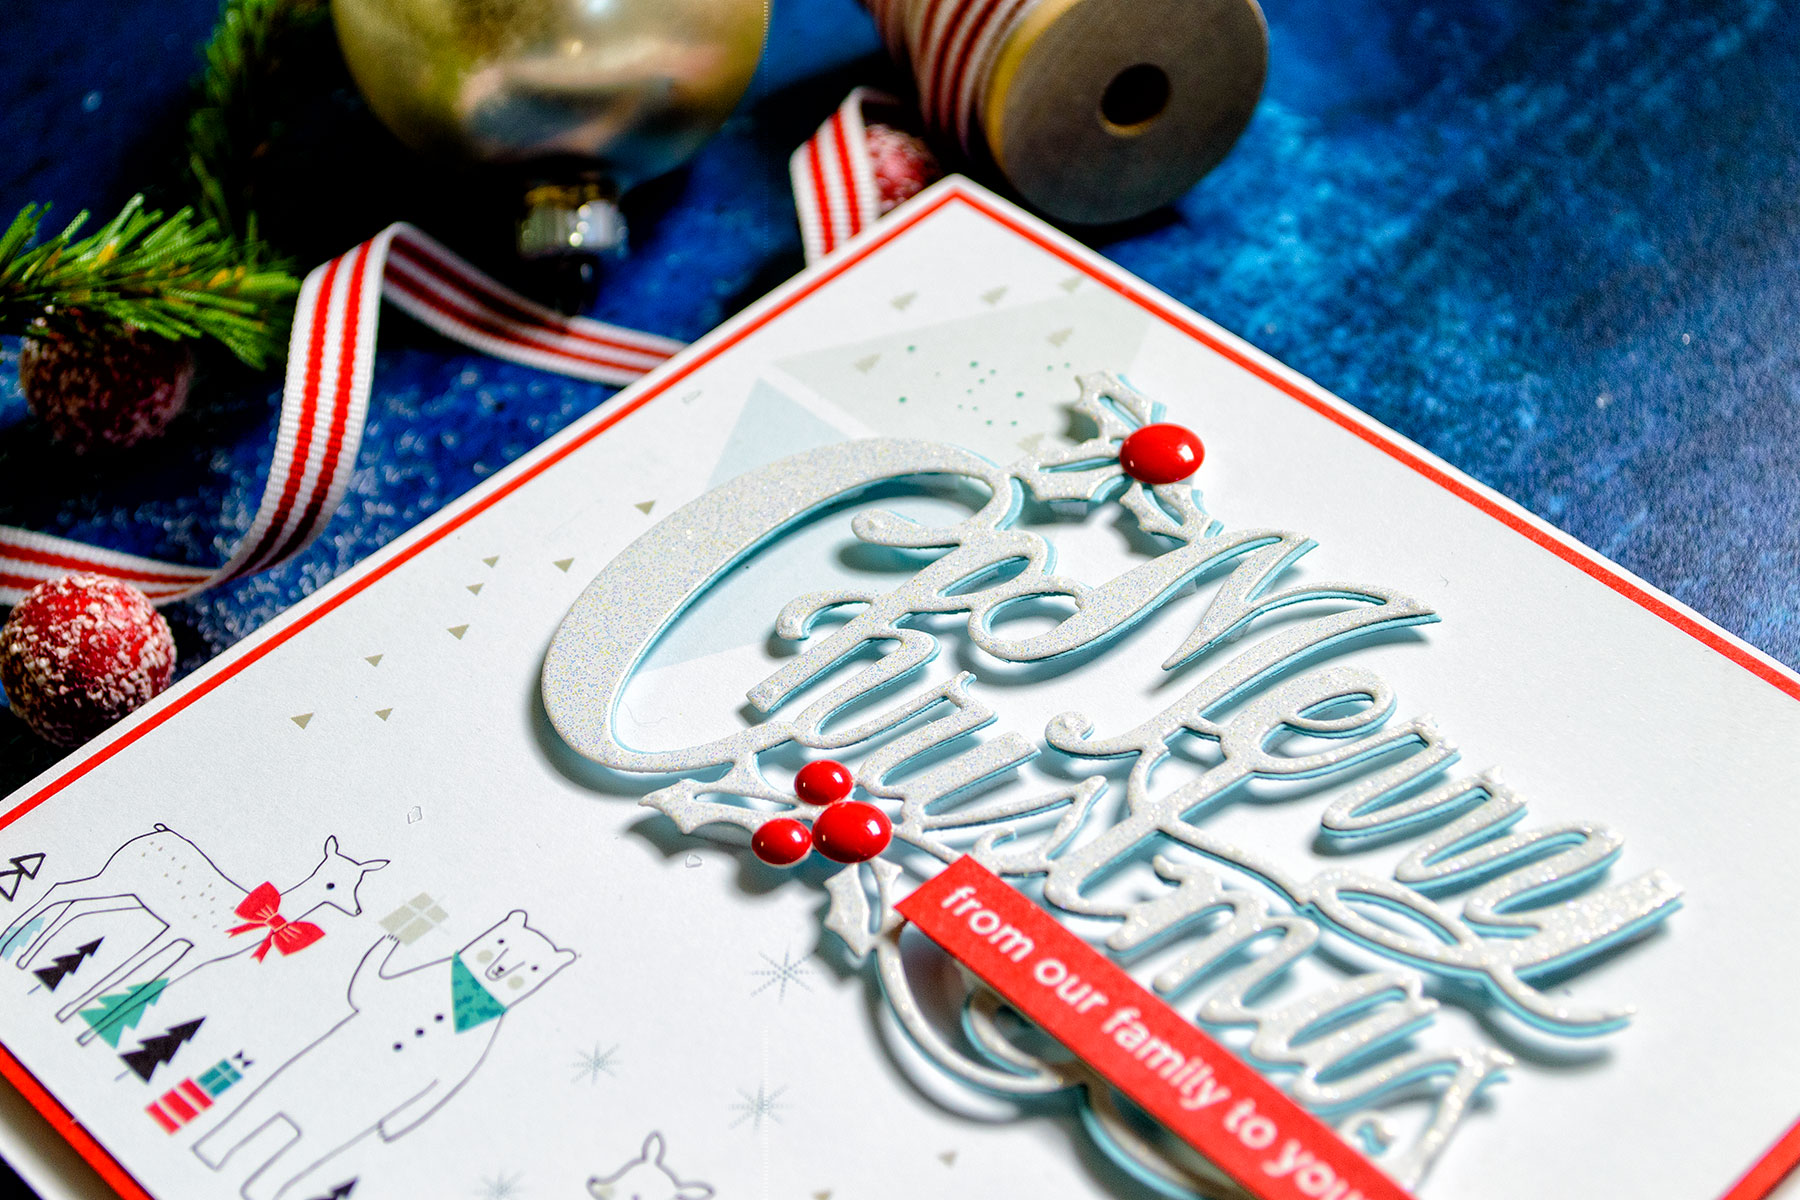
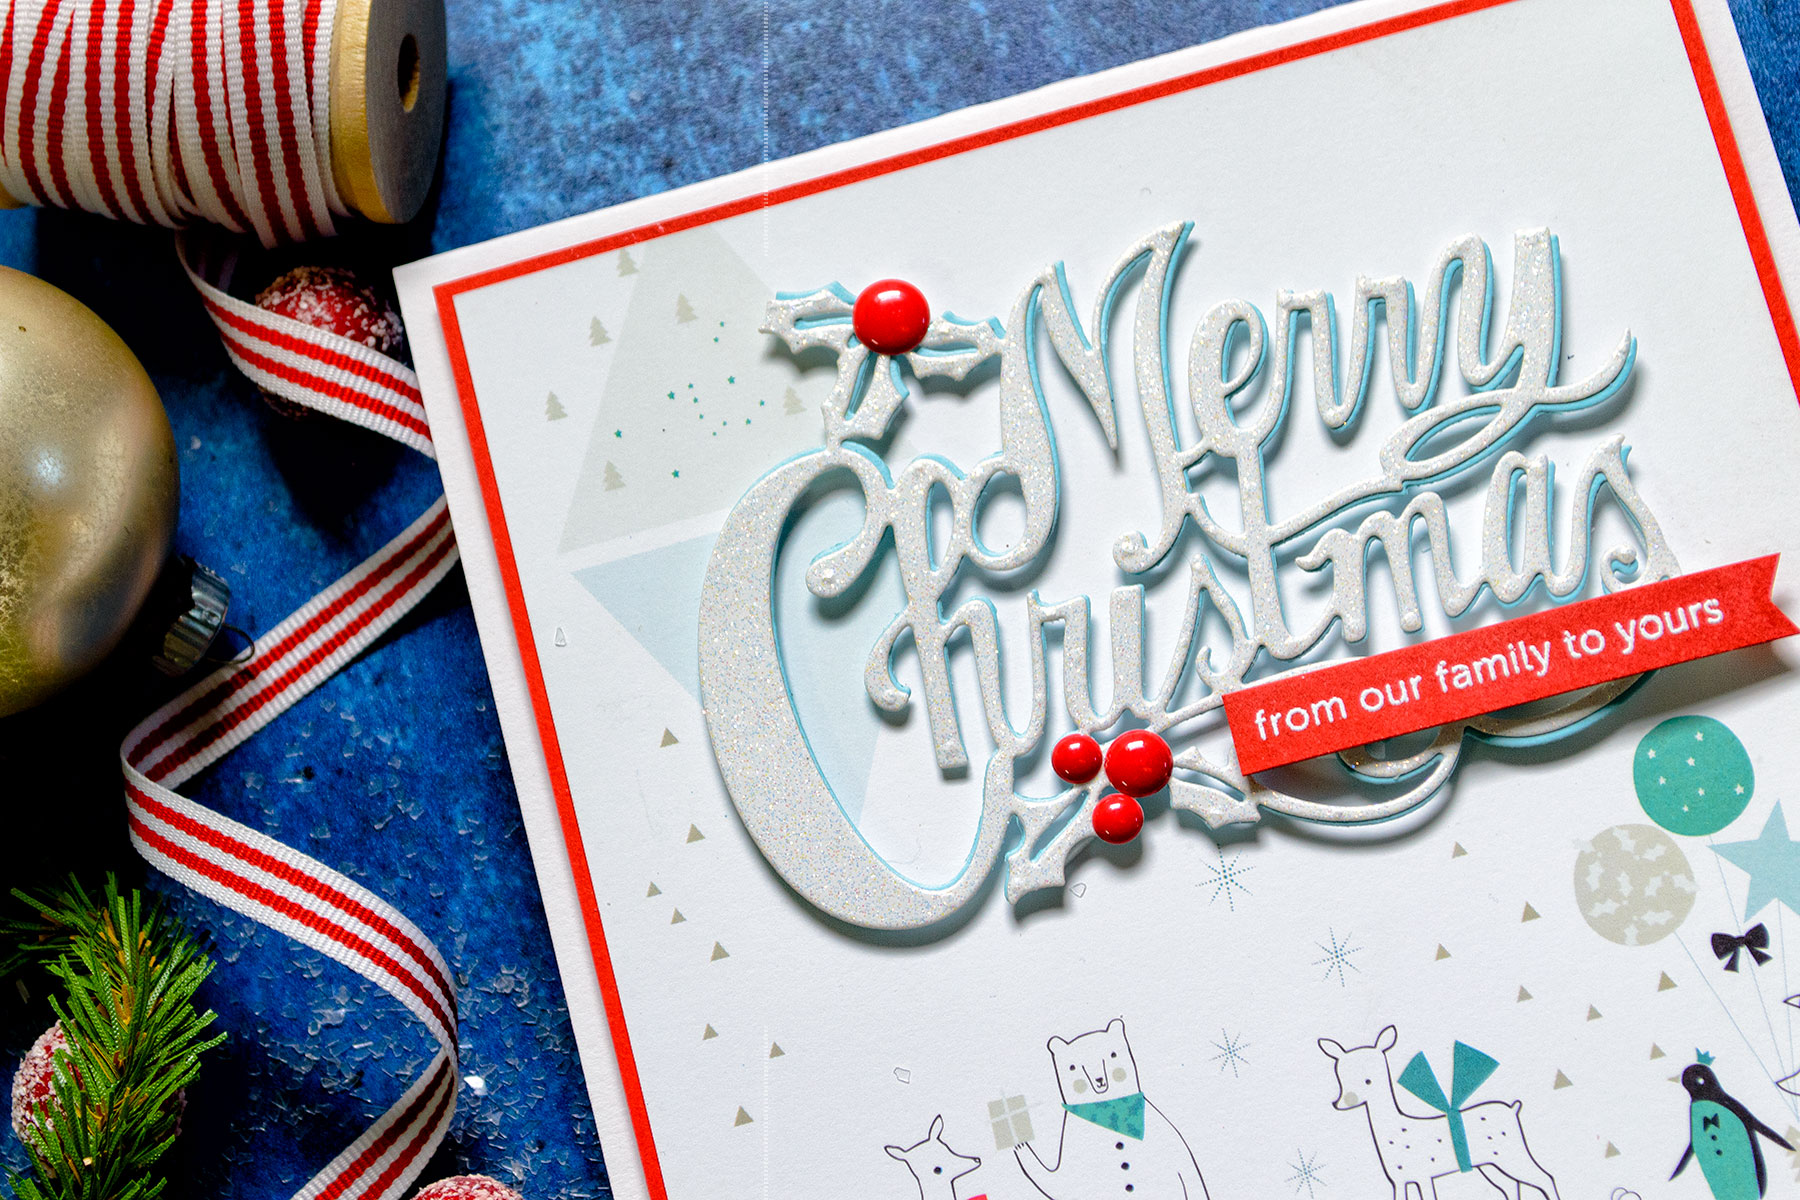
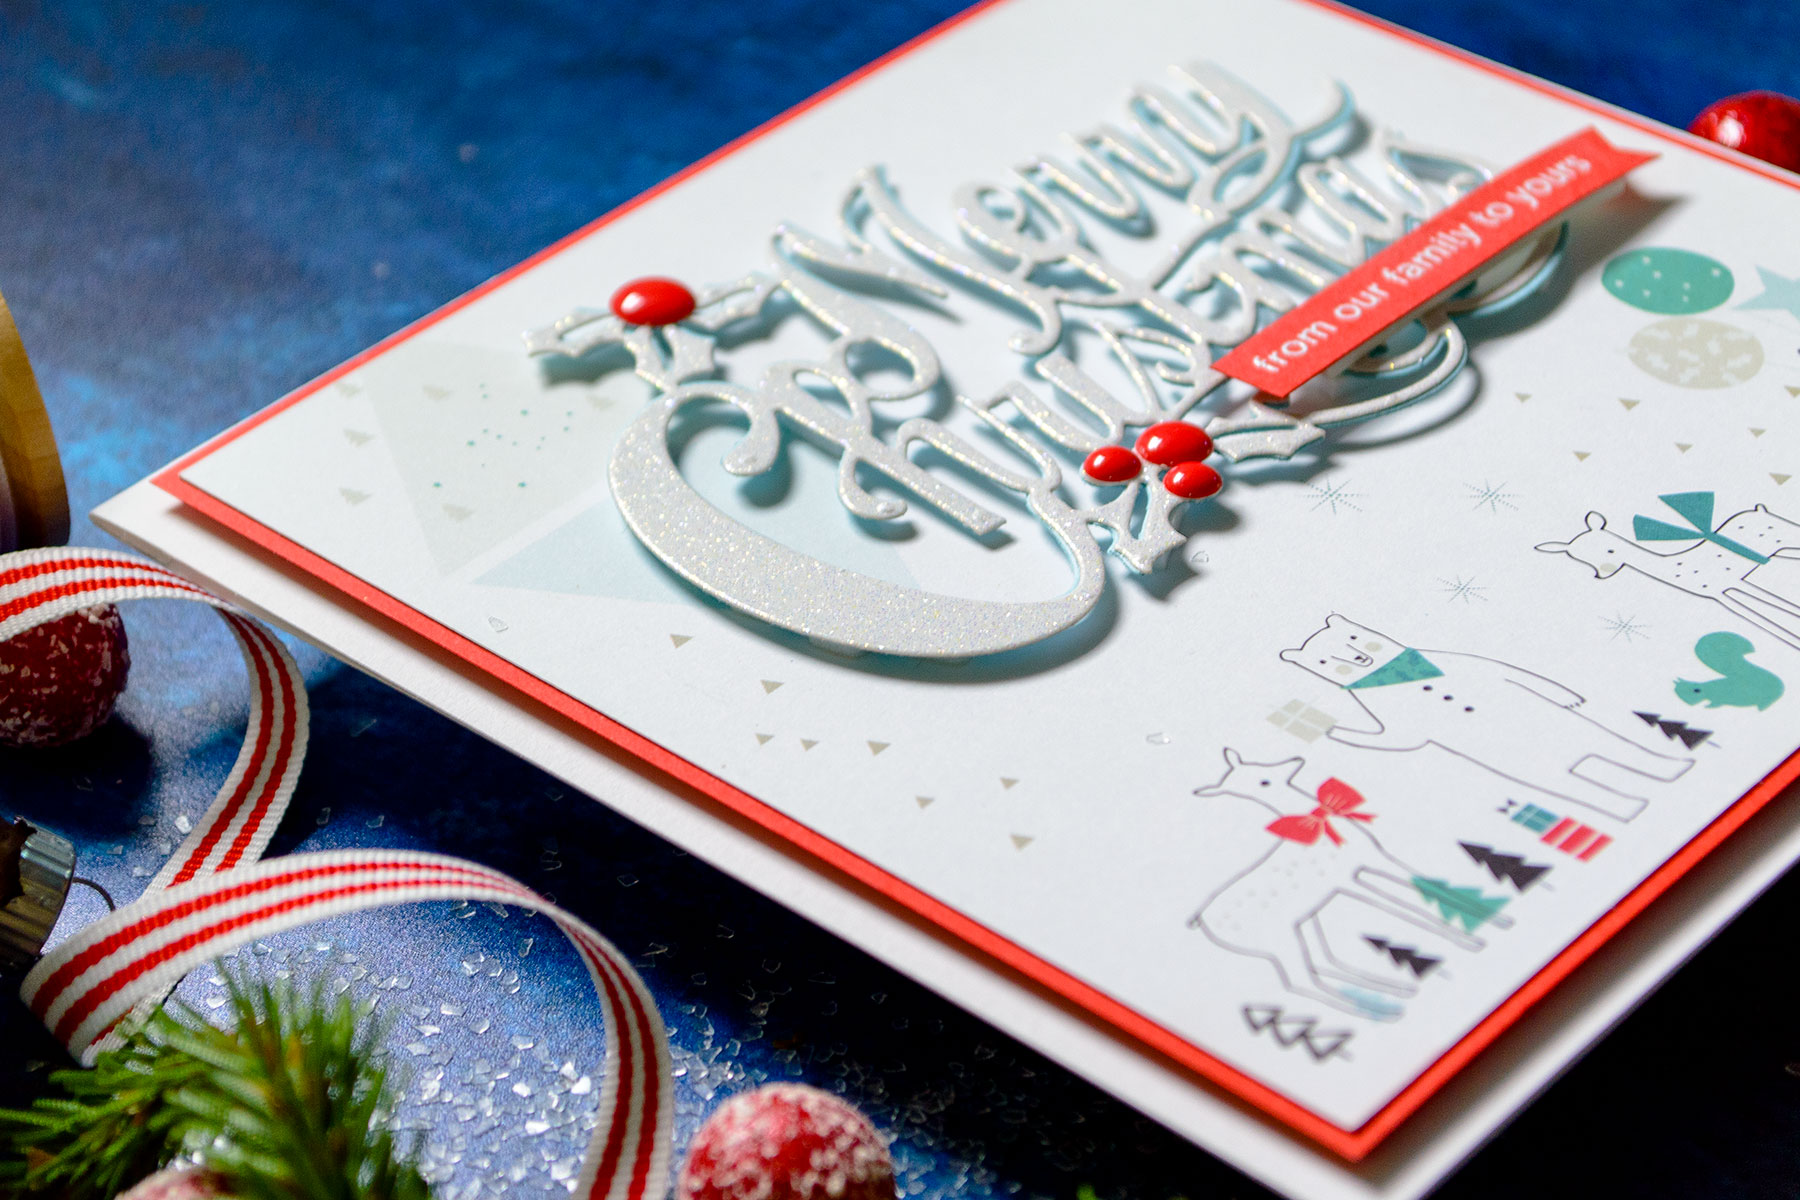
Add double sided sticky sheet to the back of white glitter cardstock. Die-cut Merry Christmas out of white glitter and blue cardstock. Adhere white die cut onto blue and offset slightly to have a blue shadow!
Instructions
Looking for a full set of instructions to create this card? See below!
Create 6 ½ x 6 ½ ” top folding card base out of white cardstock.
Cut red cardstock panel to 6 ⅛ “ square. Adhere patterned paper panel (use 6x6” paper) onto red cardstock panel. Foam mount onto the card
Add double sided sticky sheet to the back of white glitter cardstock. Die-cut Merry Christmas out of white glitter and blue cardstock. Adhere white die cut onto blue and offset slightly to have a blue shadow! Foam mount onto the card.
Stamp and heat emboss “From Our Family To Yours” sentiment in white embossing powder onto red cardstock, cut into a strip, foam mount onto the card.


 />
/>