From The Archives 30% Off Members Save More

Spellbinders Blog

Die Cutting 4 Ways with Seth Apter

Die Cutting 4 Ways with Seth Apter

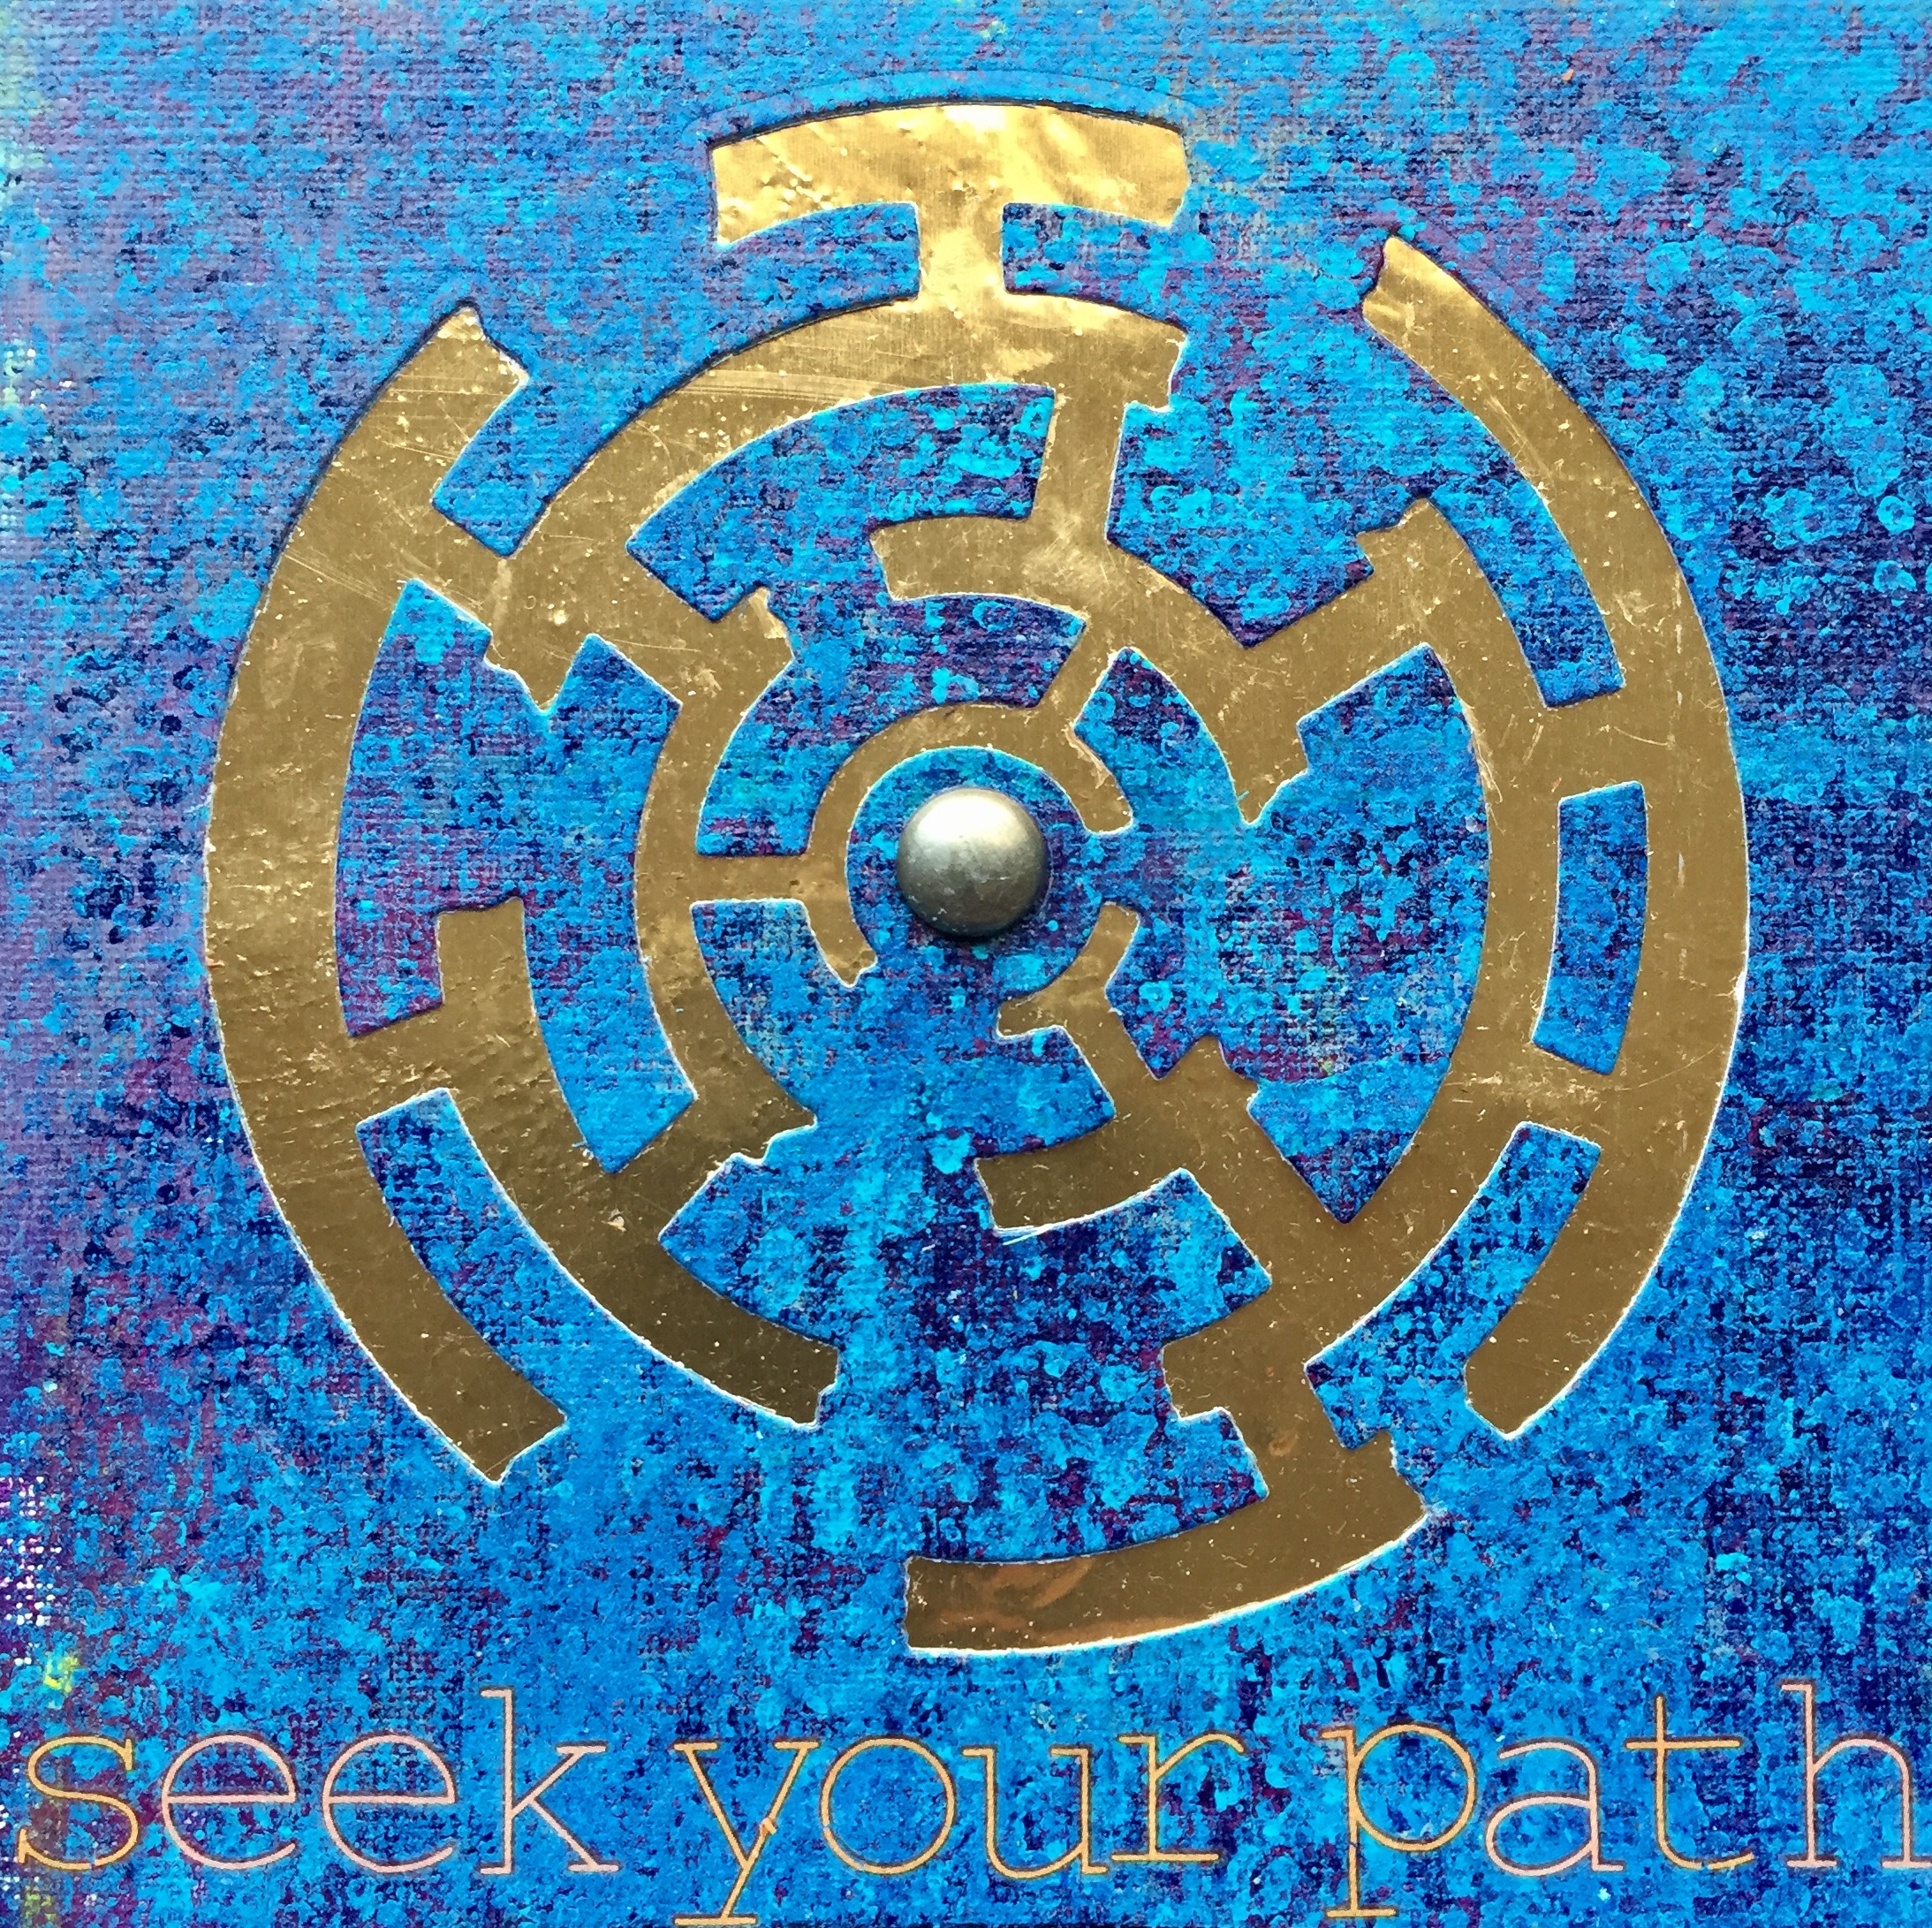
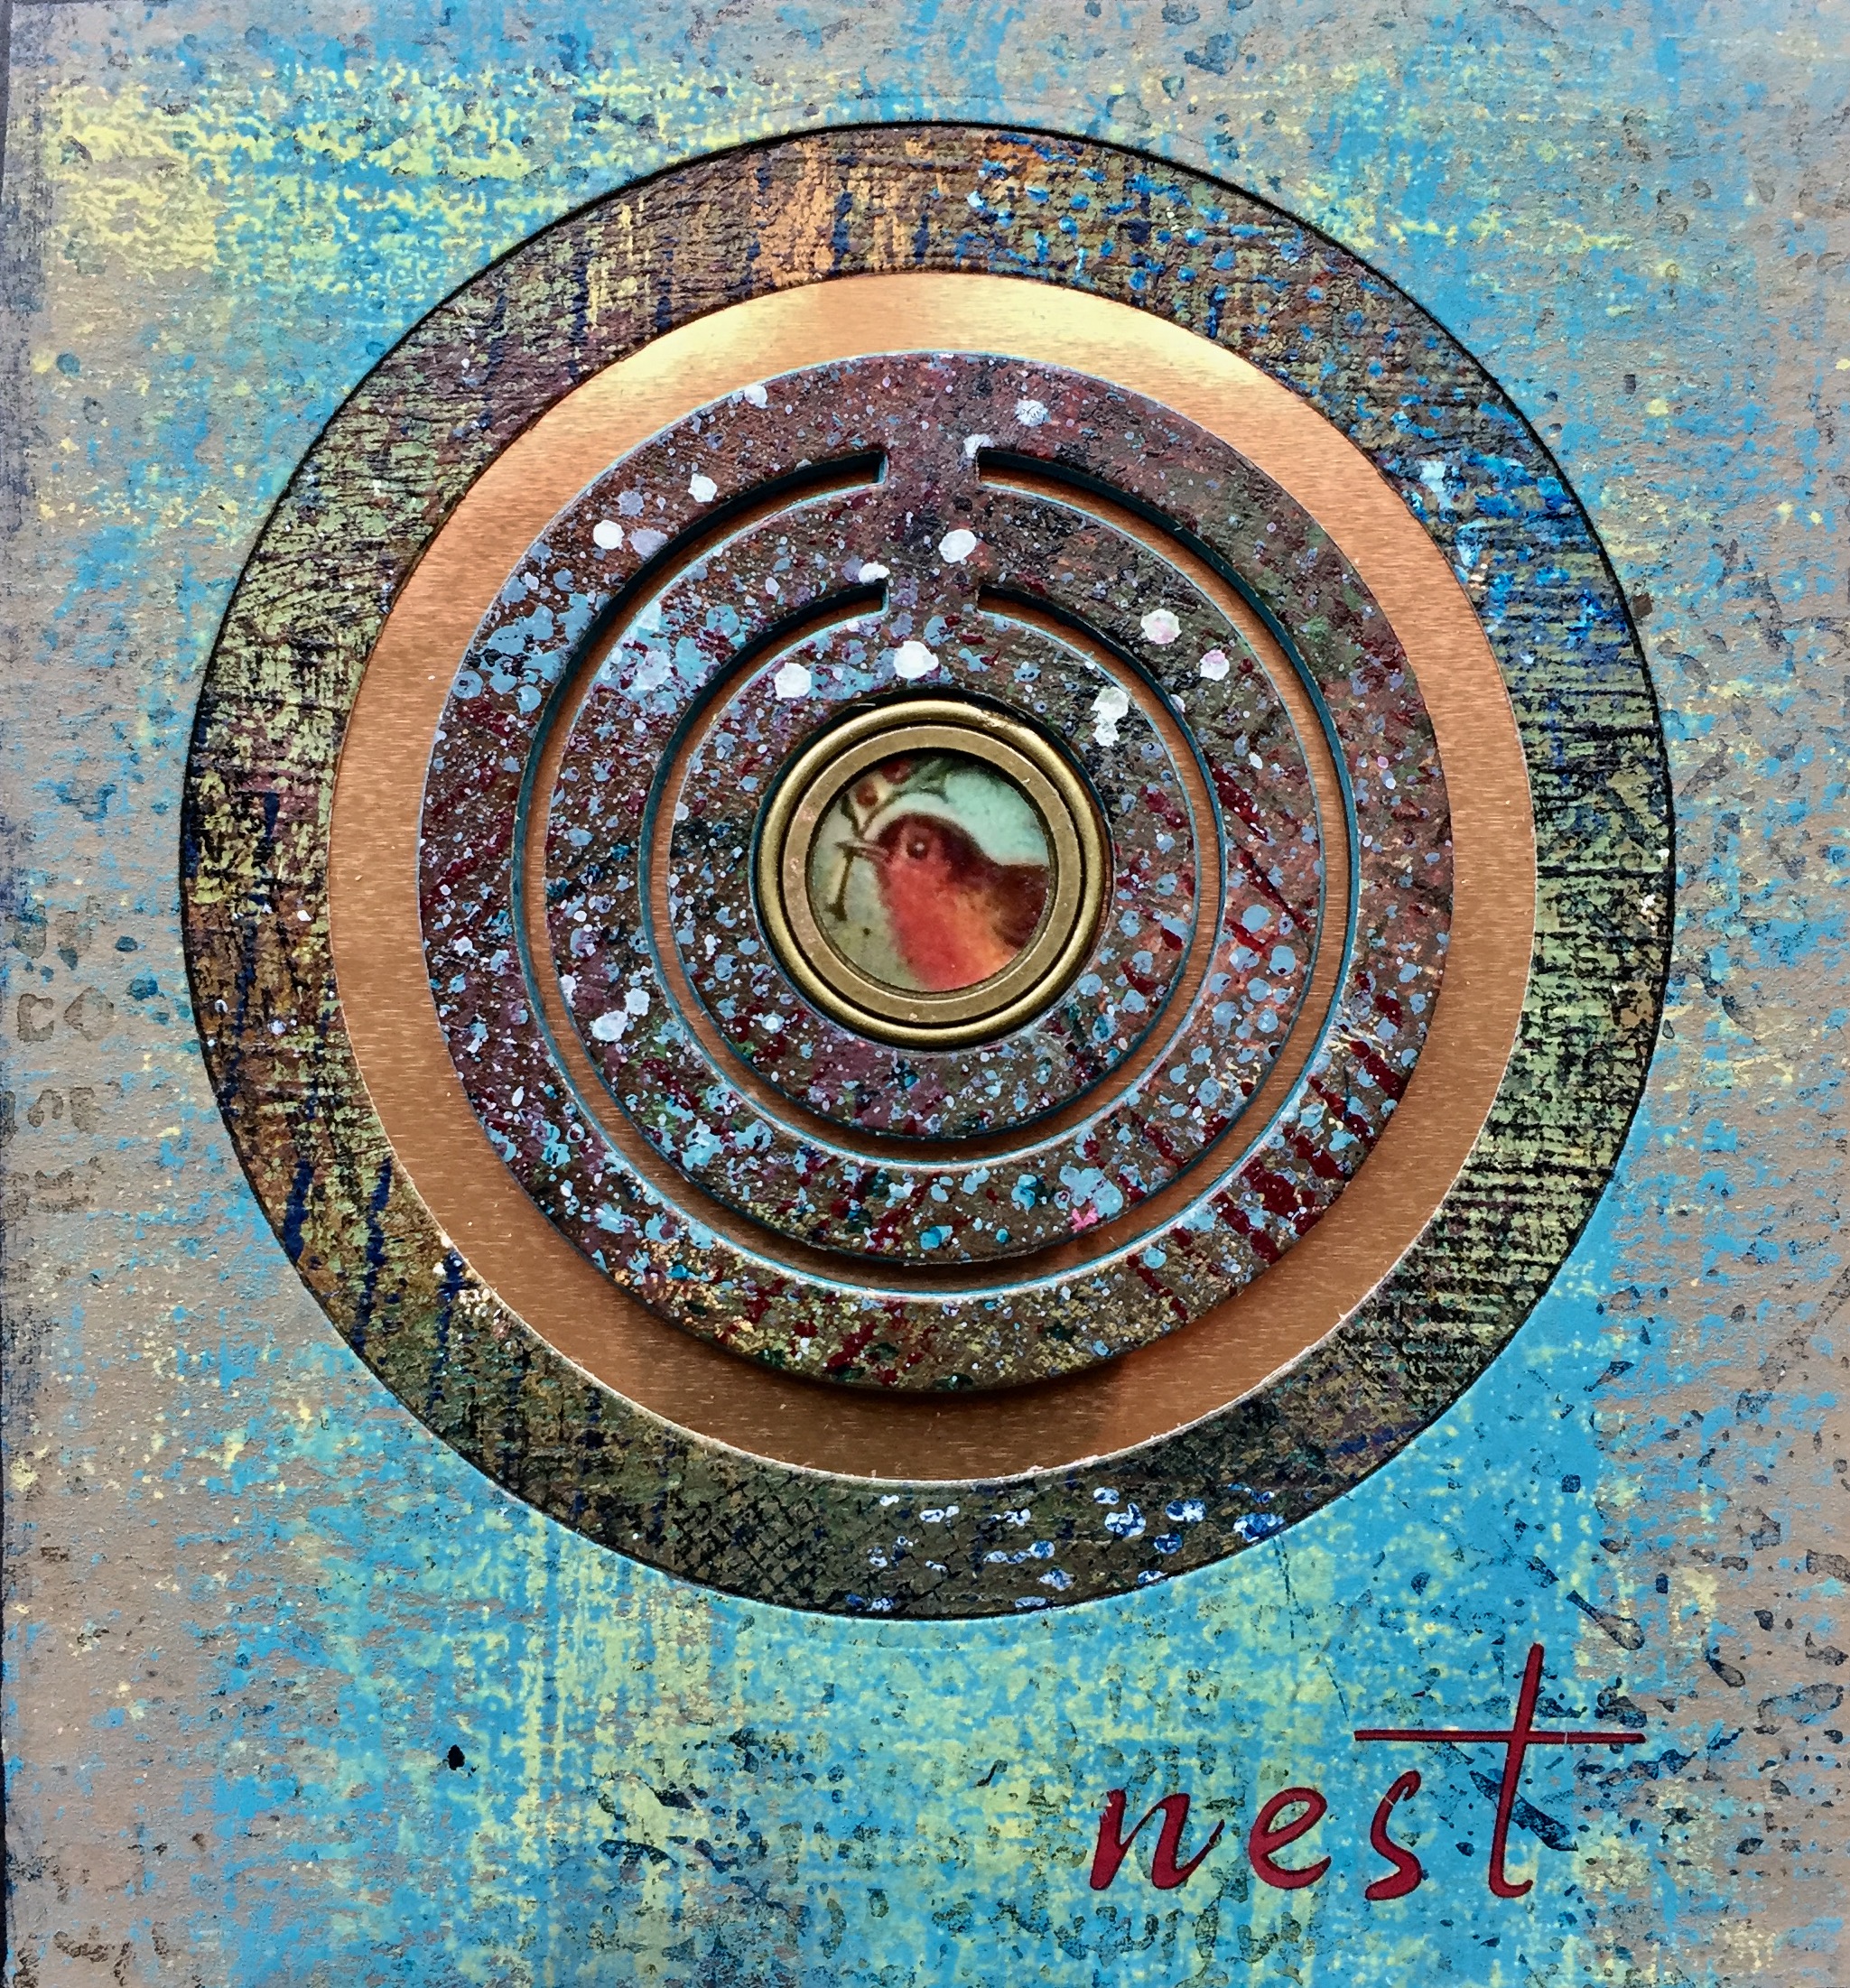
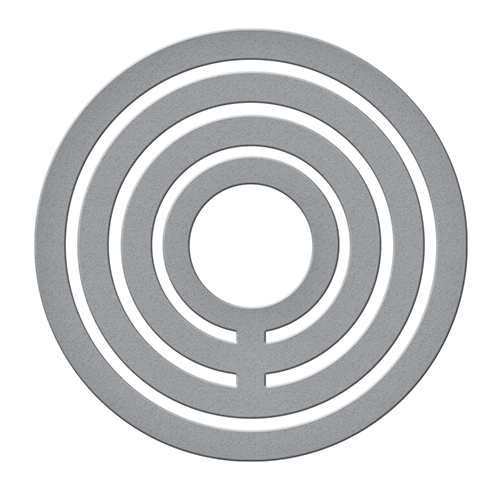
Hi all. Happy to be back sharing this guest post with you. The start of a new year is an exciting time for many reasons, not the least of which is the release of new products from all the designers at Spellbinders. In this post, I wanted to introduce you to a few of my new die designs by demonstrating 4 ways to to use your die cuts. I love taking commercial products and putting my own twist on them. The techniques in this post will allow you to truly make your artwork your own.   Layering     The traditional way to use dies is to adhere your die cut to the surface of your artwork. Layering takes this one step further. Simply take multiple die cuts, either elements from one die set or several different, individual dies, and layer the pieces on top of each other. This adds depth, dimension, and flow to your piece. Notice in "Universe" that the layering, along with the different sizes of the die cuts, gives a sense of depth, distance and movement - echoing what you might see when looking into the sky.   Steering Wheel   Shadowing     Shadowing takes layering one step further. Start by making multiple cuts of the same die shapes. You can do this with one or more dies at the same time. Adhere one die cut to the surface of your project. Take the same shape and adhere a second cut of the same die on top of the first. But...shift it to the right or left, top or bottom slightly. In this way, you will create a natural shadow to the shape and create instant depth. In my piece, "Be" you can see that I shadowed three cuts of the focal die from my Ray of Light die set.   Ray of Light   Reversing     So very often after we cut out our dies, we discard the remainder. This is sometimes called fall-off or waste. I will often use that part and sometimes I even like it better than the die cut itself. One approach with this fall-off is to use the negative or reverse of the die. This works better with some designs than with others but it can have quite an impact. When using the negative and layering it over a contrasting substrate you still see the die design, but it is the underlayer that is highlighted. In my piece "Be", the shimmer of the gold foil becomes the focal point and it is better integrated into the artwork then if it were simply glued on the surface.     Maze   Stacking     If you know my work, you know that I love to create dimension. One way I do that with die cuts is to stack. This is simple to do but can have a huge impact. Run the same die through your machine multiple times so that you have many cuts of the same shape. Adhere each of these shapes, one on top of the other, so that you end up with a dimensional object rather than a flat die cut.     I usually cut 12 shapes from card stock and then cut 1 shape from my own hand painted paper to use as the top layer. As a bonus, when you use a die shape that has an opening like the center circle in my Loop De Loop die, you can inset a dimensional embellishment, adding even more depth and dimension to your work.   Loop De Loop   Thanks so very much for spending your time with me. My entire collection will be available on March but many new Spellbinders products can already be in your hands right now.
Read more

Candy Baskets for Valentine's Day and Easter

Candy Baskets for Valentine's Day and Easter

  Hello friends! Today I have these candy baskets to share with you created with Spellbinders Floral Picnic Basket die set from my Special Occasions Collection. These baskets are so easy to make, all you need is a couple of brads to assemble the basket, no glue, no tape, just 2 brads! The flowers and leaves are also layered together with a brad. These baskets also make great party favors for baby showers, bridal showers and birthday parties.     Floral Picnic Basket Die Set:   Instructions:
  1. Die cut basket and handle with Floral Picnic Basket die set from designer cardstock of your choice.
 
  1. Fold basket at scored lines created by the die. Then, color the edges of the basket and handle with distress ink and sponge dauber.
 
  1. Die cut multiple flowers and leaves with dies provided in the die set. Next, color them with distress ink.
 
  1. Layer 2 flowers and one set of leaves and secure with a brad.
 
  1. To assemble basket with a brad, first pass brad through hole in the triangle, next pass brad through holes in the rectangular strips going from left to right until all 6 pieces and triangle are all held together with the brad. You can now attach the handle before securing the brad. Repeat on the other side of basket.
 
  1. Attach flowers to handle and sides of the basket as pictured and then fill baskets with candy.
  Spellbinders Supplies: Floral Picnic Basket S6-108 Spellbinders Platinum 6 Die Cutting and Embossing Machine Tool ‘N One   Other Supplies: Maja Design – Summer Time Paper Collection, Maja Design – Vintage Spring Basics, green cardstock, brads, glue.   My new collection of die set designs called “Celebrate the Day” has just released!! You can see 10 new die sets by going to the Spellbinders website HERE.   Thanks for visiting and have a wonderful weekend! Marisa www.marisadesigns.blogspot.com  

Read more

Candy Baskets for Valentine's Day and Easter

Candy Baskets for Valentine's Day and Easter

  Hello friends! Today I have these candy baskets to share with you created with Spellbinders Floral Picnic Basket die set from my Special Occasions Collection. These baskets are so easy to make, all you need is a couple of brads to assemble the basket, no glue, no tape, just 2 brads! The flowers and leaves are also layered together with a brad. These baskets also make great party favors for baby showers, bridal showers and birthday parties.     Floral Picnic Basket Die Set:   Instructions:
  1. Die cut basket and handle with Floral Picnic Basket die set from designer cardstock of your choice.
 
  1. Fold basket at scored lines created by the die. Then, color the edges of the basket and handle with distress ink and sponge dauber.
 
  1. Die cut multiple flowers and leaves with dies provided in the die set. Next, color them with distress ink.
 
  1. Layer 2 flowers and one set of leaves and secure with a brad.
 
  1. To assemble basket with a brad, first pass brad through hole in the triangle, next pass brad through holes in the rectangular strips going from left to right until all 6 pieces and triangle are all held together with the brad. You can now attach the handle before securing the brad. Repeat on the other side of basket.
 
  1. Attach flowers to handle and sides of the basket as pictured and then fill baskets with candy.
  Spellbinders Supplies: Floral Picnic Basket S6-108 Spellbinders Platinum 6 Die Cutting and Embossing Machine Tool ‘N One   Other Supplies: Maja Design – Summer Time Paper Collection, Maja Design – Vintage Spring Basics, green cardstock, brads, glue.   My new collection of die set designs called “Celebrate the Day” has just released!! You can see 10 new die sets by going to the Spellbinders website HERE.   Thanks for visiting and have a wonderful weekend! Marisa www.marisadesigns.blogspot.com  

Read more