Welcome back to my
monthly DIY Party Series. I'm
Debi Adams and as I have mentioned so many times, I love decorating for a party. It's not too early to start creating Thanksgiving cards or invites and making special preparations for the
Thanksgiving table. Today I have three projects for you to create. I think all of them are fun, easy and inexpensive to make.

Card
Well as any party goes you need an invite or perhaps just a card acknowledging the holiday. Do you send any out? Although so much is done by e-mail these days, it is always nice to receive an actual card in the mail. I know it makes me feel special and I have something to look at for awhile.

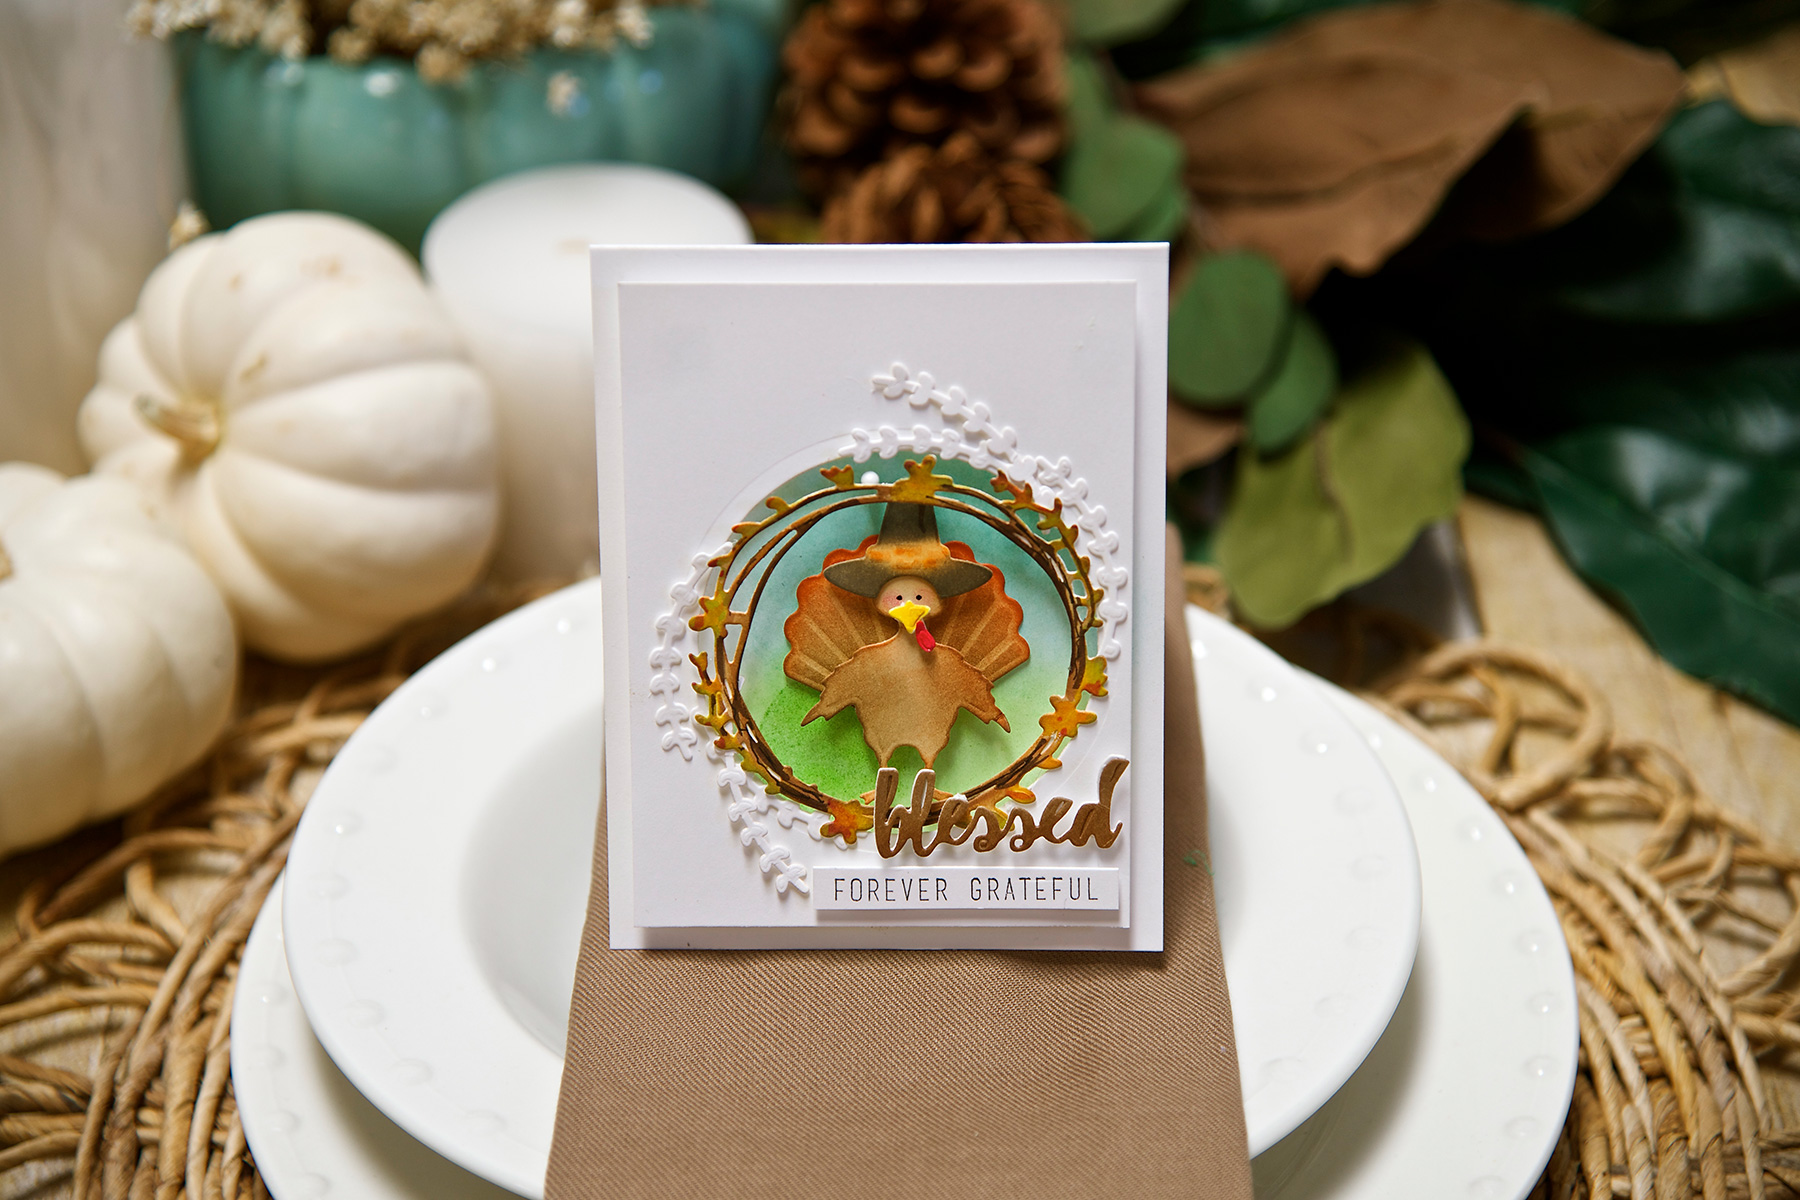
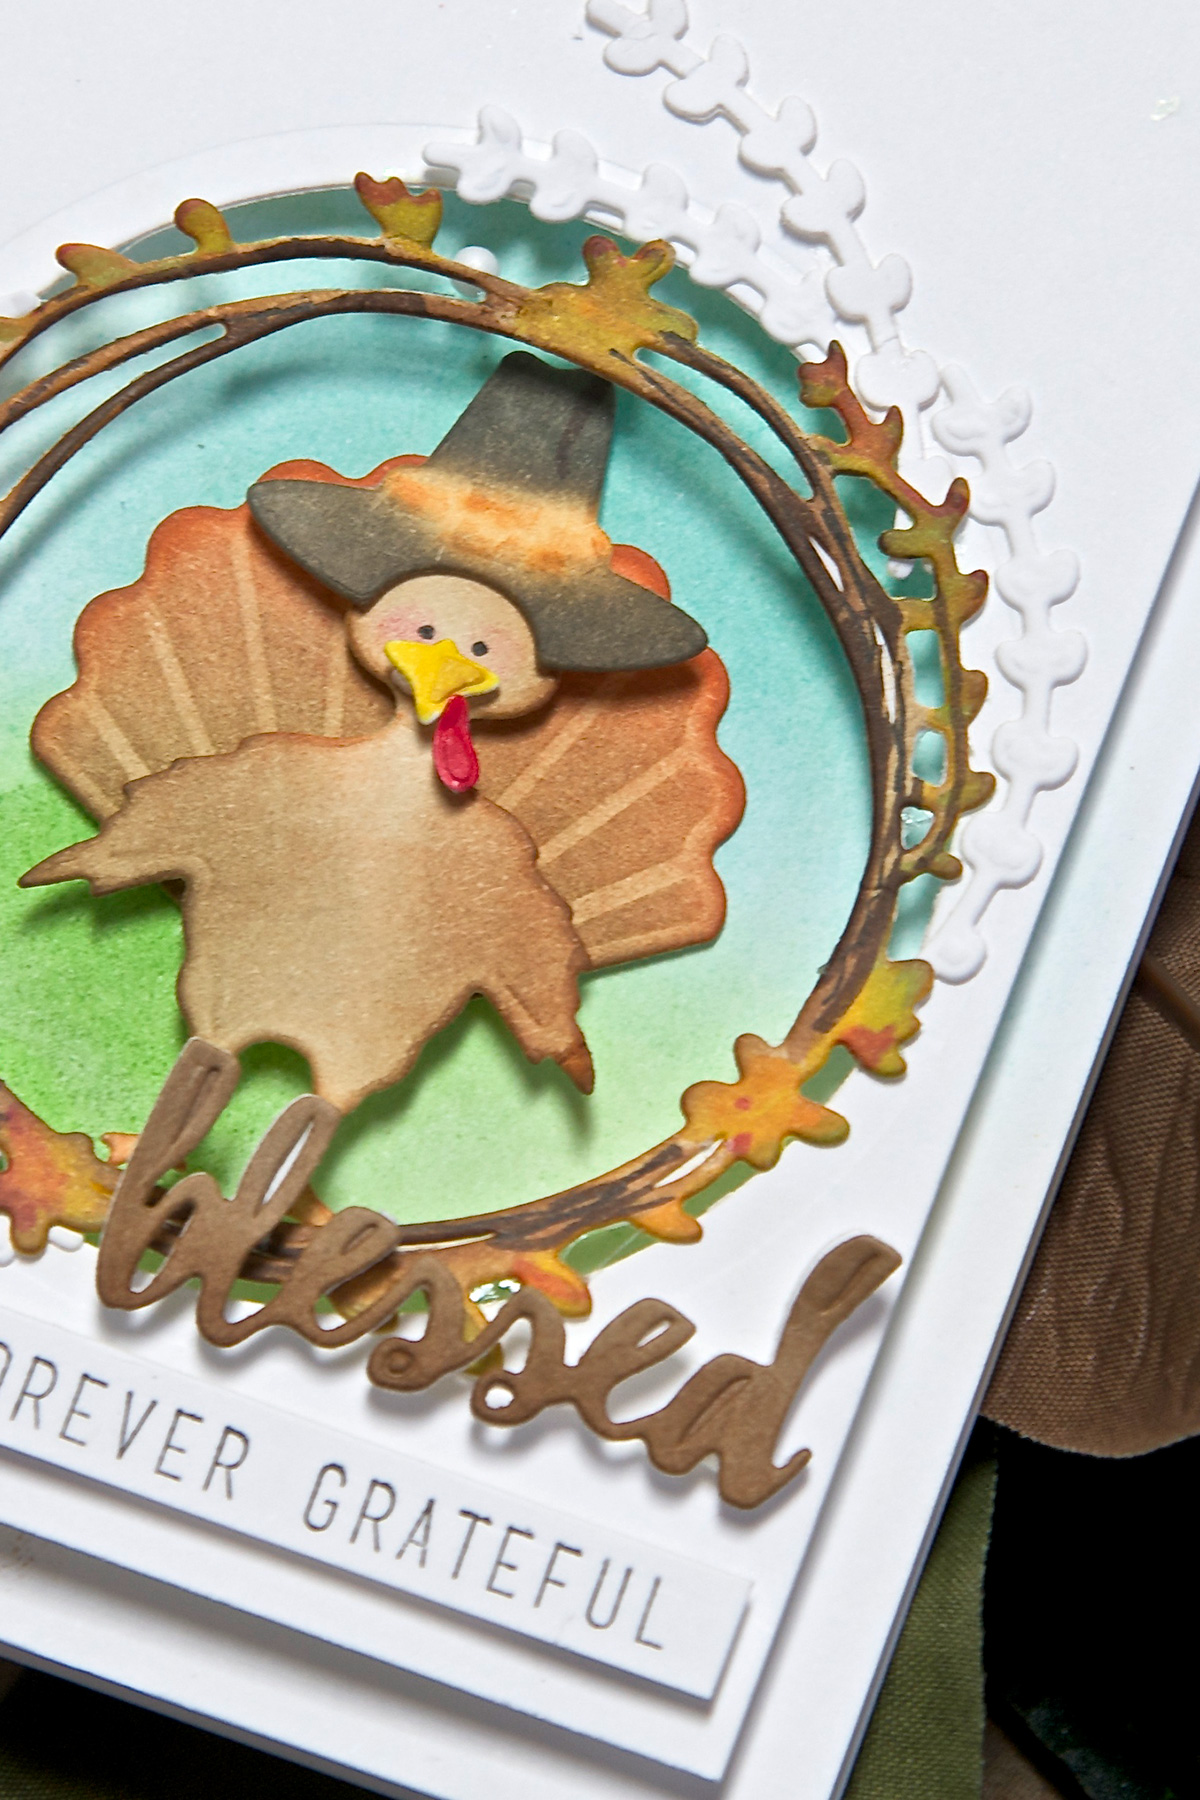
To create this adorable turkey card, I die-cut the wreath, a few extra branch pieces, the turkey and all his parts and the sentiment "blessings" from white card stock. I embellished some of them by using the
Tool 'n One with the
foam applicator and various colors of ink. (See supplies below). Then using a smaller, rectangular-mat (3 3/4" x 5") than the card base (4 1/4" x 5 1/2"), I die-cut a circle out that was slightly smaller than the wreath. The base card was "colored" in by using the Tool 'n One with the foam applicator again, but this time with blue and green ink . The matted piece then gets adhered to the card base using foam dots. The turkey is adhered to the inside of the circle and the wreath gets attached to the circle.

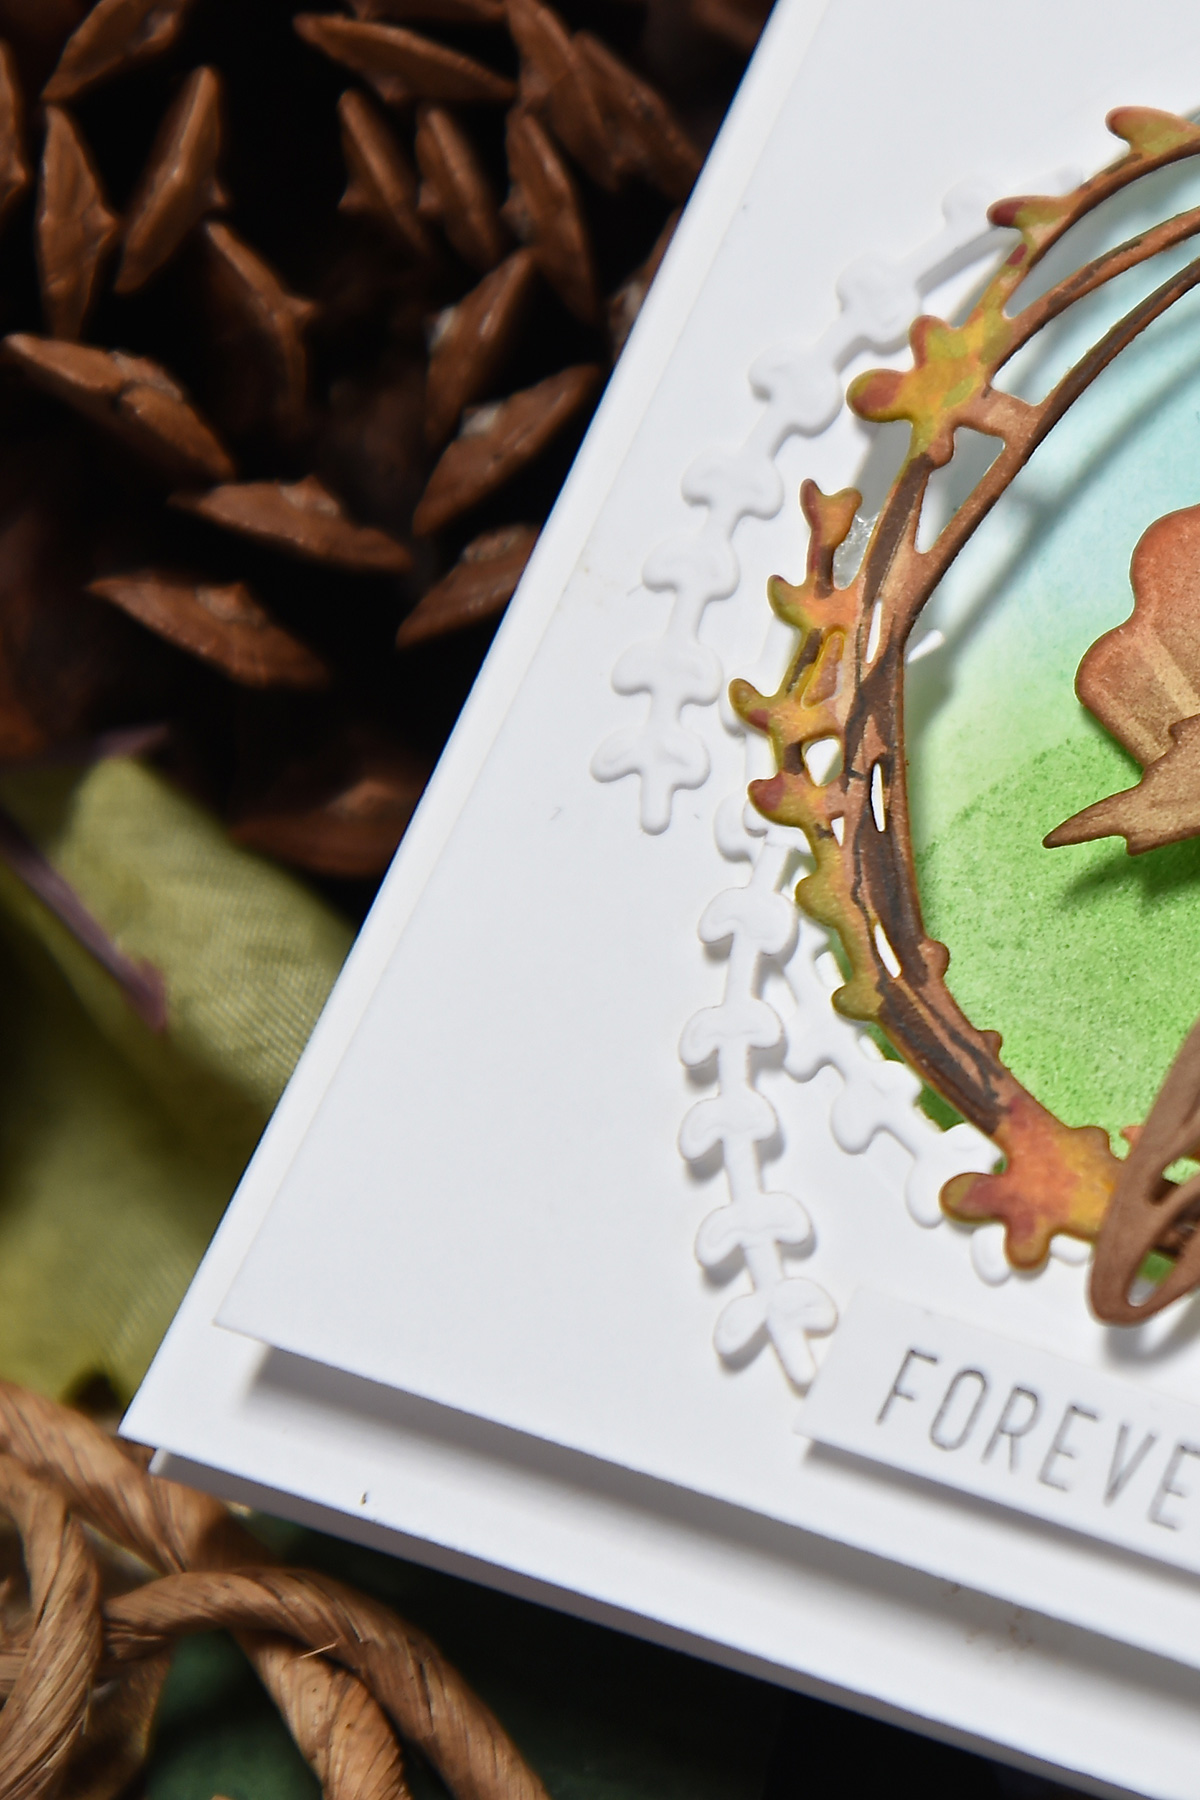
Add the extra white branch pieces onto the card.

Stamp the sentiment and adhere to card with foam dots. You are all done!

Turkey Treat

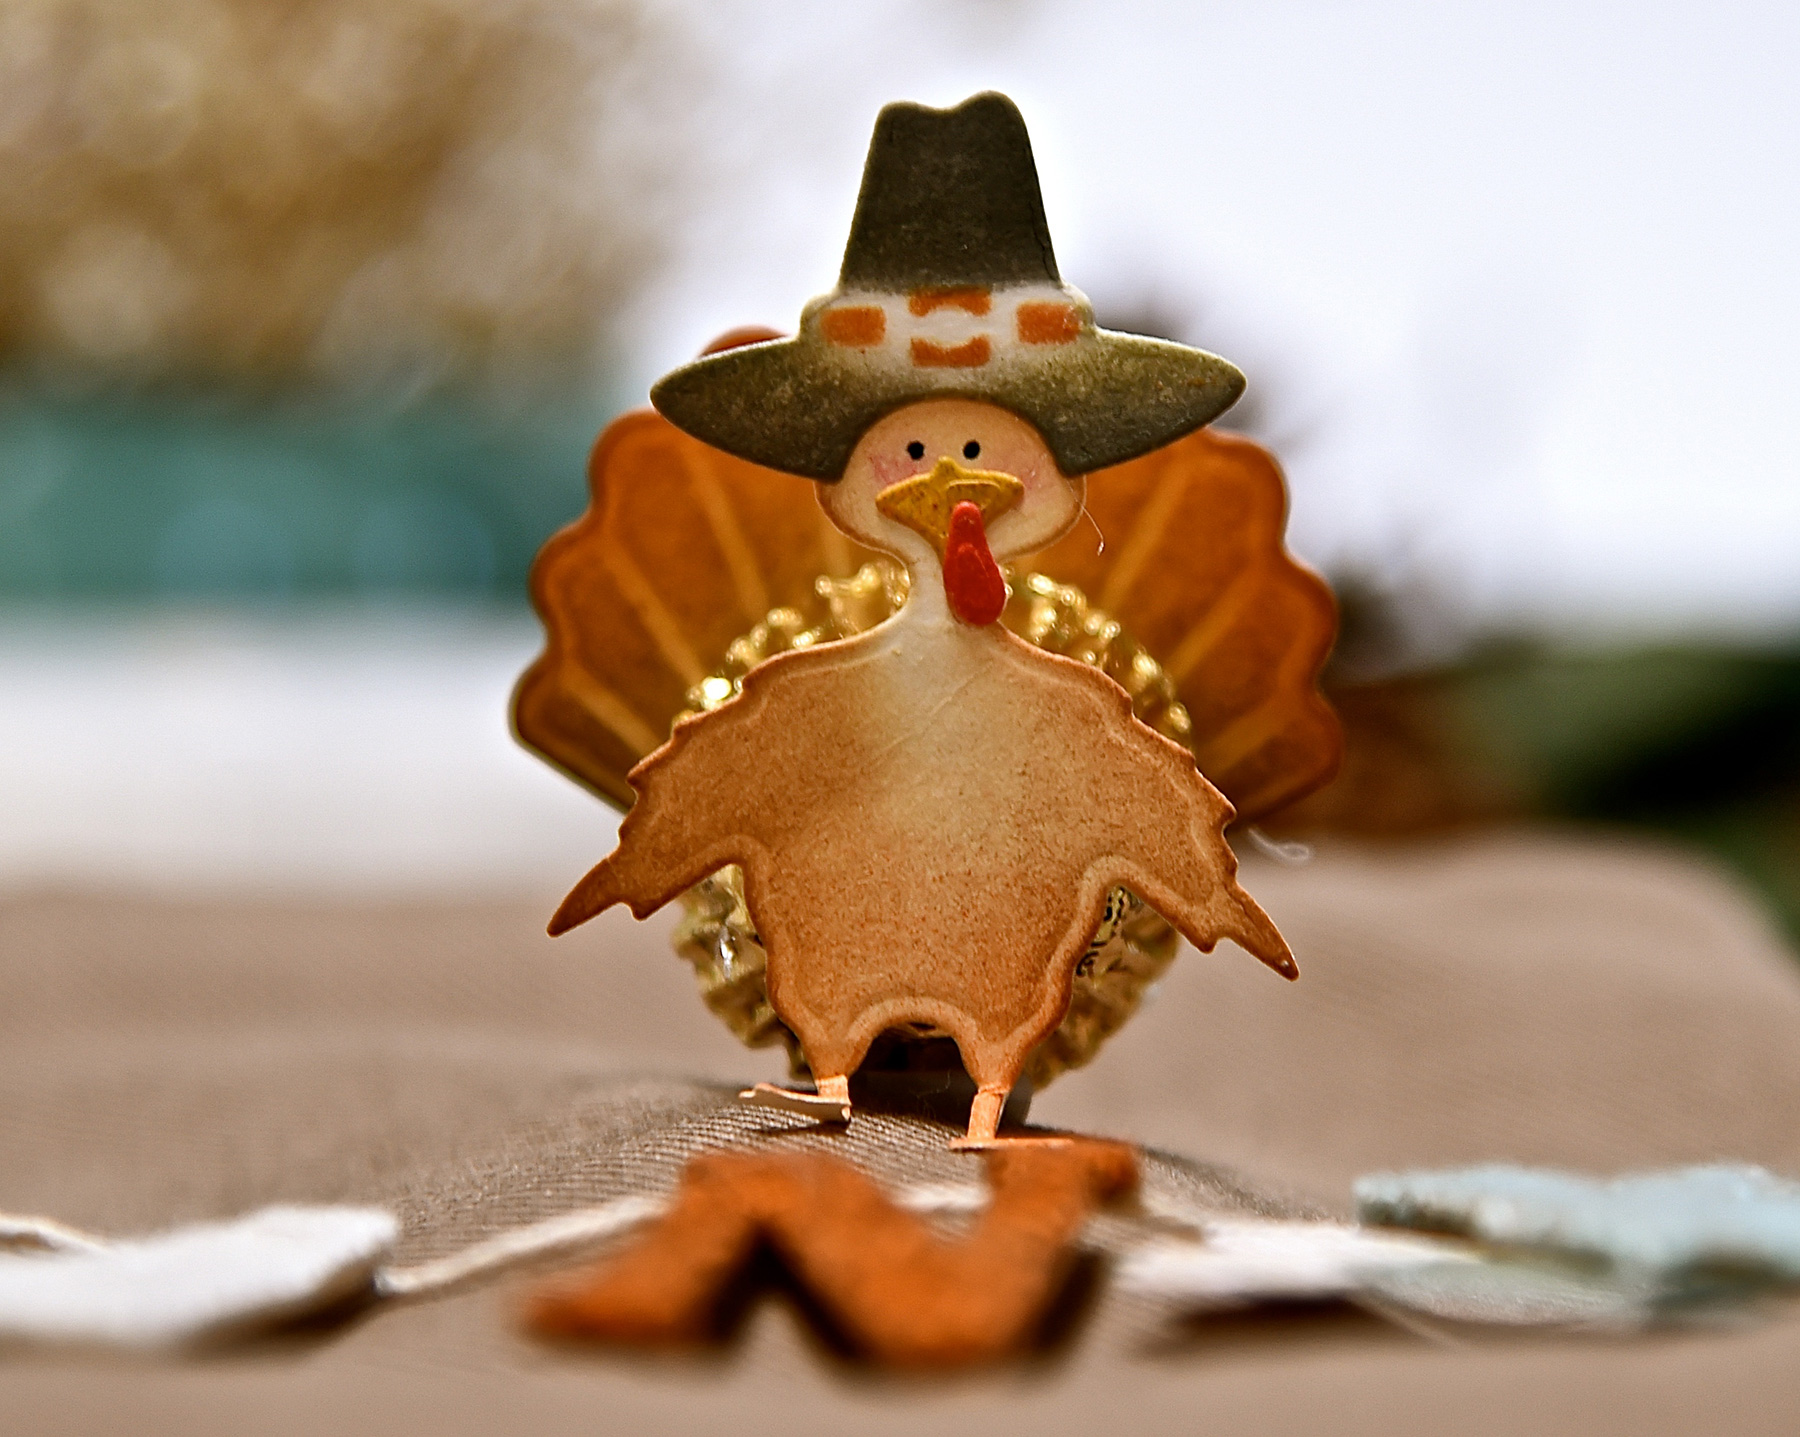
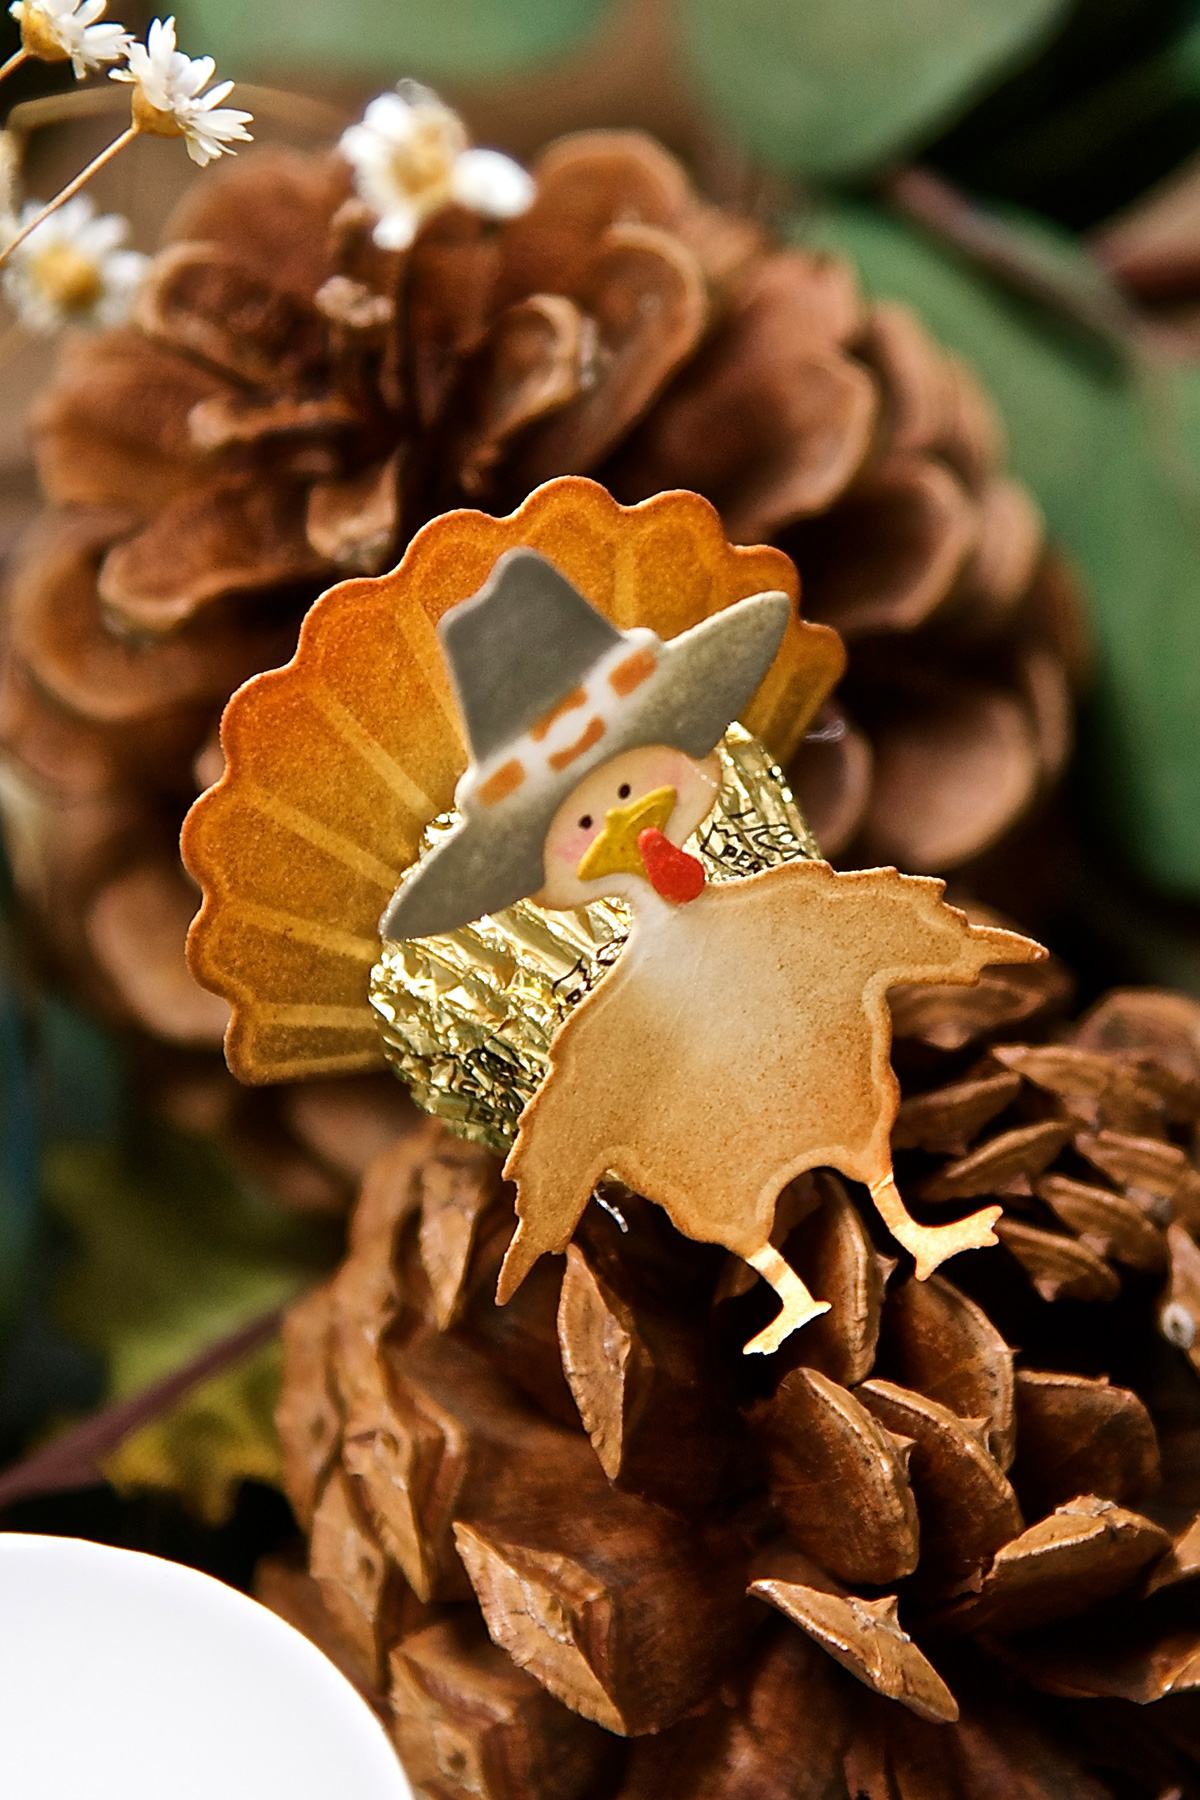
Isn't he the cutest ever? Don't want to "eat" this one either! Ah, but you can just enjoy the middle part. These would make great name placards as well. Place the name on a small strip of card stock across the turkey's chest. Anyway you use him, I'm certain he will be gone.
Die-cut the Turkey and his parts from white card stock. Color him in using the Tool 'n One with foam applicator and various inks. Assemble the front part of the Turkey and attach pieces using adhesive or foam dots. Attach turkey front to front of peanut butter cup and the "feathers" facing inward, to the back. That's all there is to him.

He's sitting here waiting for you to make him a mate...

Banner

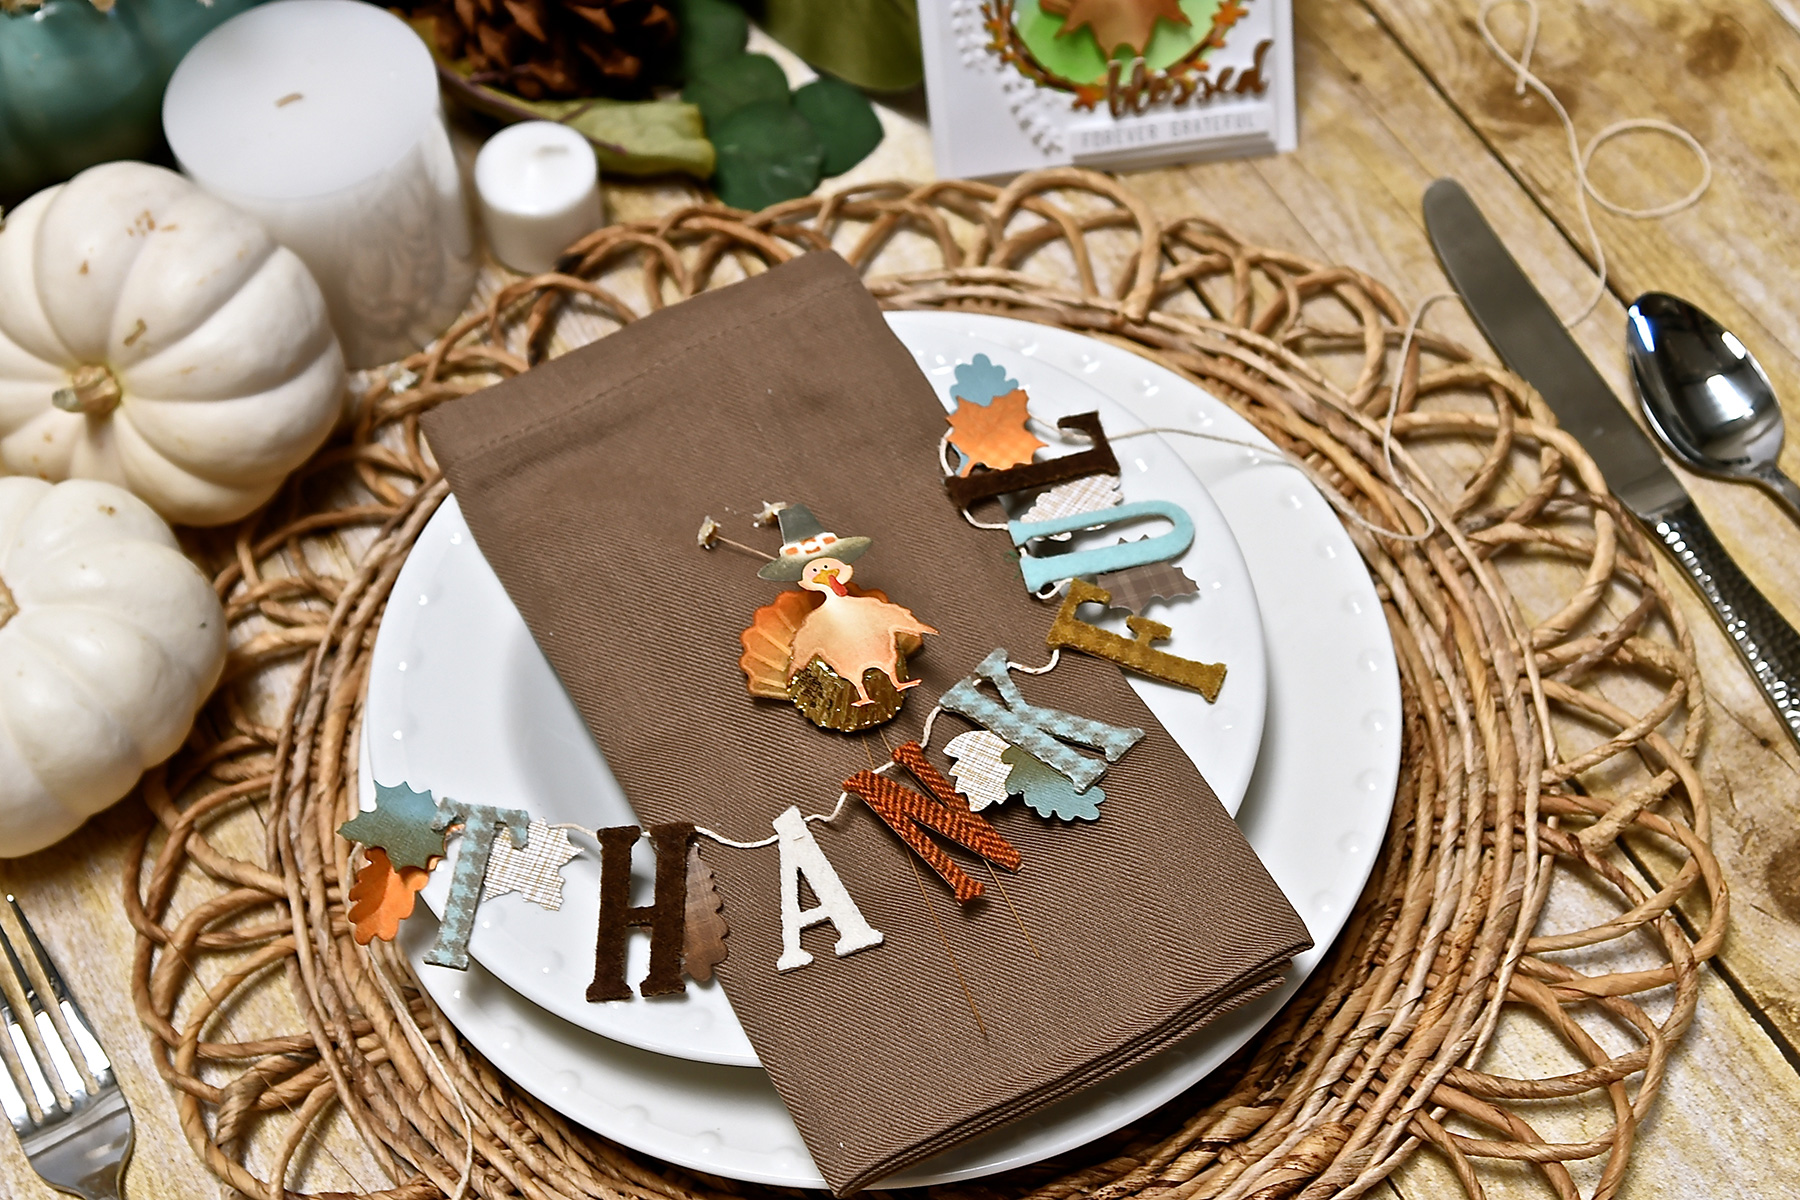
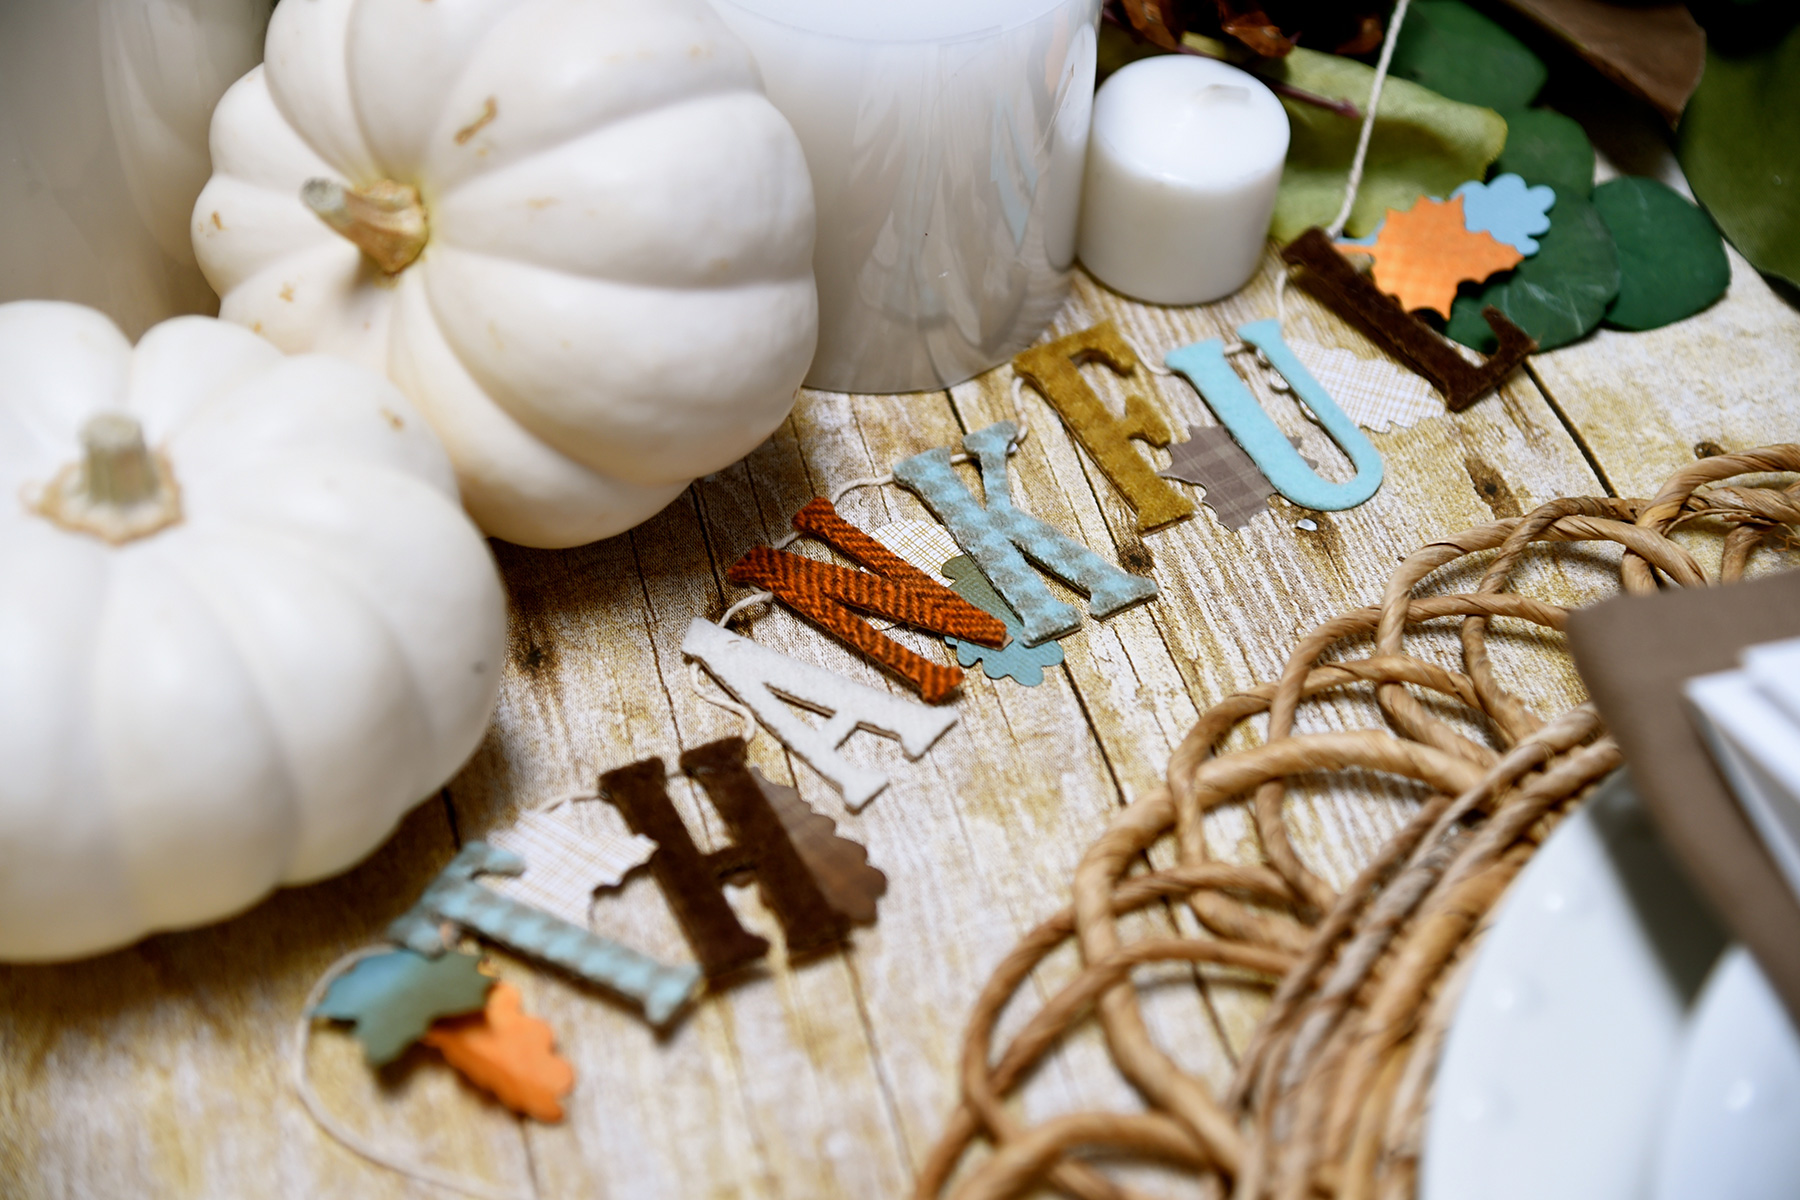
I always like to have something hanging in my house when it comes to decorating. Banners are generally one of those decor items that are pretty much a basic. Today I made a mini one. It can be used on the table as shown or it can be strung from one item to another. It can be made larger if you simply add these letters to our contour tag dies, "
Mind Your Banners".
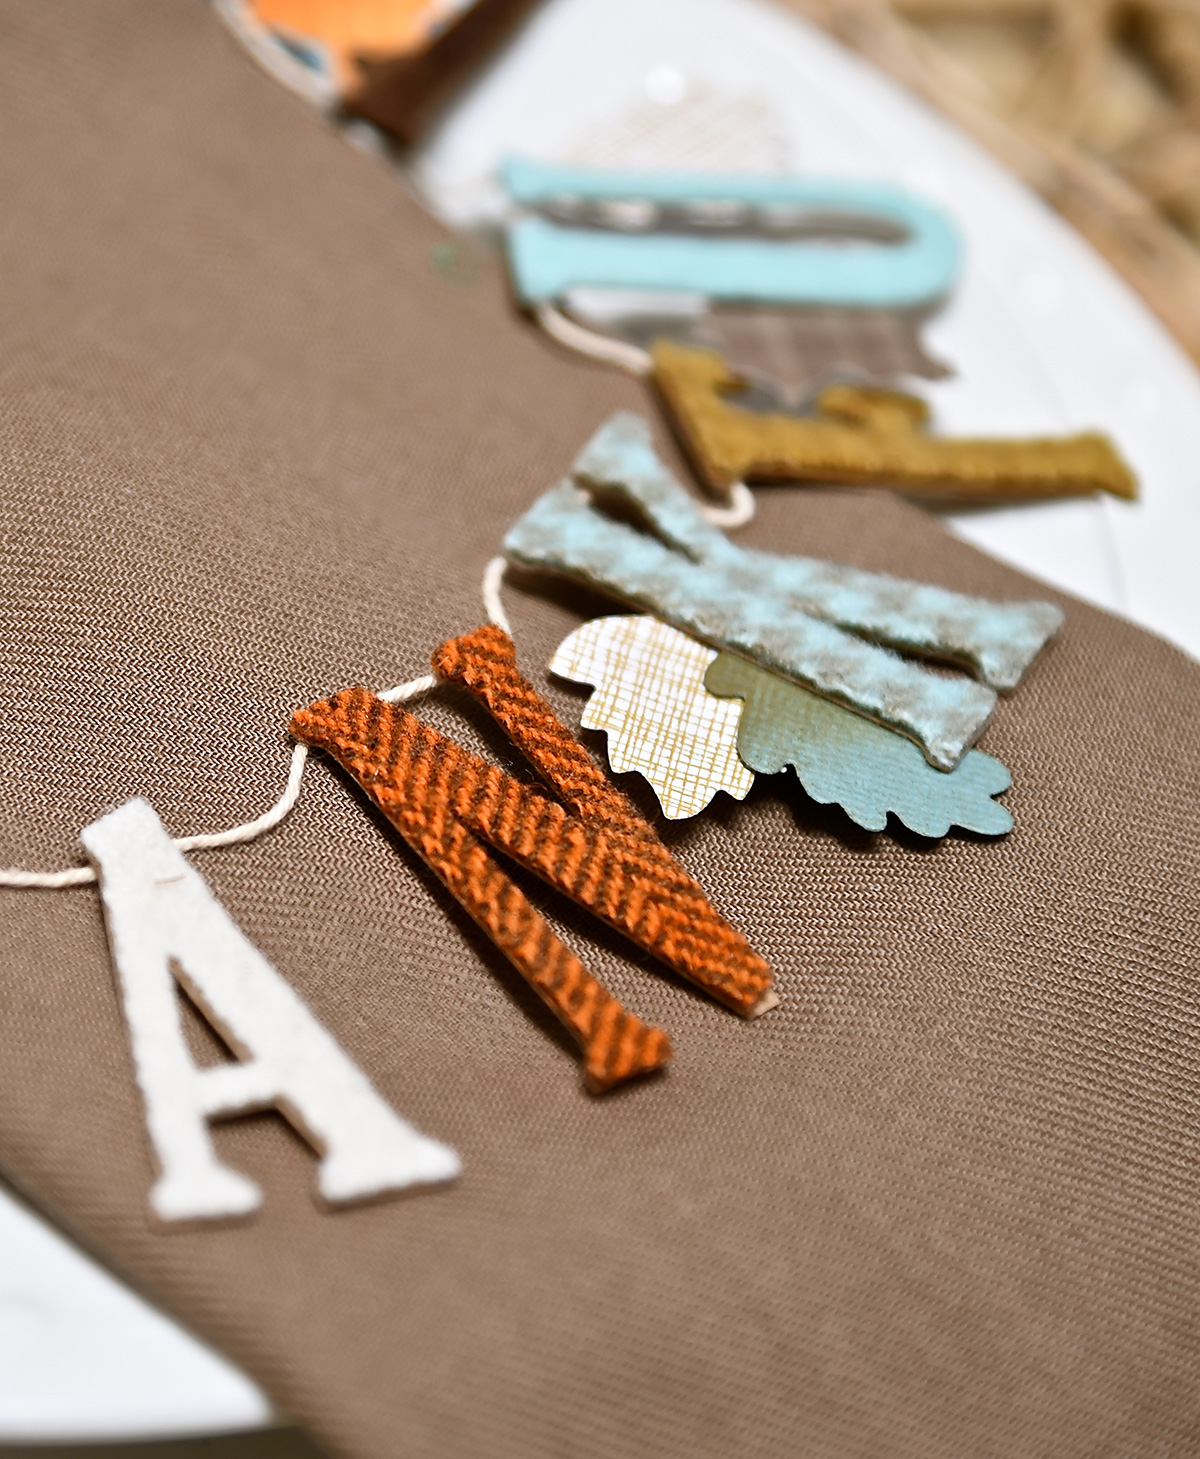
Because I used a contour die, I was able to cut wool felt that was mounted on kraft card stock. Super thick but the steel rule die can handle it!

Die-cut the sentiment you want using our contour alphabet die, "
Say It Like You Mean It" from wool-covered, card stock (I used kraft colored card stock). Attach sentiment to twine with hot glue.

Spellbinders Supplies:
Other Supplies:
White, Red and Kraft Cardstock; Ink-Blue, Green, Brown, Black, Red, Orange and Yellow; Stamp Sentiment of Your Choice; Card Base- 4 1/4 " X 5 1/2"; Mat for Card Base-3 3/4" X 5"; Foam Dots; Wool Felt; Twine.
And there you have it. Quick, easy and so festive. What's holding you back from getting started? The supply list is below. Start checking off that list before the holiday season gets into full swing!

XO,
Debi Adams
www.debi-adams.com
Read more


 />
/>