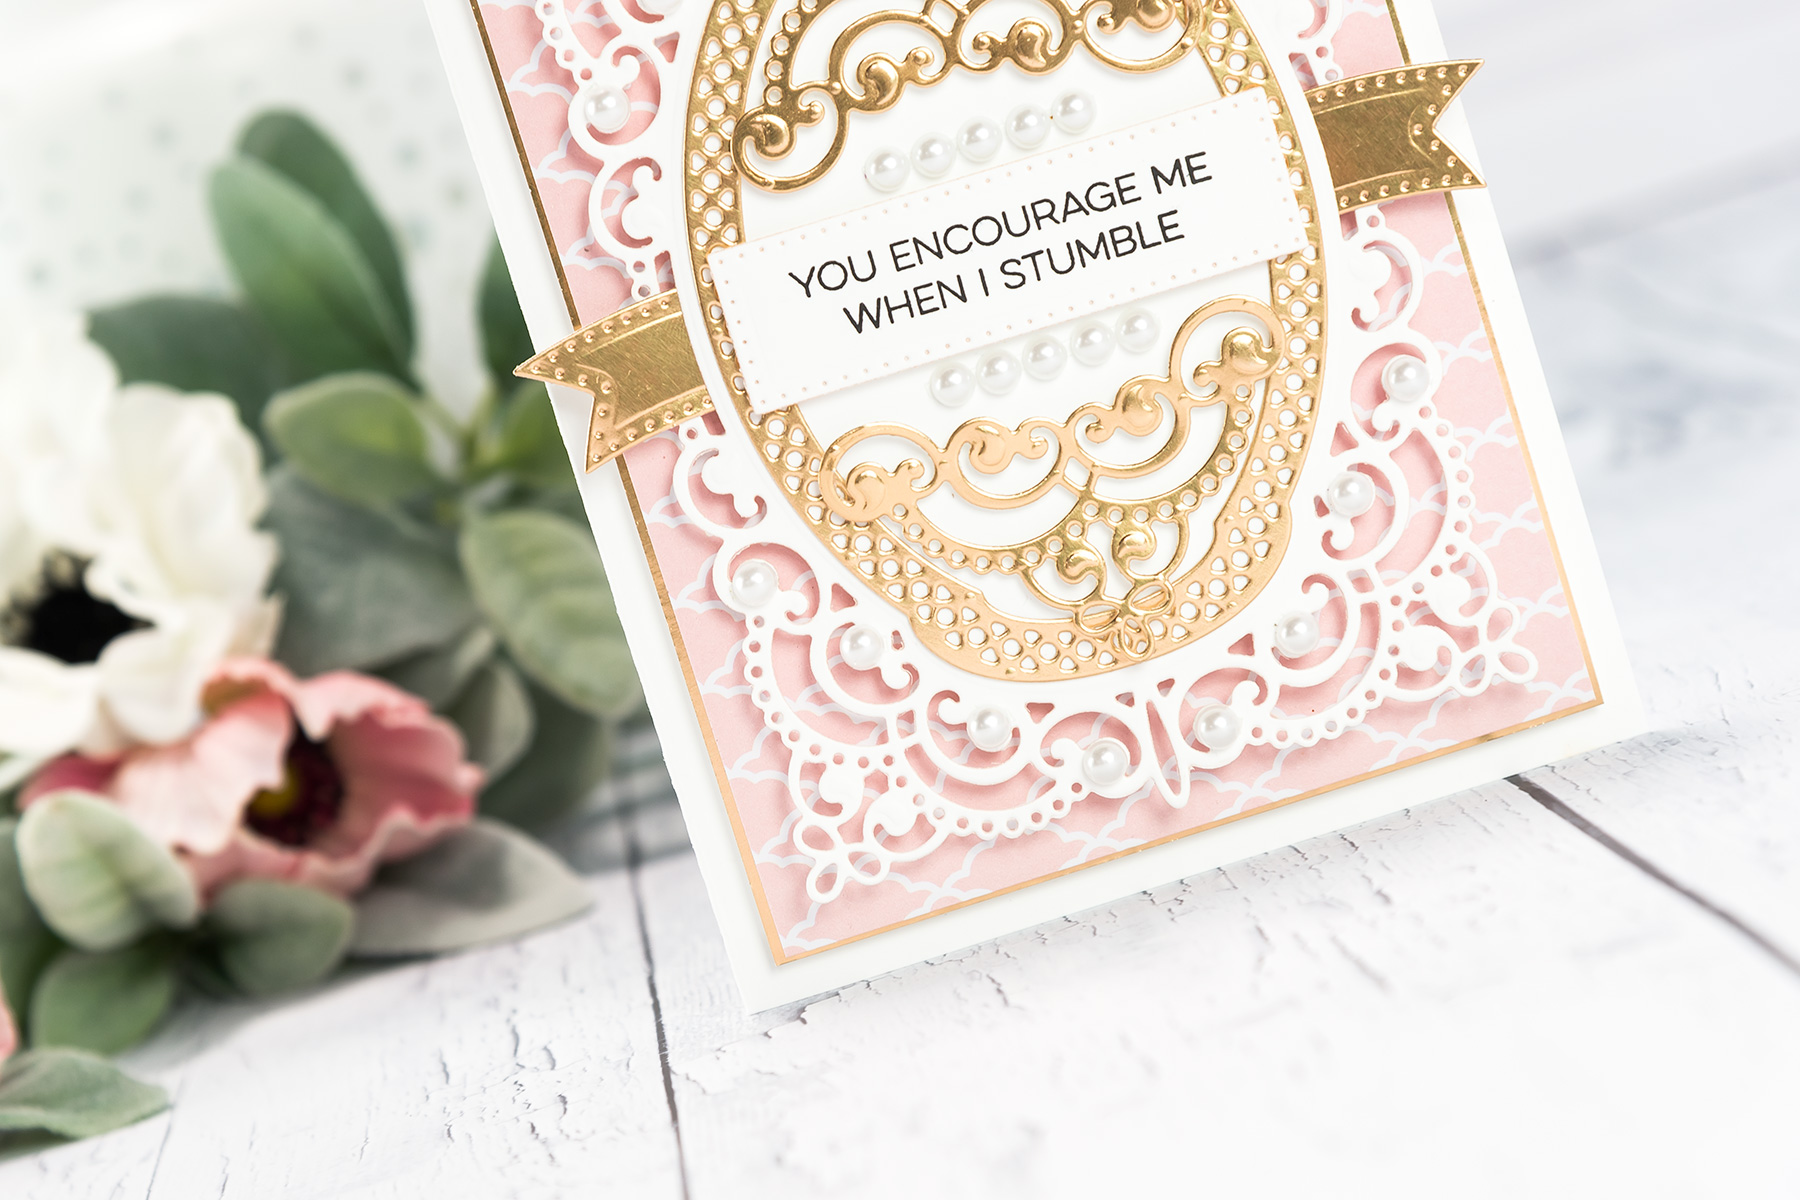
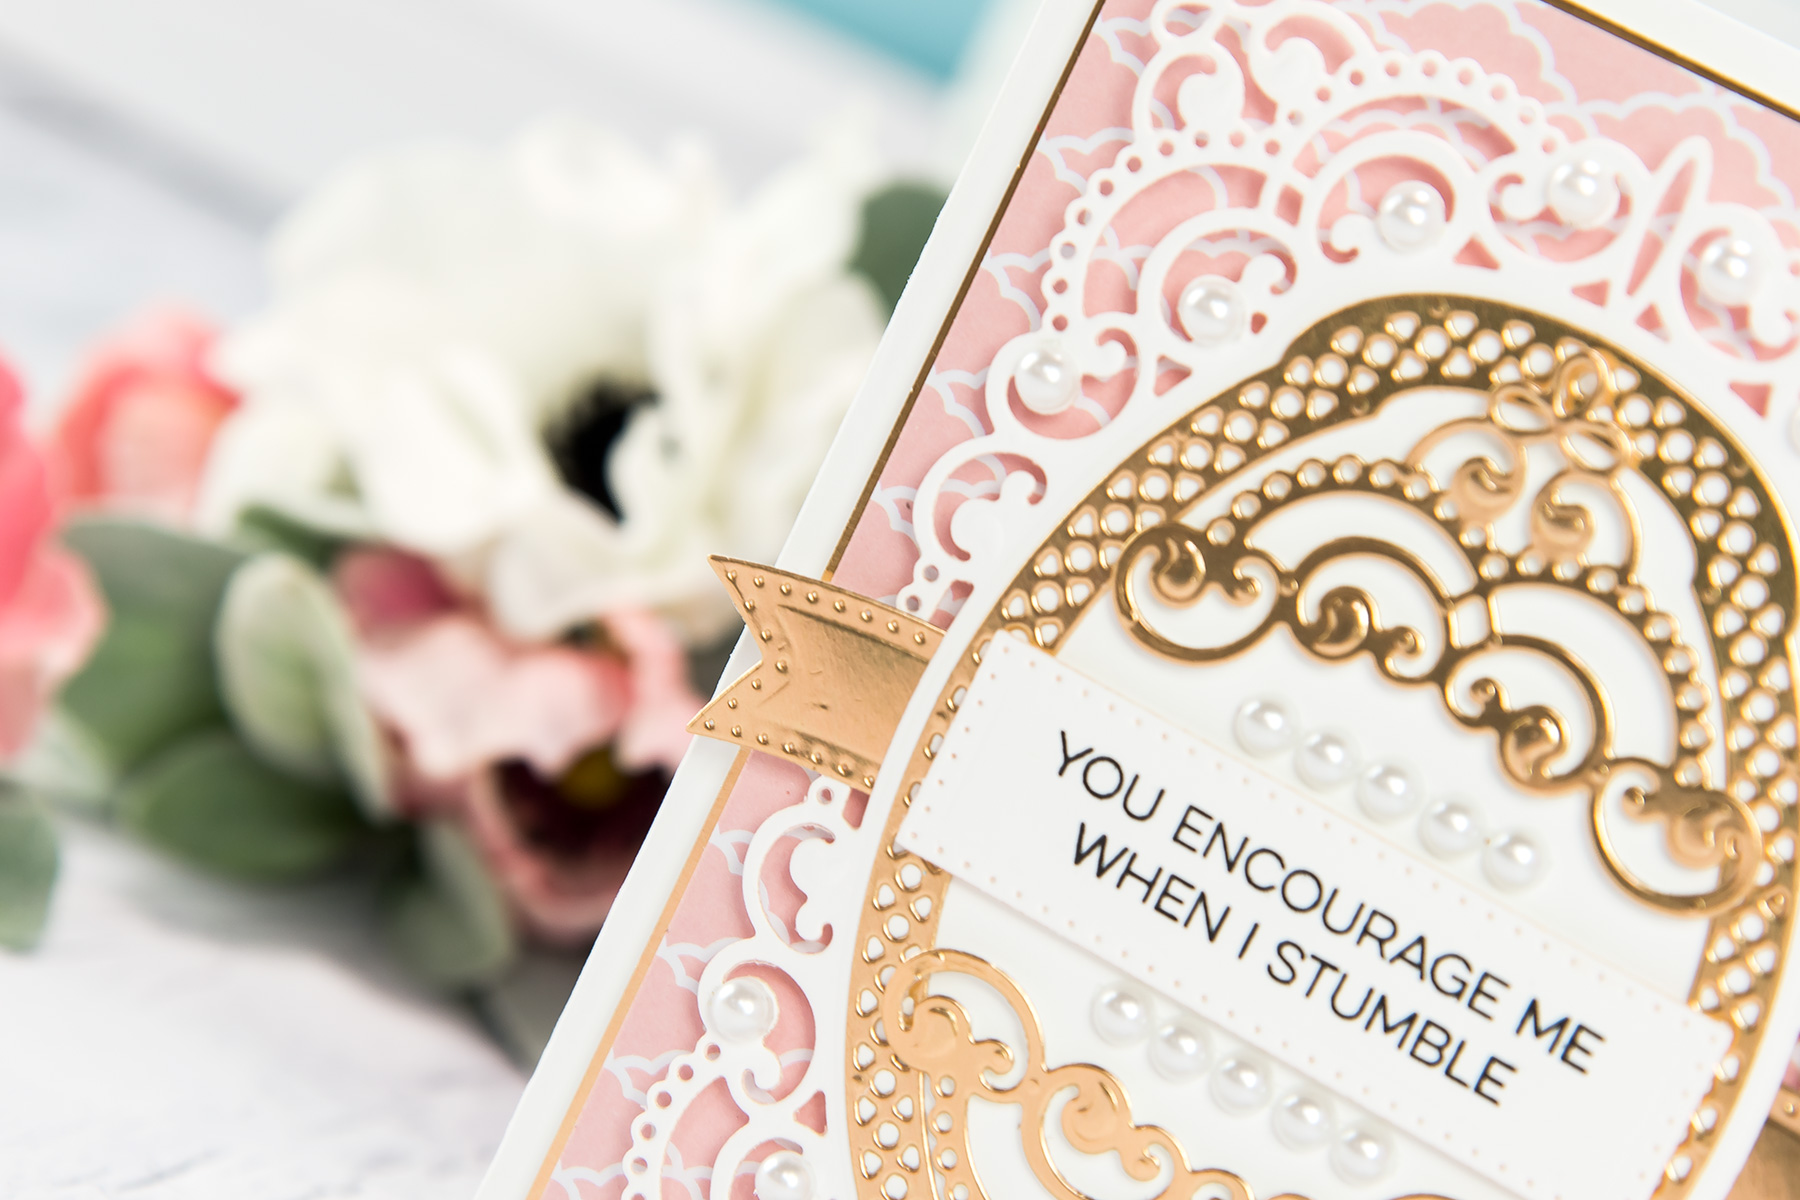
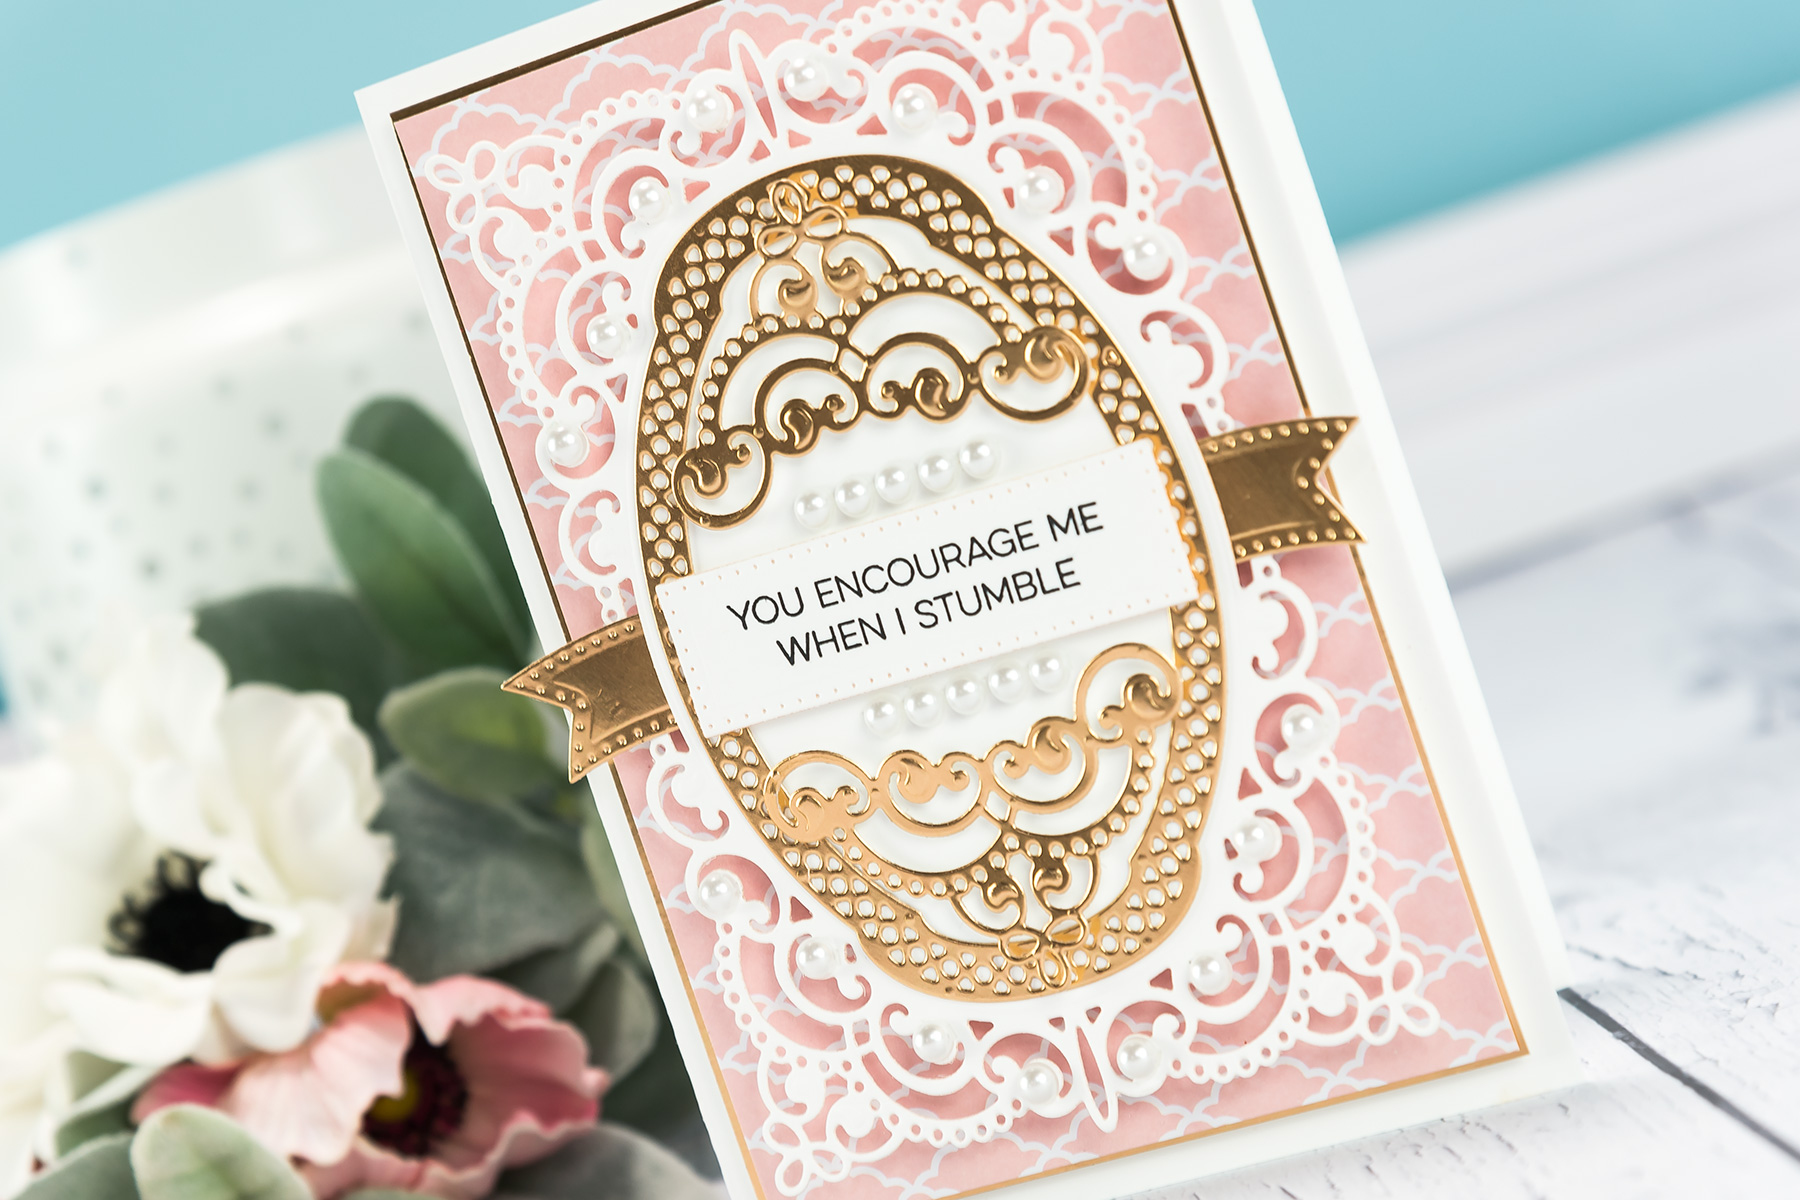
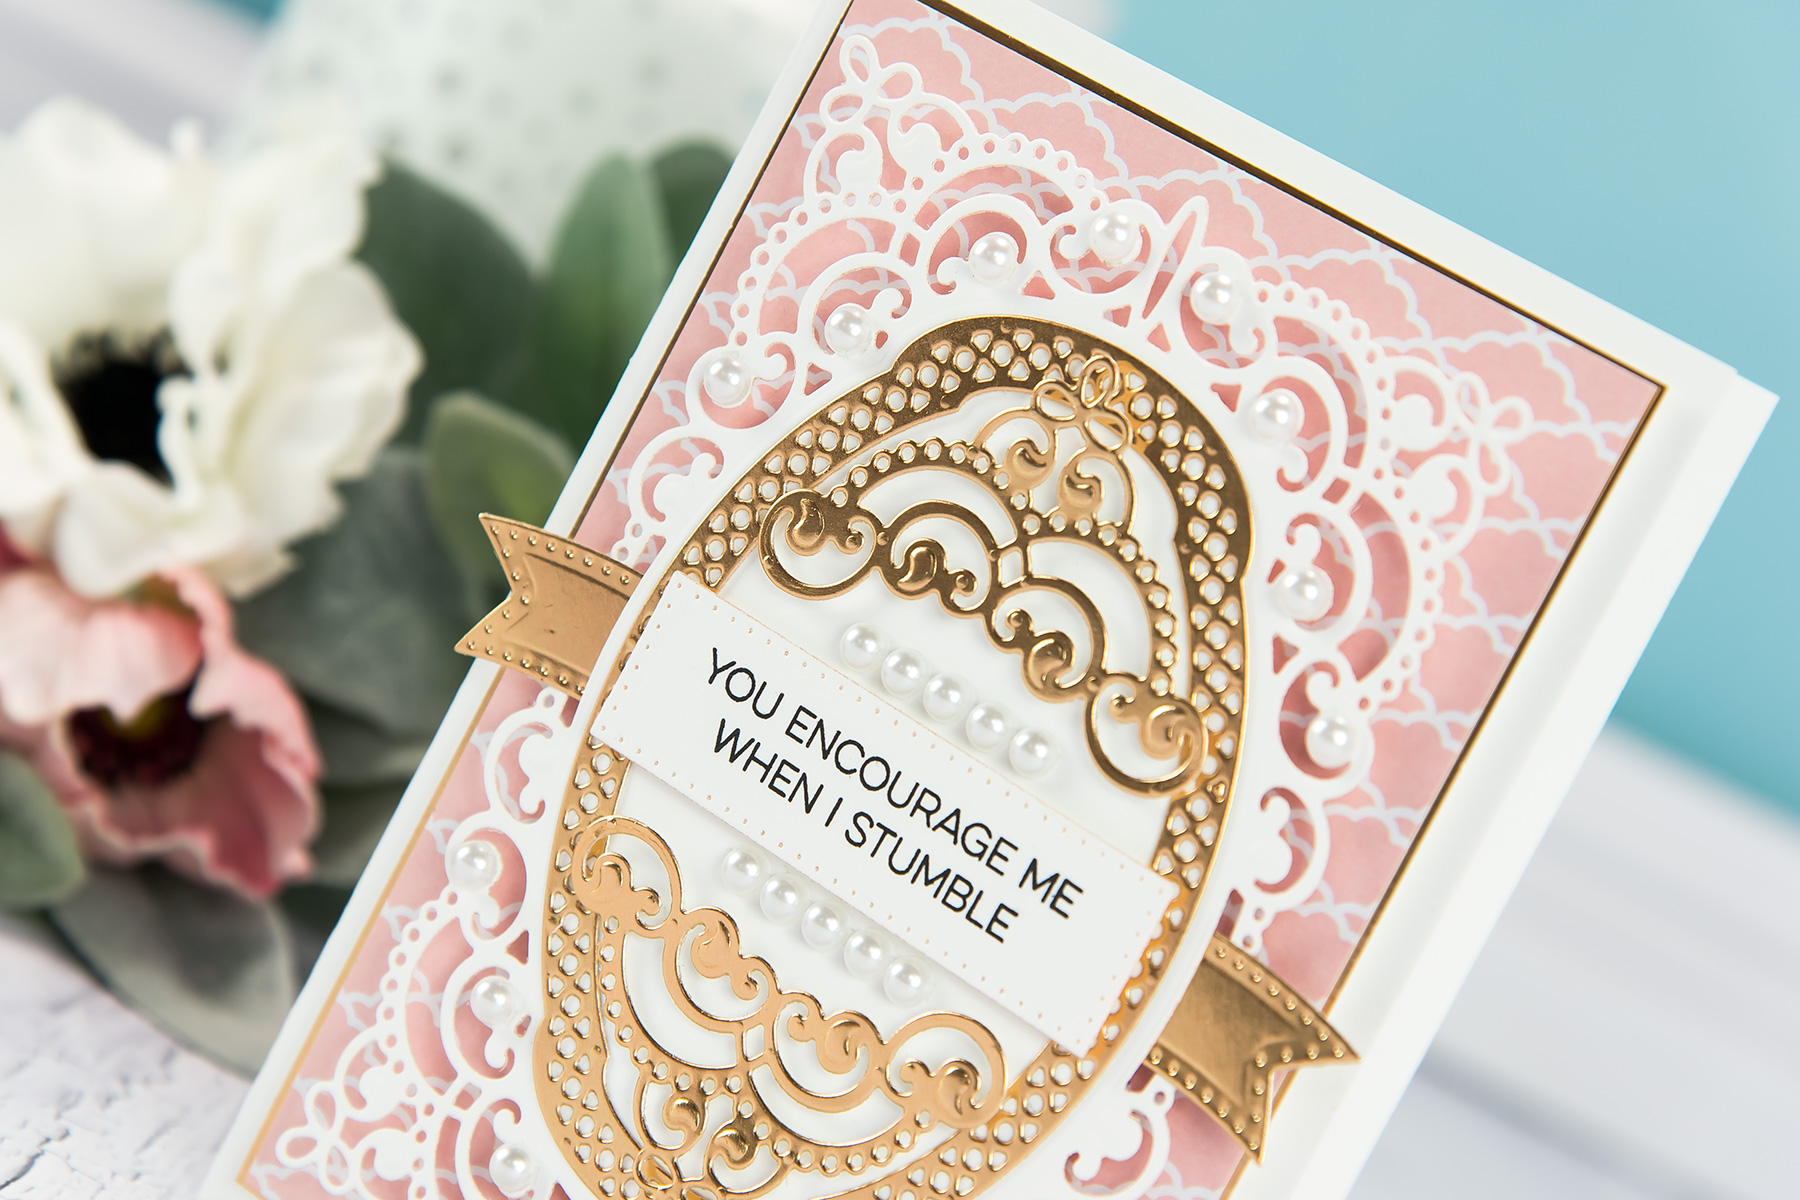
Hello Spellbinders’ fan! Have you been busy die-cutting and making stunning projects? We hope you have! Today we’d like to share a beautiful 5x7" card created using dies from the Chantilly Paper Lace collection by Becca Feeken.
Other Supplies:
White Cardstock (Neenah Solar White 110LB & 80 LB); Gold Foil Cardstock; Patterned Paper (DCWV - Happy Day Stack); Fun Foam; Tape Runner; Clear Stamp (MFT - Kind Thanks); Versafine Onyx Black Ink; Self Adhesive Pearls; Elmer’s Multi-Purpose Spray Adhesive
Thank you for joining us today, friends! We hope you like this project and will give this idea a try! If you do, please share your project photos on social media and tag us so we can see!
Have fun die-cutting!
Hello everyone. This is Yana Smakula and thank you for joining me! This blog post and video is a part of a monthly feature I’m hosting on Spellbinders blog and Youtube channel called “Layered Dimensional Die Cutting”. I hope you’ve enjoyed pervious episodes, in case you missed them you can find them here.
What is “Layered Dimensional Die Cutting Series”? Once a month I’m sharing a card project along with a detailed video tutorial showcasing traditional Spellbinders style with lots of die-cut layers and dimension!
I’m back with yet another Christmas card idea mixing and matching dies from 8 different Spellbinders die sets (I don’t think I’ve ever combined so many different dies on one project, but I love the way it turned out). By the way, this card appeared in the 28th issue of Die-cutting Essentials Magazine and I also have other Holiday card ideas published in that issue in case you’d like to check it out for more inspiration.
I started working on this card by die-cutting a hemstitch detail in a patterned paper panel, I just love unique detail that this die adds to my projects. I adhered a layer of white paper underneath it, adhered onto red cardstock panel and adhered onto my card.
The card base and panels measure as follows:
5 ¾ x 7 ¾ “ folding card base;
5 ⅝ x 7 ⅝ “ red cardstock panel;
5 ½ x 7 ⅛ “ patterned paper panel.
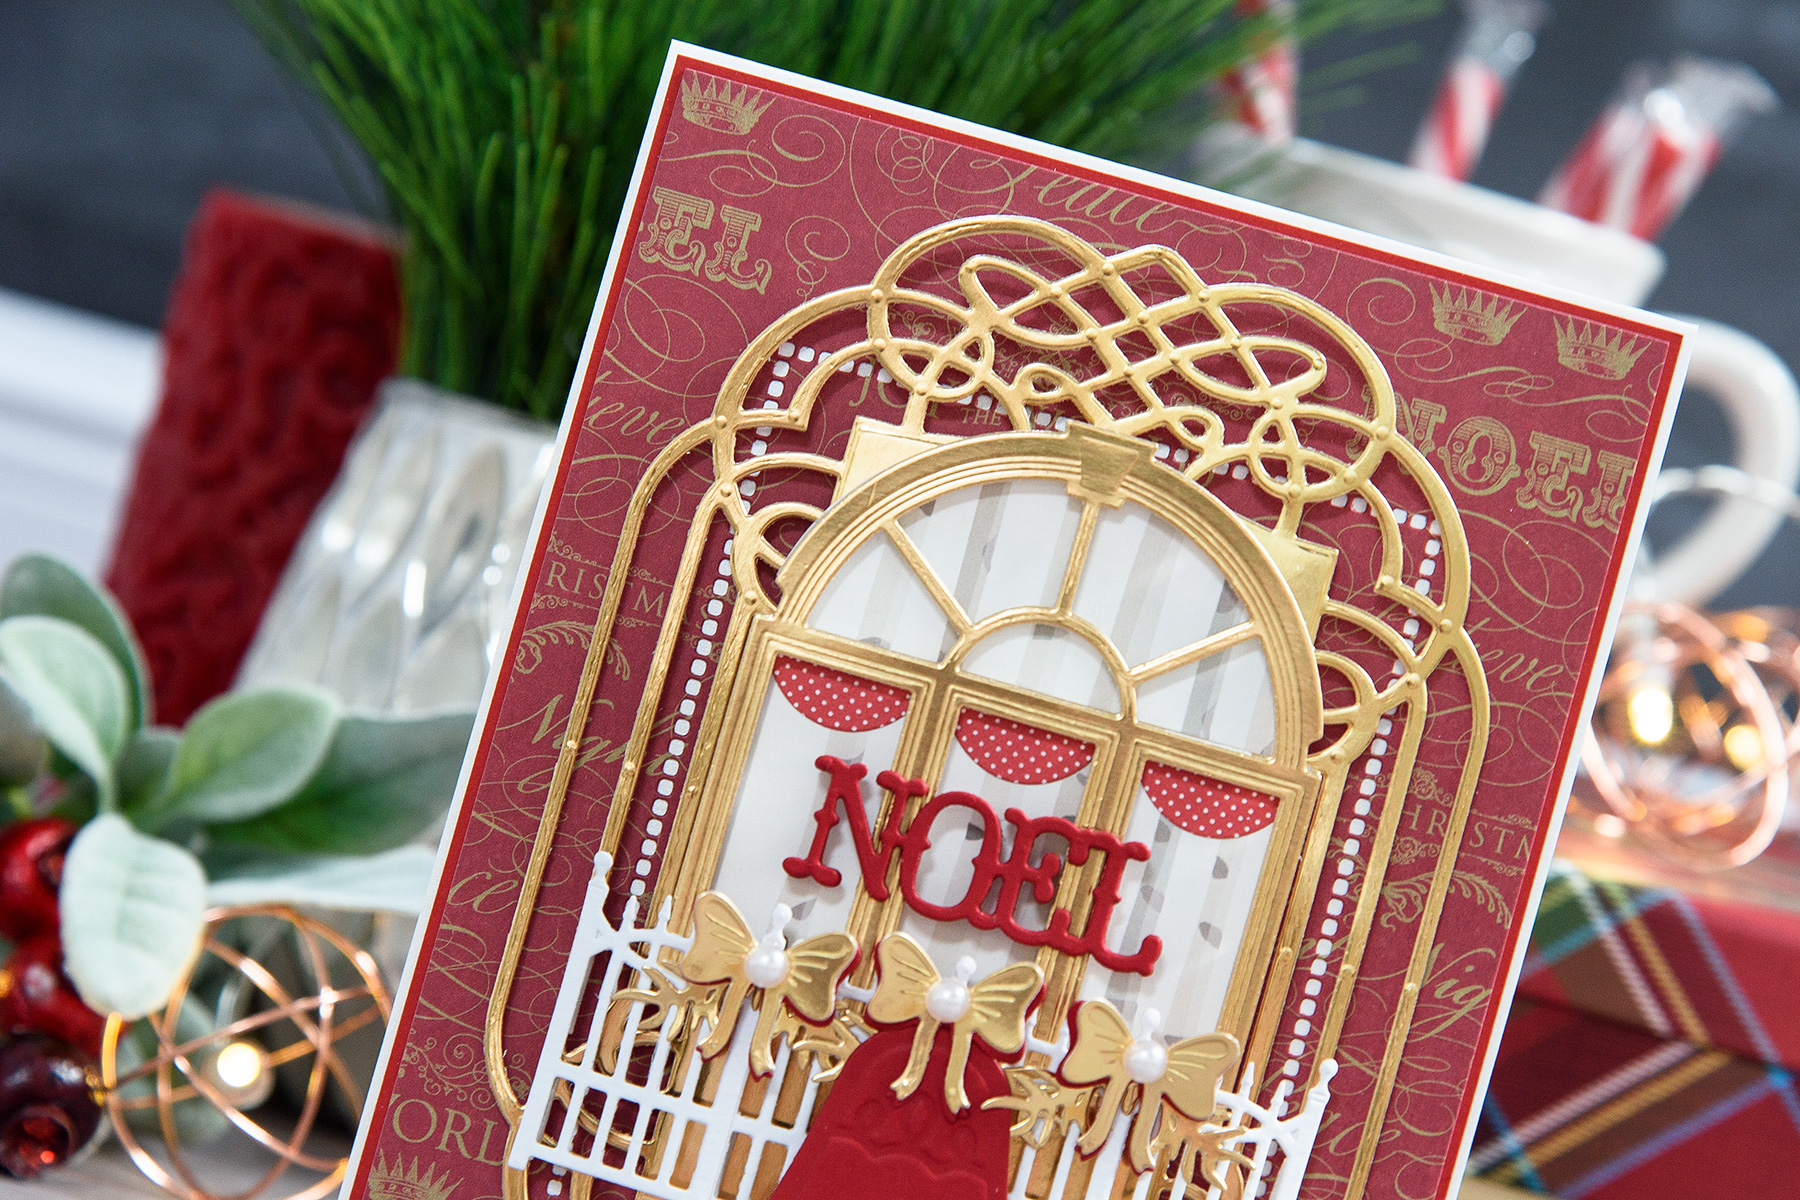
Next, I die-cut and embossed a label using the largest die from the Ornamental Crest set and foam mounted onto the card.
I love to use foam adhesive as it helps to separate the die cuts from the background and it helps them be more prominent on my projects. I also rarely use patterned paper for detailed dies cuts like this or similar as the pattern gets lots and it also clutters up the shape and you can no longer tell what the shape is so it’s best to use solid colored paper for elements like this and similar.
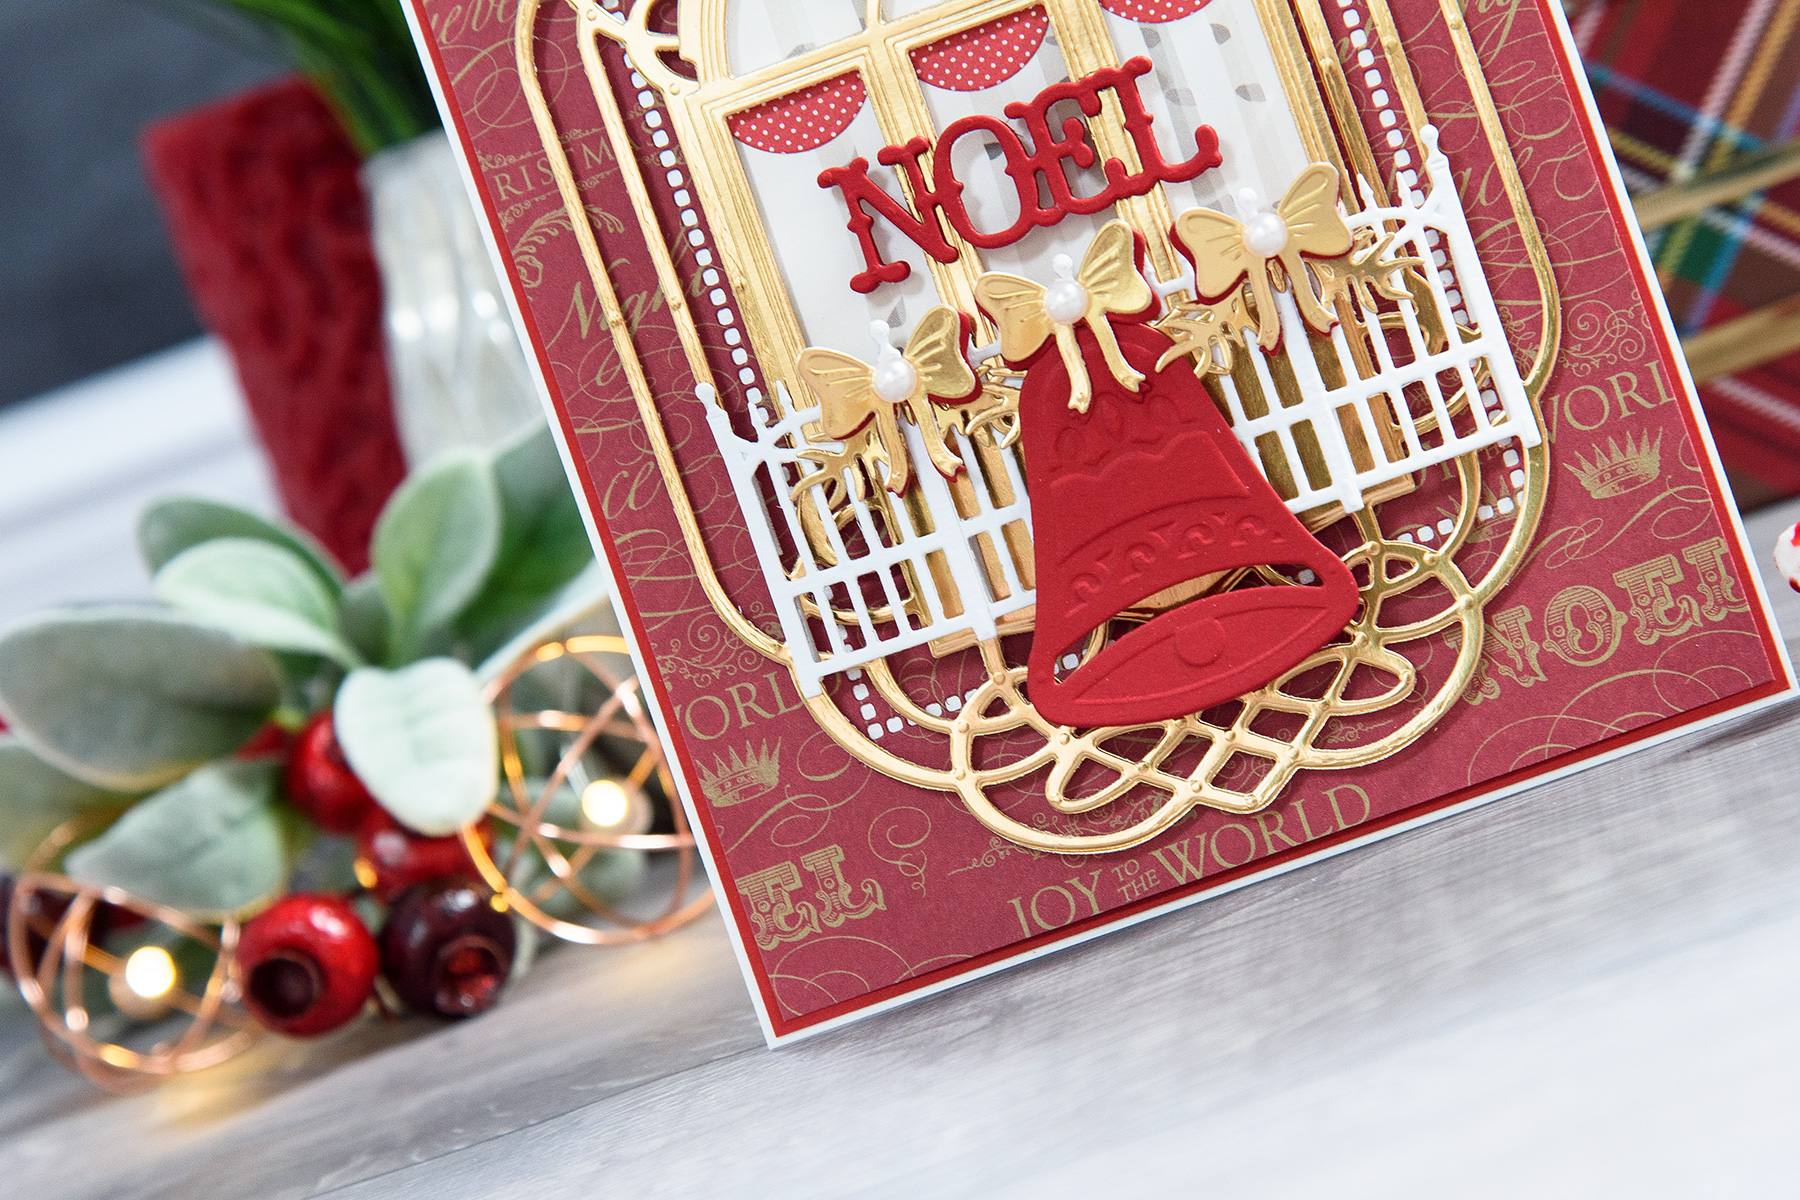
Next, I die-cut a window using a die from the Decorative Flower Box die. Spellbinders has several different window die designs so you can easily change this one to a different window or maybe even a die cut door.
I also die-cut little curtains for my card using same die and red and white polka dot paper. I adhered them from the inside of the window. To create the panel you can see through the window I traced around patterned paper, cut it out with scissors and foam mounted my window on top.
Now with this patterned paper technically the view from the window is not going to be 100% correct as the viewer is looking from the outside into the house, so it would be best to add patterned paper that resembles wallpaper and maybe even create a little scene - maybe add an armchair, a lamp, a bookcase etc.
After adhering the window in place I started working on a fence. I used the Garden Gate die and cut it twice out of white paper. This die cuts the fence and a garden gate, I only needed the fence pieces for my card so I discarded the gate, glued the fence together and foam mounted it onto my card partially covering the window.
Lastly, I die cut 3 bows out of gold foil and 3 more out of red cardstock; 6 pine branches out of gold foil cardstock and one bell out of red. All of these little pieces were used to embellish the fence and make it a bit more festive for the Holiday season.
Instead of stamping a sentiment I die-cut “Noel” 5 times and adhered the pieces together to create a chipboard-like piece.
Other supplies:
First Edition Jingle All The Way 8x8” Paper Pad; Carta Bella Snow Fun 6x6” Paper Pad; Cardstock: Neenah Solar White 110 LB cardstock, My Colors Cardstock Red Cherry 12x12 cardstock, Gold Foil Cardstock; Self Adhesive White Pearls; White Fun Foam; Stick It Double Sided Adhesive Sheets; Scrapbook Adhesives 3D Foam Squares.
Watch video tutorial below or on Youtube to learn how to make this project:
Thank you so much for stopping by today and have fun die cutting!
Hello everyone. This is Yana Smakula and thank you for joining me! This blog post and video is a part of a monthly feature I’m hosting on Spellbinders blog and Youtube channel called “Layered Dimensional Die Cutting”. I hope you’ve enjoyed pervious episodes, in case you missed them you can find them here.
What is “Layered Dimensional Die Cutting Series”? Once a month I’m sharing a card project along with a detailed video tutorial showcasing traditional Spellbinders style with lots of die-cut layers and dimension!
I’m back with yet another Christmas card idea mixing and matching dies from 8 different Spellbinders die sets (I don’t think I’ve ever combined so many different dies on one project, but I love the way it turned out). By the way, this card appeared in the 28th issue of Die-cutting Essentials Magazine and I also have other Holiday card ideas published in that issue in case you’d like to check it out for more inspiration.
I started working on this card by die-cutting a hemstitch detail in a patterned paper panel, I just love unique detail that this die adds to my projects. I adhered a layer of white paper underneath it, adhered onto red cardstock panel and adhered onto my card.
The card base and panels measure as follows:
5 ¾ x 7 ¾ “ folding card base;
5 ⅝ x 7 ⅝ “ red cardstock panel;
5 ½ x 7 ⅛ “ patterned paper panel.
Next, I die-cut and embossed a label using the largest die from the Ornamental Crest set and foam mounted onto the card.
I love to use foam adhesive as it helps to separate the die cuts from the background and it helps them be more prominent on my projects. I also rarely use patterned paper for detailed dies cuts like this or similar as the pattern gets lots and it also clutters up the shape and you can no longer tell what the shape is so it’s best to use solid colored paper for elements like this and similar.
Next, I die-cut a window using a die from the Decorative Flower Box die. Spellbinders has several different window die designs so you can easily change this one to a different window or maybe even a die cut door.
I also die-cut little curtains for my card using same die and red and white polka dot paper. I adhered them from the inside of the window. To create the panel you can see through the window I traced around patterned paper, cut it out with scissors and foam mounted my window on top.
Now with this patterned paper technically the view from the window is not going to be 100% correct as the viewer is looking from the outside into the house, so it would be best to add patterned paper that resembles wallpaper and maybe even create a little scene - maybe add an armchair, a lamp, a bookcase etc.
After adhering the window in place I started working on a fence. I used the Garden Gate die and cut it twice out of white paper. This die cuts the fence and a garden gate, I only needed the fence pieces for my card so I discarded the gate, glued the fence together and foam mounted it onto my card partially covering the window.
Lastly, I die cut 3 bows out of gold foil and 3 more out of red cardstock; 6 pine branches out of gold foil cardstock and one bell out of red. All of these little pieces were used to embellish the fence and make it a bit more festive for the Holiday season.
Instead of stamping a sentiment I die-cut “Noel” 5 times and adhered the pieces together to create a chipboard-like piece.
Other supplies:
First Edition Jingle All The Way 8x8” Paper Pad; Carta Bella Snow Fun 6x6” Paper Pad; Cardstock: Neenah Solar White 110 LB cardstock, My Colors Cardstock Red Cherry 12x12 cardstock, Gold Foil Cardstock; Self Adhesive White Pearls; White Fun Foam; Stick It Double Sided Adhesive Sheets; Scrapbook Adhesives 3D Foam Squares.
Watch video tutorial below or on Youtube to learn how to make this project:
Thank you so much for stopping by today and have fun die cutting!


 />
/>