☃️ Banner logo ☃️ Up to 50% Off ☃️

Spellbinders Blog

Creative DIY Party Décor Series | Falloween

Creative DIY Party Décor Series | Falloween

“Falloween” as I like to call it. It’s my favorite time of the year. How about you? I’m Debi Adams and I love the colors and scents of the season. When my kids were young, we would go apple and pumpkin picking this time every year. They are all grown now so when I start to reminisce, I pull out my favorite fall colors of paper and craft supplies and begin making some new fall décor as a way of creating my own new tradition. Today is Round 3 of my DIY Party Décor series and since Halloween is just a few short weeks away, I decided to make it around that theme. I’m not into the dark, evil side but rather the fun, celebratory part. I’ve created a treat bag, banner, napkin ring and cupcake topper. Even if you don’t have parties, like where I am these days, it’s always nice to add a splash of the season onto your tablescape. So, get your “making” on and let’s get started.

Treat Bag

Creative DIY Party Décor Series | Falloween by Debi Adams

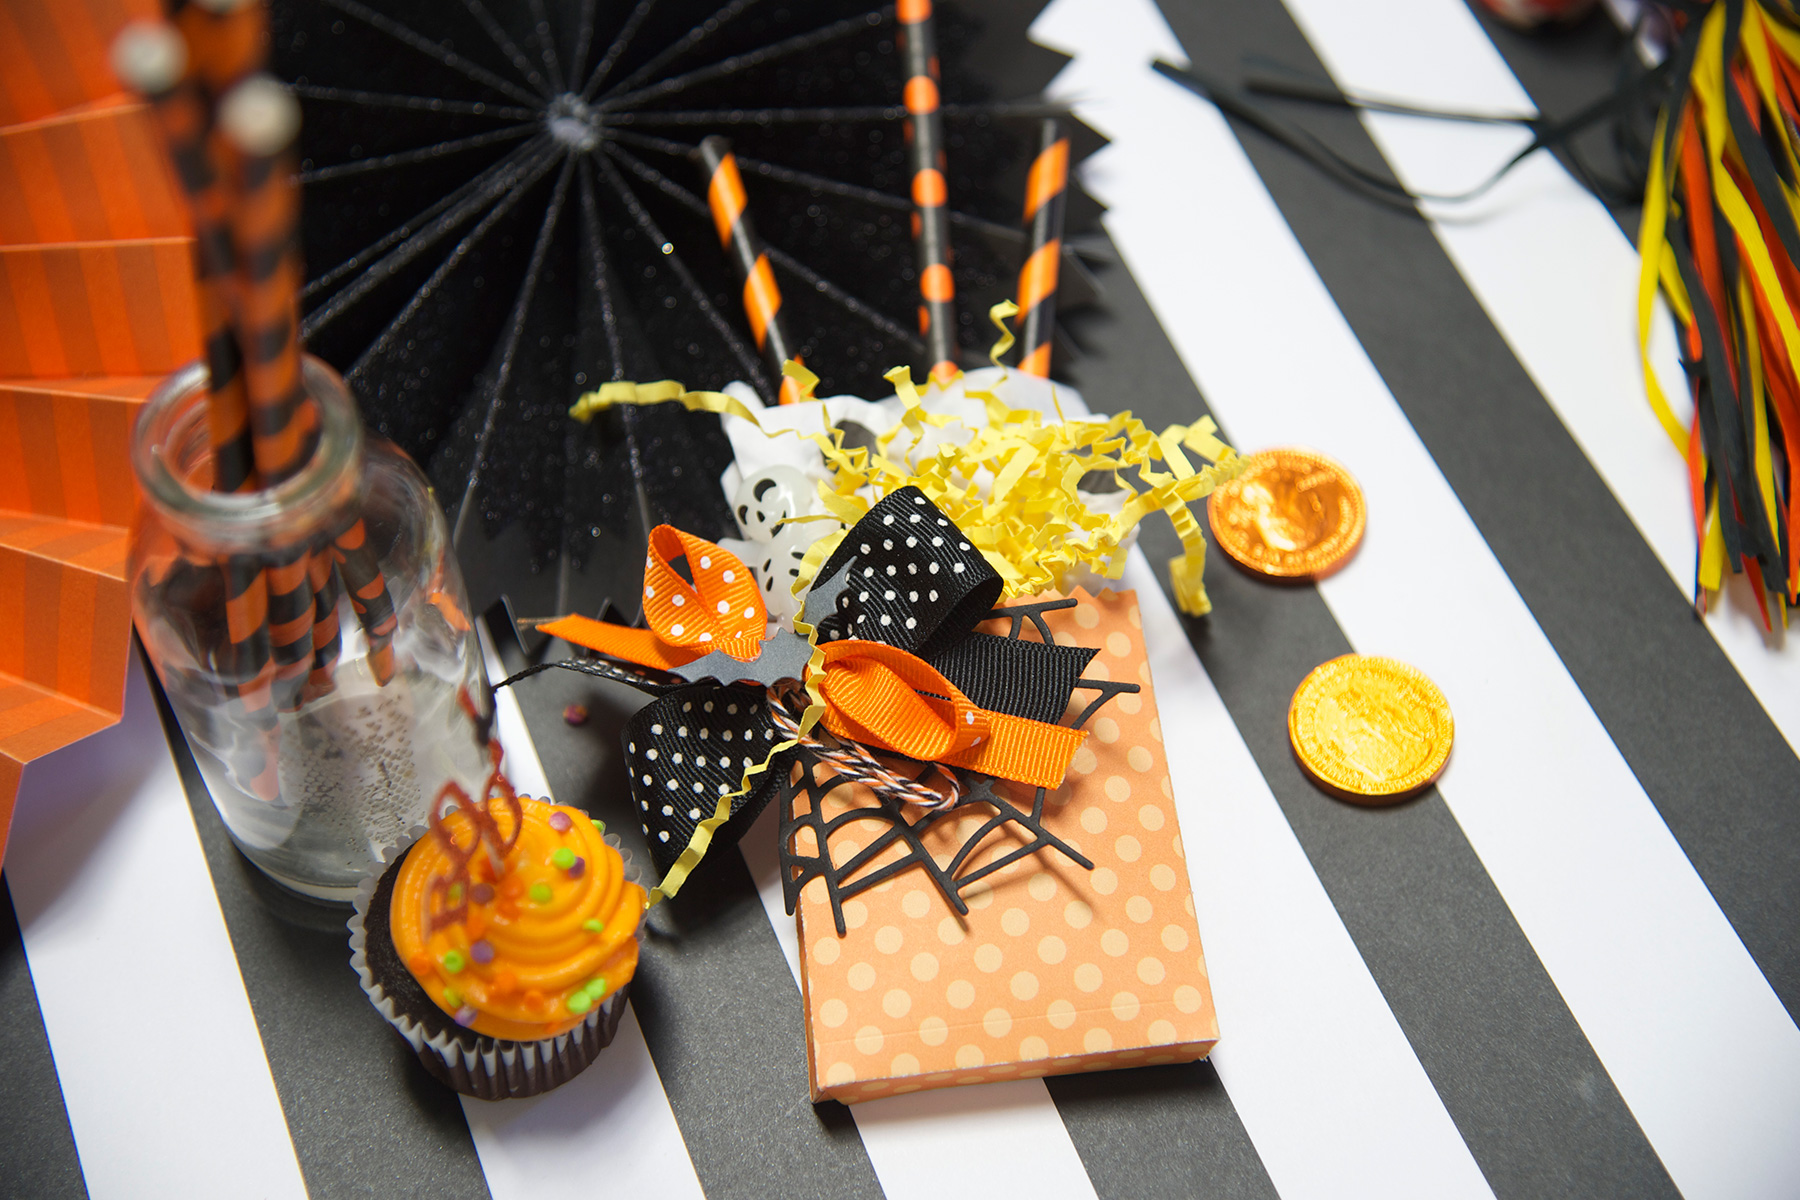
This party bag is really my Bag n Tag. I cut it from some festive cardstock and then added the die d-lite spider web, stuffed it with some goodies and embellished it with a skeleton from the local cake decorating store. It was all tied off with a bow and a die-cut bat.

Boo Banner

Creative DIY Party Décor Series | Falloween by Debi Adams

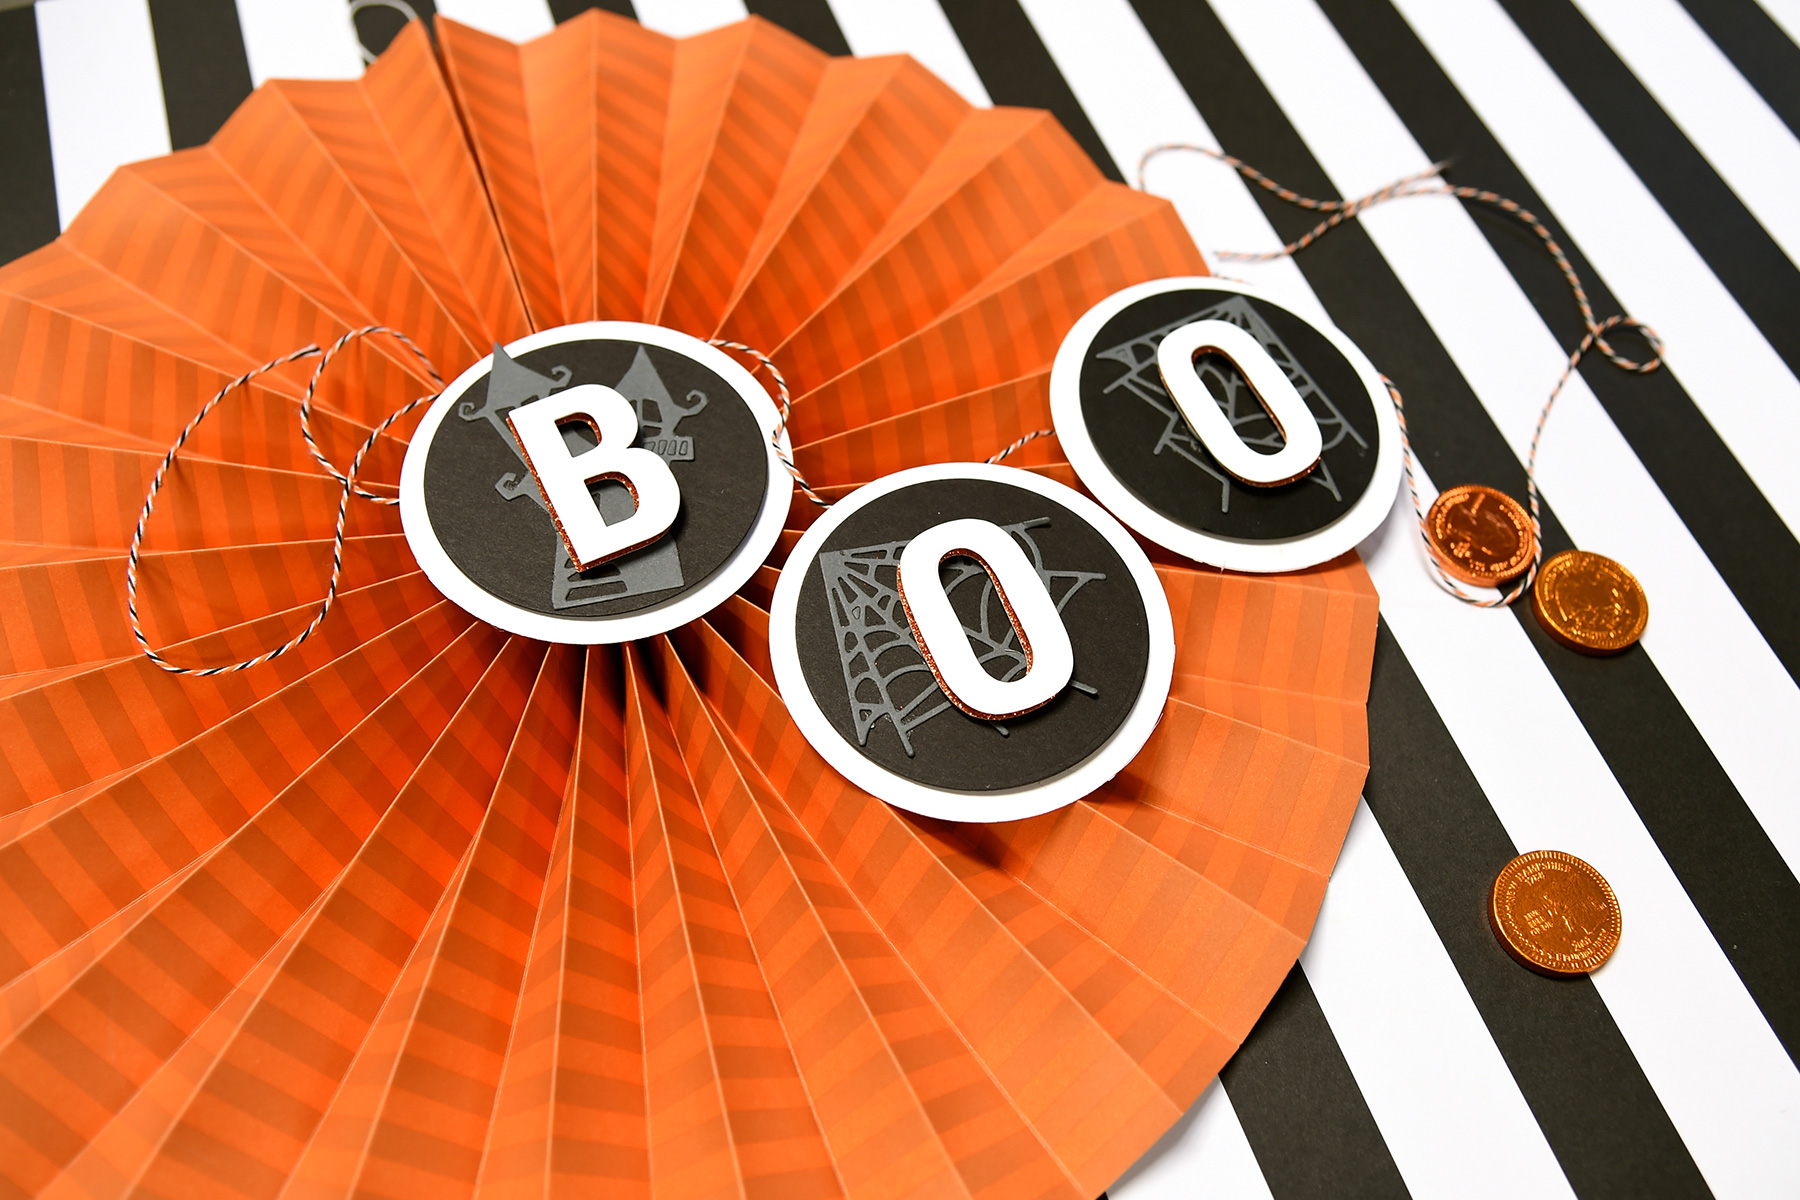
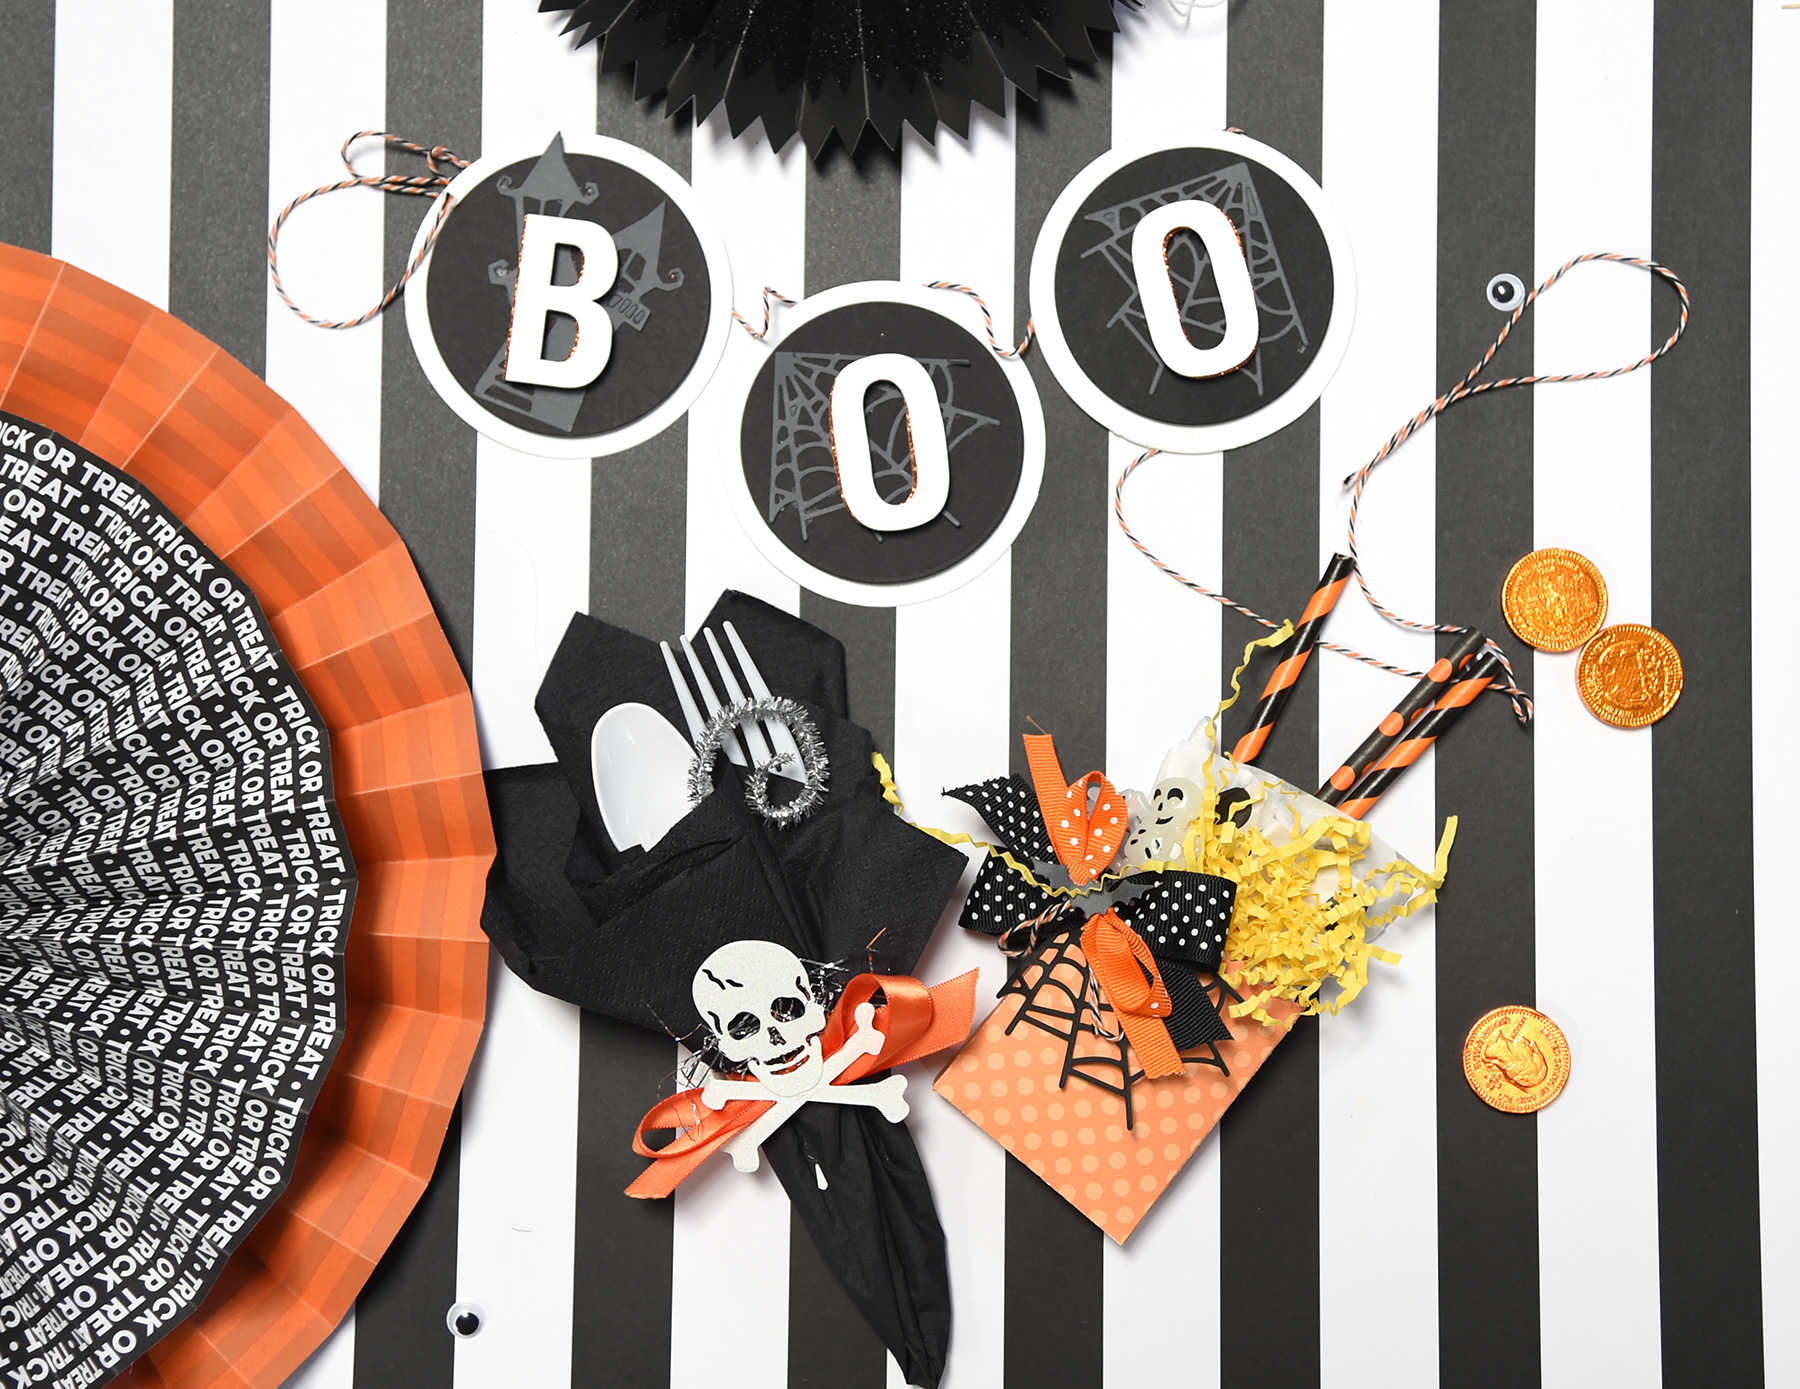
No party is complete without a banner, at least I don’t think so. Creating one like this is really simple. I die-cut three sets of two Nestabilities Circles each from black and white cardstock and layered them together. It seemed a bit plain to me so I die-cut two spider webs and a haunted house from a deep gray cardstock and adhered them to the black circles. Now I have a background. Using our contour alphabet die set comes in really handy if you aren’t too accomplished at hand-lettering. I die-cut my sentiment from white cardstock and again in orange glittered paper. Offsetting the pieces created a pop of color. When completed, I attached them to the banner using pop dots. Finally I added twine to the back of the circles and it was ready to hang.

Napkin Ring

Creative DIY Party Décor Series | Falloween by Debi Adams

I thought it would be fun to add a little “fright” to the party by attaching the skeleton onto a ribbon-tied napkin ring. The skeleton was die-cut from glittered cardstock. I stuffed a little bit of silver fru-fru behind his head for a bit of glimmer.

Cupcake Topper

Creative DIY Party Décor Series | Falloween by Debi Adams

The easiest and least expensive way to add pizzazz to your table décor is by adding a decorated toothpick. The sentiment “boo” seemed the perfect size for these mini cupcakes. Because they are so easy to make, your kids or grandkids could step in and help! The “boo” also makes great confetti and can be die-cut from just scraps of paper.

Spellbinders Supplies:

So that is just my two cents on what makes great party décor. It’s always nice to be able to pick your own colors or coordinate the décor with your purchased plates, napkins and cups. Would love to hear what you like to do for décor for Fall or Halloween. Do you like to decorate your home or do you like to have parties? Either which way, I’m sure your place looks amazing! Send a pic. I would love to see what you create. XO, Debi

Creative DIY Party Décor Series | Falloween by Debi Adams


Read more

Card Making Challenge! Take Two - Stephanie Low & Sharyn Sowell

Card Making Challenge! Take Two - Stephanie Low & Sharyn Sowell

Hello Spellbinders' fans! Thank you so much for joining us this week as we host our first Card Making Challenge! We asked a few of our designers and spellbloggers to share their take on one of our cards kits - December 2016 Card Kit of the Month and we are excited to show you what they all made!

Join us today and during the next few days as we share projects from Tammy Tutterow, Stephanie Low, Sharyn Sowell, Debi Adams and Jennifer Snyder.

Today we have projects from two of our licensed designers - Stephanie Low, Sharyn Sowell!

First up - Stephanie Low!

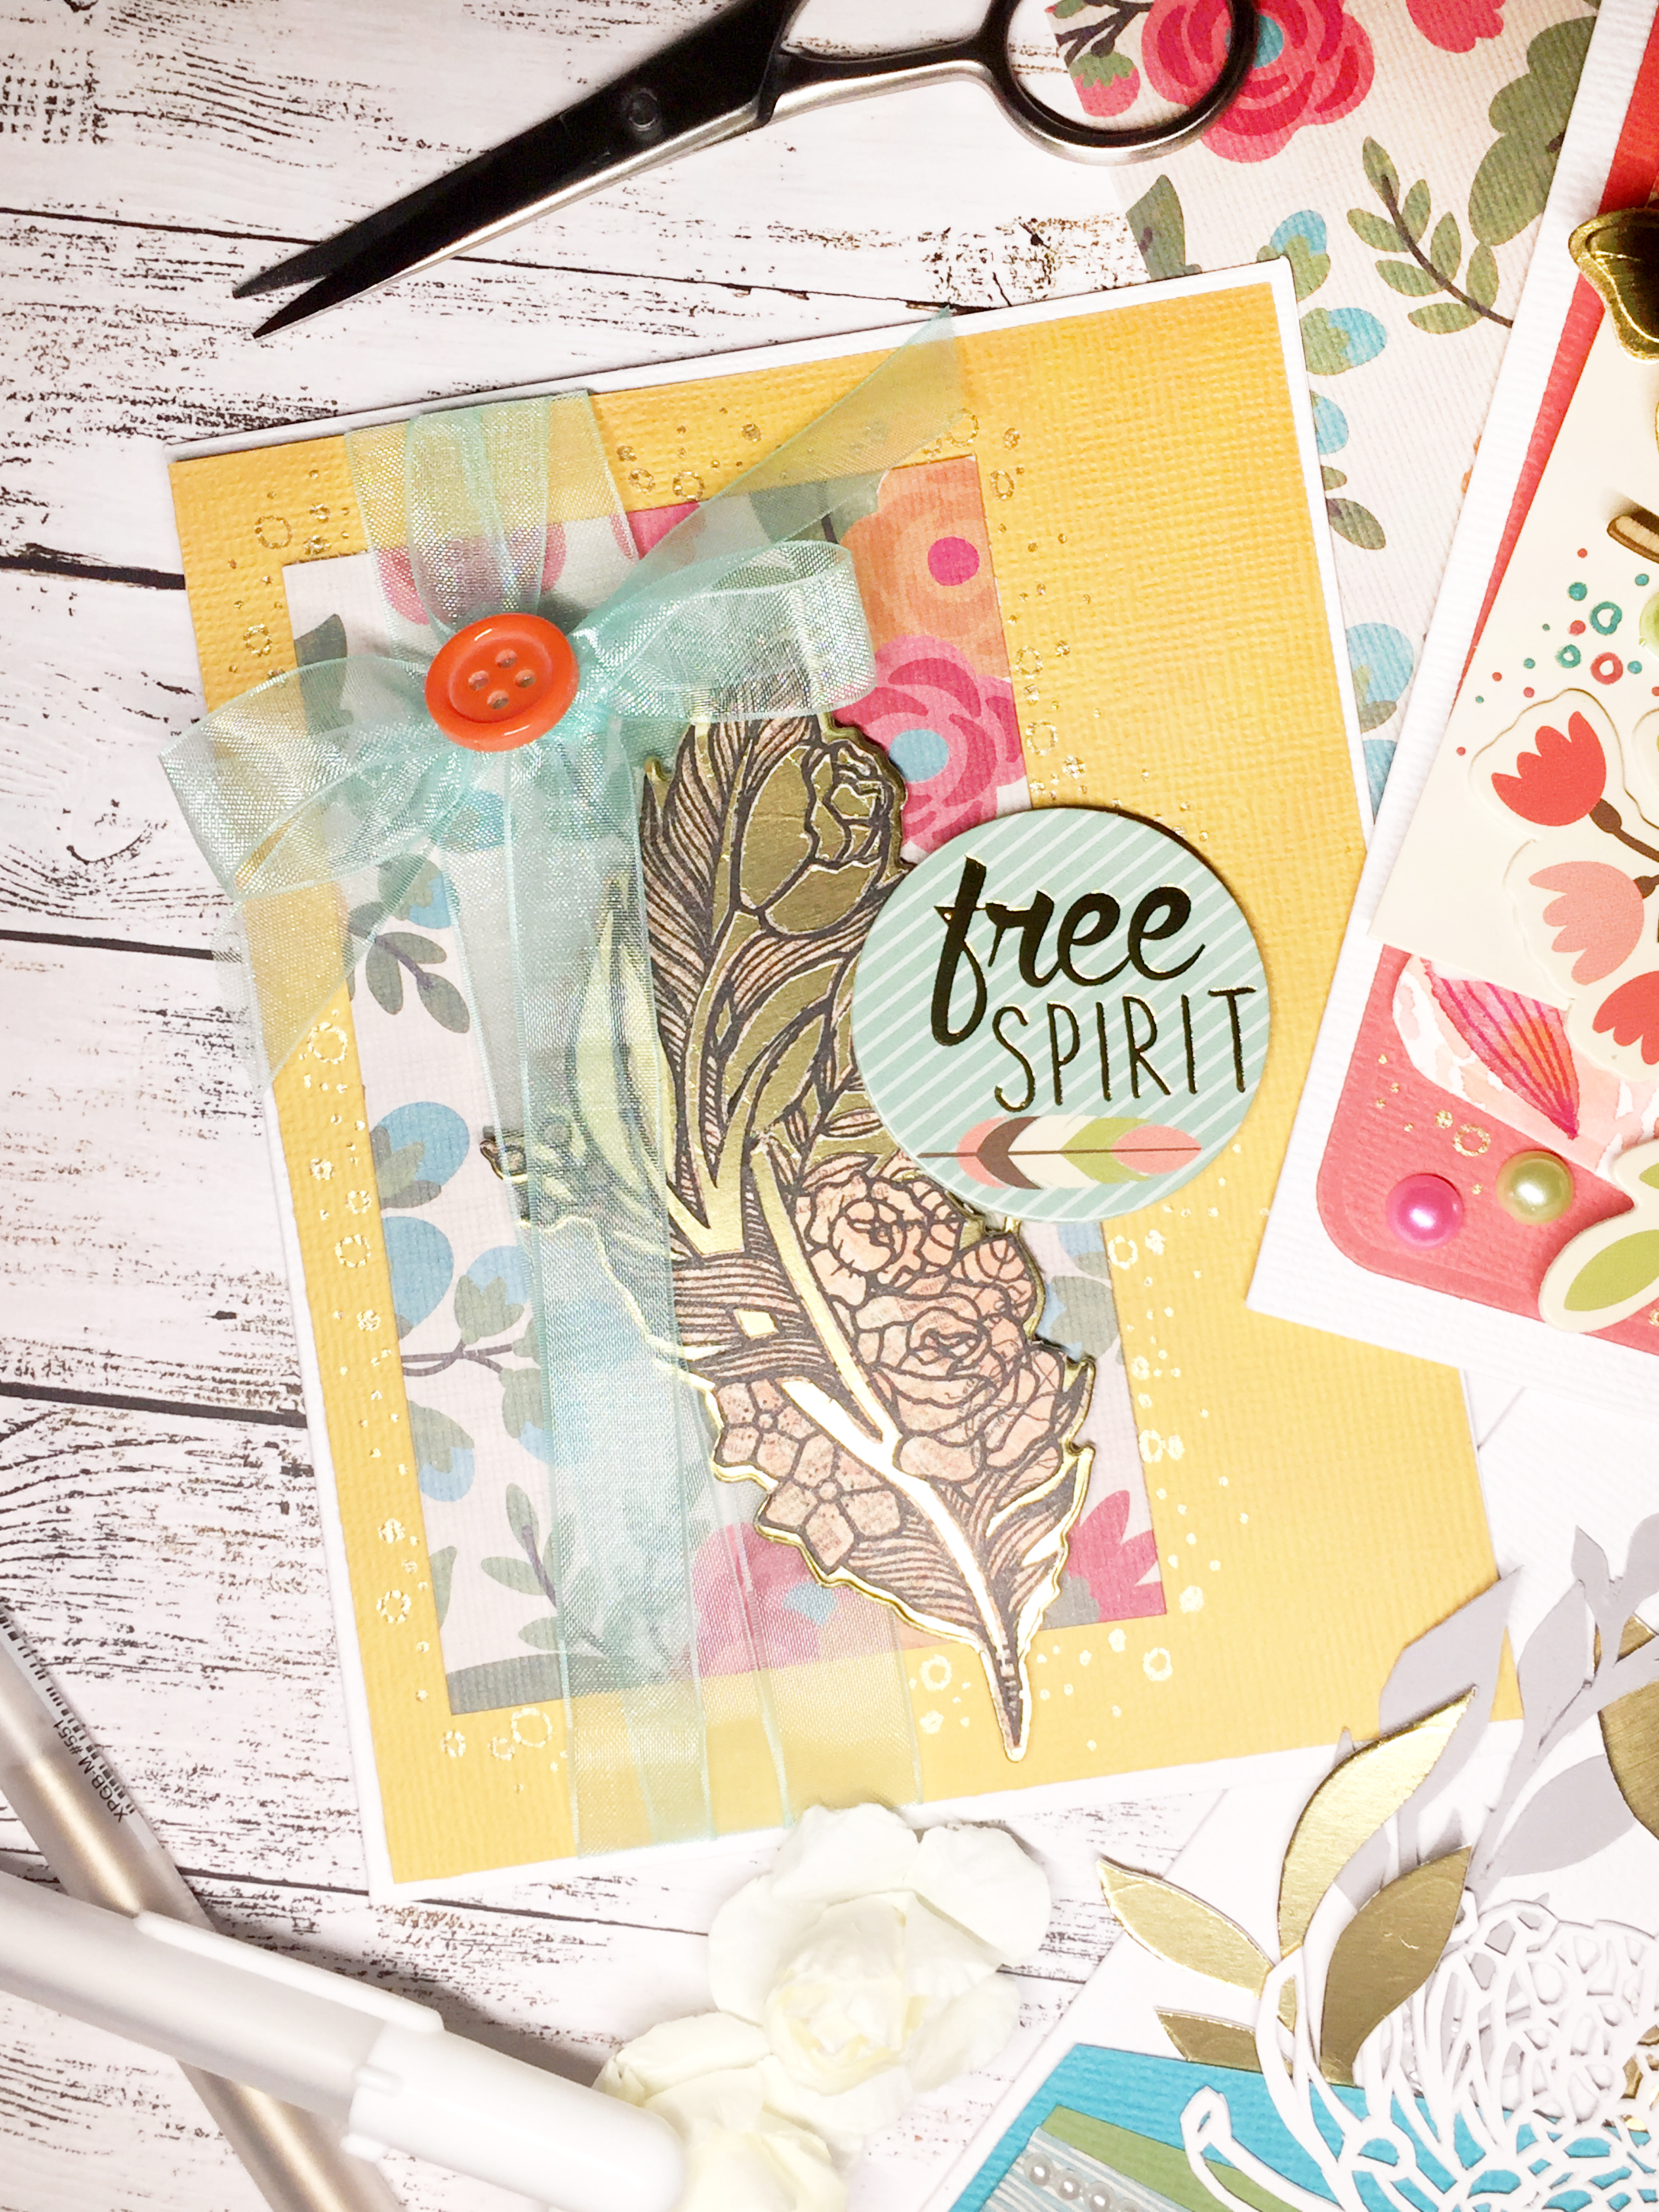
I cannot even get over how fun it was to open up a box of pretty goodies and then be expected to make pretty goodies with all of my new supplies!  Goody!  Ok, cheesy and enthusiastic excitement done.  But seriously, super fun!  The color palette was fun to play with too.  I like that it is basically a very "primary" color scheme - "red yellow blue" - except more fun!  I will also go on record saying that "mustard" is like the best color ever.  So earthy and golden and warm - like candle light or "golden hour" at the end of the day.

Card Making Challenge! Take Two - Stephanie Low

Projects Details

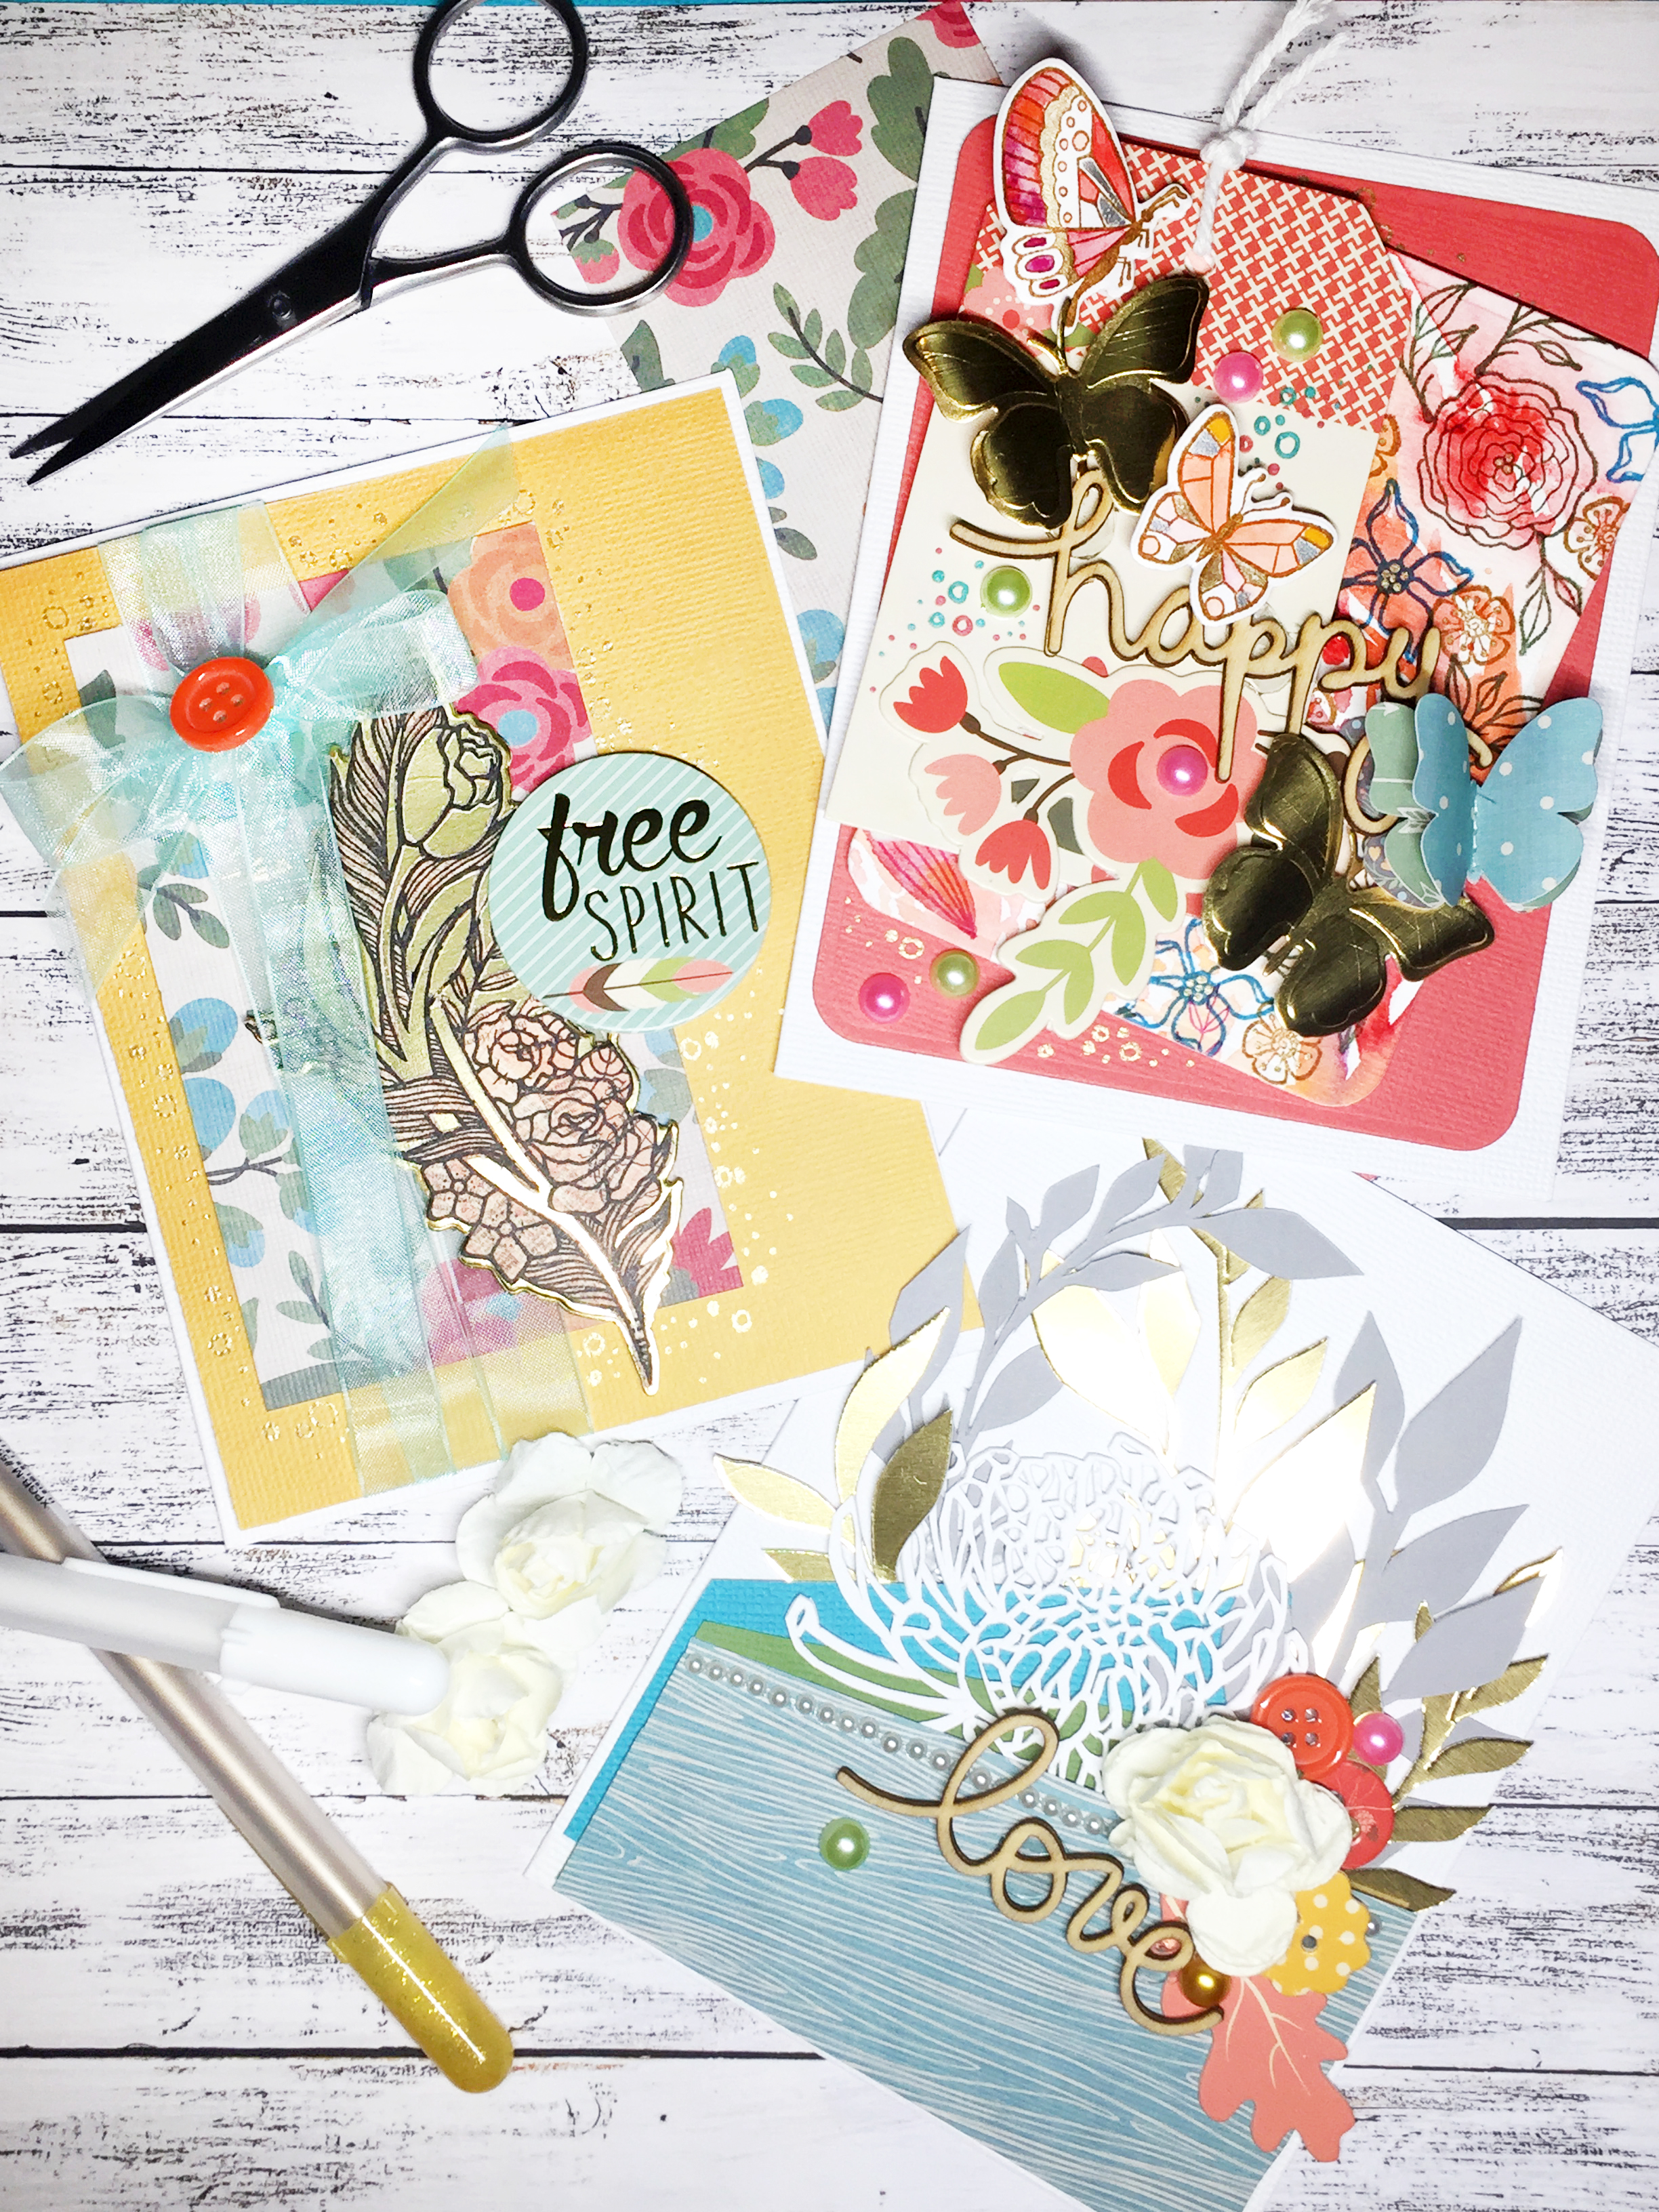
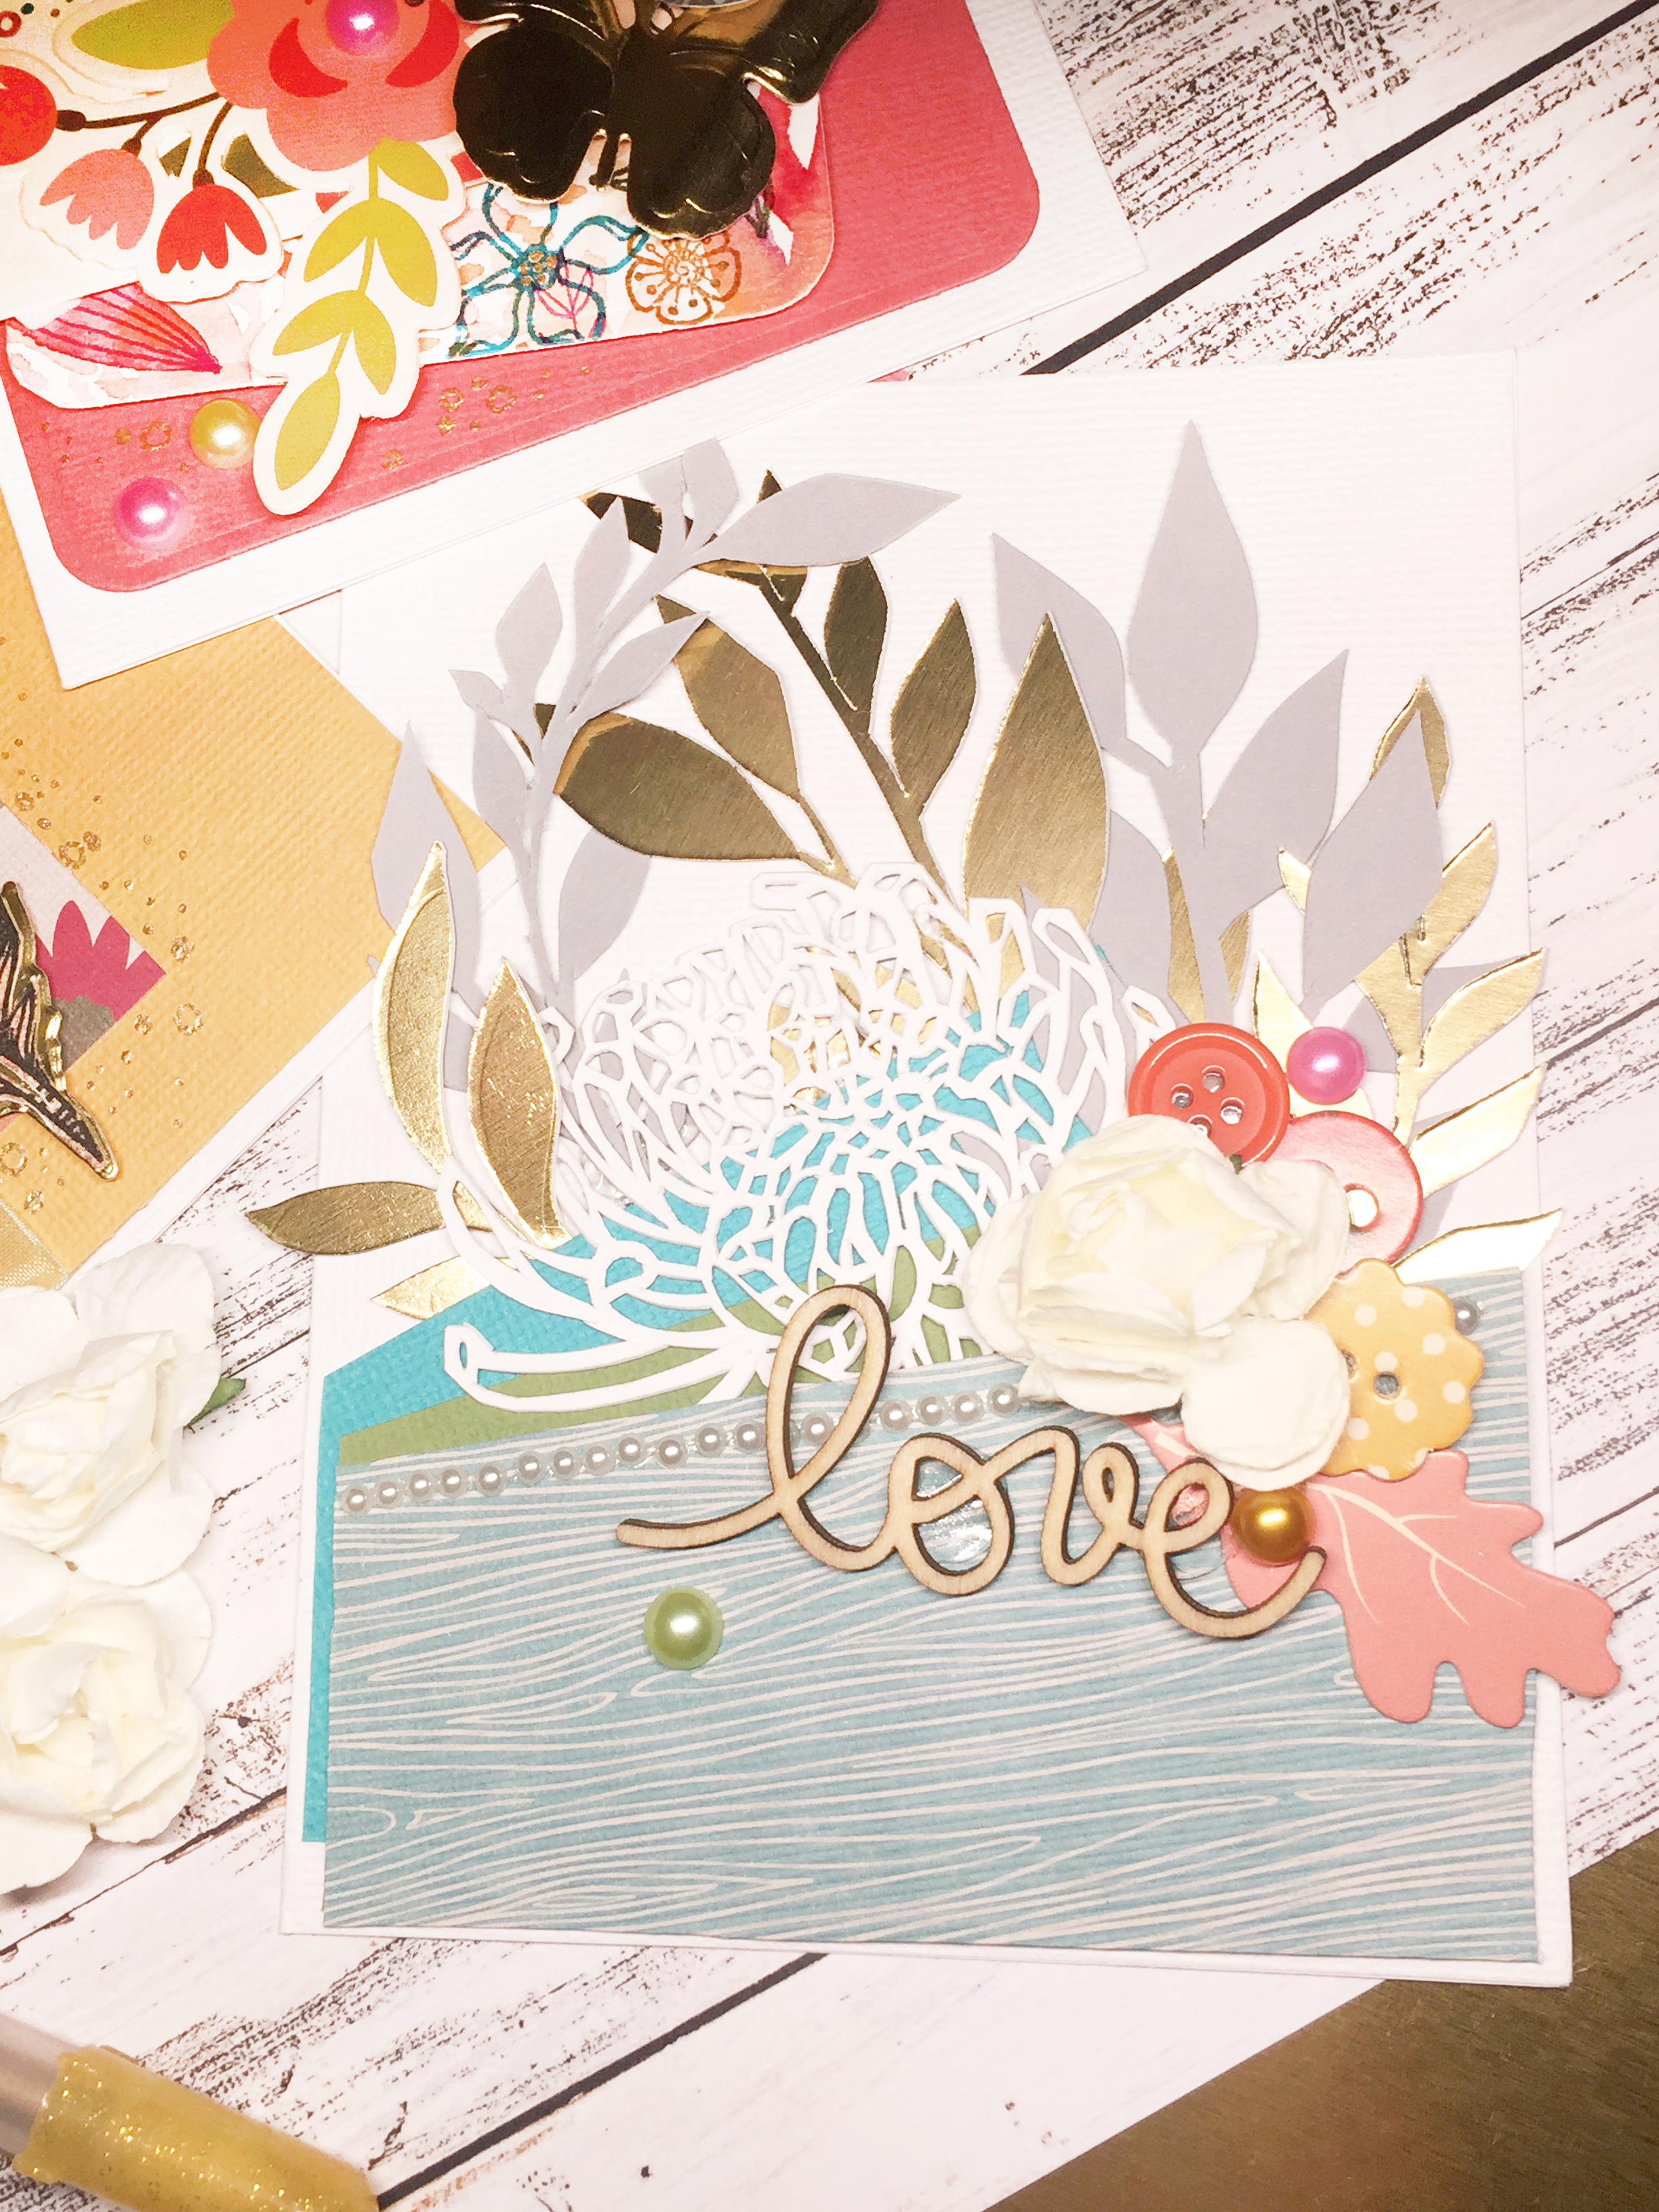
I made three cards from the supplies this week BUT I have enough supplies left over to make a dozen more easily!  The only supplemental materials I used was adding in my stamps and die pieces and I also used an x-acto knife and made some leaves and branches of my own. I am also shamefully obsessed with Sakura, Gelly Roll pens and used some sparkly ones to add some little embellishments here and there.

Card Making Challenge! Take Two - Stephanie Low

I used my x-acto knife a lot for these projects - when I find a new skill I tend to use it a lot for a few days and then forget to revisit it later.  I have crafting/art attention deficits and I embrace that! I means I get to try and enjoy a lot of different techniques and not get hung up on one!

Card Making Challenge! Take Two - Stephanie Low

HOWEVER, it is my opinion that someone could make amazingly beautiful cards with using ONLY the supplies found inside!  The box is very well thought and put together.  Definitely a great gift for an aspiring creative or budding card maker.  I will most absolutely be keeping these in mind for future gifts and even personally as a kick-start for creative card making.

Card Making Challenge! Take Two - Stephanie Low

Spellbinders Supplies:

I would love to see what fun projects you managed to crank out from these card kit boxes!

Next up - Sharyn Sowell

I'm a complete and shameless romantic, so I have photos everywhere. My favorite cards are those that can be saved to remind people of life's happiest and most joyful times. That's why I made a quick photo pop-up card from the December CardMaker Kit. You'll need in addition to the kit a small photo and the Heart and Leaves die.

Card Making Challenge! Take Two - Sharyn Sowell

I just love the papers in this kit so I used them to make my card base. Using the kit's perfectly coordinated solid colors and patterns makes choosing so easy.

Instructions:

Cut a Heart and Leaves piece from the metallic sheet and one from the coral paper. I cut a few extras of the small inner heart so I could use them to decorate the inside of the card as well as the envelope.

Card Making Challenge! Take Two - Sharyn Sowell

First I simply cut and folded a solid color base for the card. Then I layered my favorite papers and using the dimensional glue dots, stuck the die cuts on the front, adding a pretty bow.

Card Making Challenge! Take Two - Sharyn Sowell

For the inside, you'll use a coordinating small print to make the simplest kind of pop up fold, as shown in the photo above and the graphic below. Use the furnished glue dots to stick the photo on, and use scraps and whatever else you'd like to decorate. Add the solid color die cut and the embellishments from the kit to add pretty details.

Card Making Challenge! Take Two - Sharyn Sowell

Spellbinders Supplies:

This is a wonderfully fun card because with the pop up on a vertical card, it displays well on a desk or dresser as a memento. (Don't you love cards that people can save and use?)

Read more

Card Making Challenge! Take Two - Stephanie Low & Sharyn Sowell

Card Making Challenge! Take Two - Stephanie Low & Sharyn Sowell

Hello Spellbinders' fans! Thank you so much for joining us this week as we host our first Card Making Challenge! We asked a few of our designers and spellbloggers to share their take on one of our cards kits - December 2016 Card Kit of the Month and we are excited to show you what they all made!

Join us today and during the next few days as we share projects from Tammy Tutterow, Stephanie Low, Sharyn Sowell, Debi Adams and Jennifer Snyder.

Today we have projects from two of our licensed designers - Stephanie Low, Sharyn Sowell!

First up - Stephanie Low!

I cannot even get over how fun it was to open up a box of pretty goodies and then be expected to make pretty goodies with all of my new supplies!  Goody!  Ok, cheesy and enthusiastic excitement done.  But seriously, super fun!  The color palette was fun to play with too.  I like that it is basically a very "primary" color scheme - "red yellow blue" - except more fun!  I will also go on record saying that "mustard" is like the best color ever.  So earthy and golden and warm - like candle light or "golden hour" at the end of the day.

Card Making Challenge! Take Two - Stephanie Low

Projects Details

I made three cards from the supplies this week BUT I have enough supplies left over to make a dozen more easily!  The only supplemental materials I used was adding in my stamps and die pieces and I also used an x-acto knife and made some leaves and branches of my own. I am also shamefully obsessed with Sakura, Gelly Roll pens and used some sparkly ones to add some little embellishments here and there.

Card Making Challenge! Take Two - Stephanie Low

I used my x-acto knife a lot for these projects - when I find a new skill I tend to use it a lot for a few days and then forget to revisit it later.  I have crafting/art attention deficits and I embrace that! I means I get to try and enjoy a lot of different techniques and not get hung up on one!

Card Making Challenge! Take Two - Stephanie Low

HOWEVER, it is my opinion that someone could make amazingly beautiful cards with using ONLY the supplies found inside!  The box is very well thought and put together.  Definitely a great gift for an aspiring creative or budding card maker.  I will most absolutely be keeping these in mind for future gifts and even personally as a kick-start for creative card making.

Card Making Challenge! Take Two - Stephanie Low

Spellbinders Supplies:

I would love to see what fun projects you managed to crank out from these card kit boxes!

Next up - Sharyn Sowell

I'm a complete and shameless romantic, so I have photos everywhere. My favorite cards are those that can be saved to remind people of life's happiest and most joyful times. That's why I made a quick photo pop-up card from the December CardMaker Kit. You'll need in addition to the kit a small photo and the Heart and Leaves die.

Card Making Challenge! Take Two - Sharyn Sowell

I just love the papers in this kit so I used them to make my card base. Using the kit's perfectly coordinated solid colors and patterns makes choosing so easy.

Instructions:

Cut a Heart and Leaves piece from the metallic sheet and one from the coral paper. I cut a few extras of the small inner heart so I could use them to decorate the inside of the card as well as the envelope.

Card Making Challenge! Take Two - Sharyn Sowell

First I simply cut and folded a solid color base for the card. Then I layered my favorite papers and using the dimensional glue dots, stuck the die cuts on the front, adding a pretty bow.

Card Making Challenge! Take Two - Sharyn Sowell

For the inside, you'll use a coordinating small print to make the simplest kind of pop up fold, as shown in the photo above and the graphic below. Use the furnished glue dots to stick the photo on, and use scraps and whatever else you'd like to decorate. Add the solid color die cut and the embellishments from the kit to add pretty details.

Card Making Challenge! Take Two - Sharyn Sowell

Spellbinders Supplies:

This is a wonderfully fun card because with the pop up on a vertical card, it displays well on a desk or dresser as a memento. (Don't you love cards that people can save and use?)

Read more