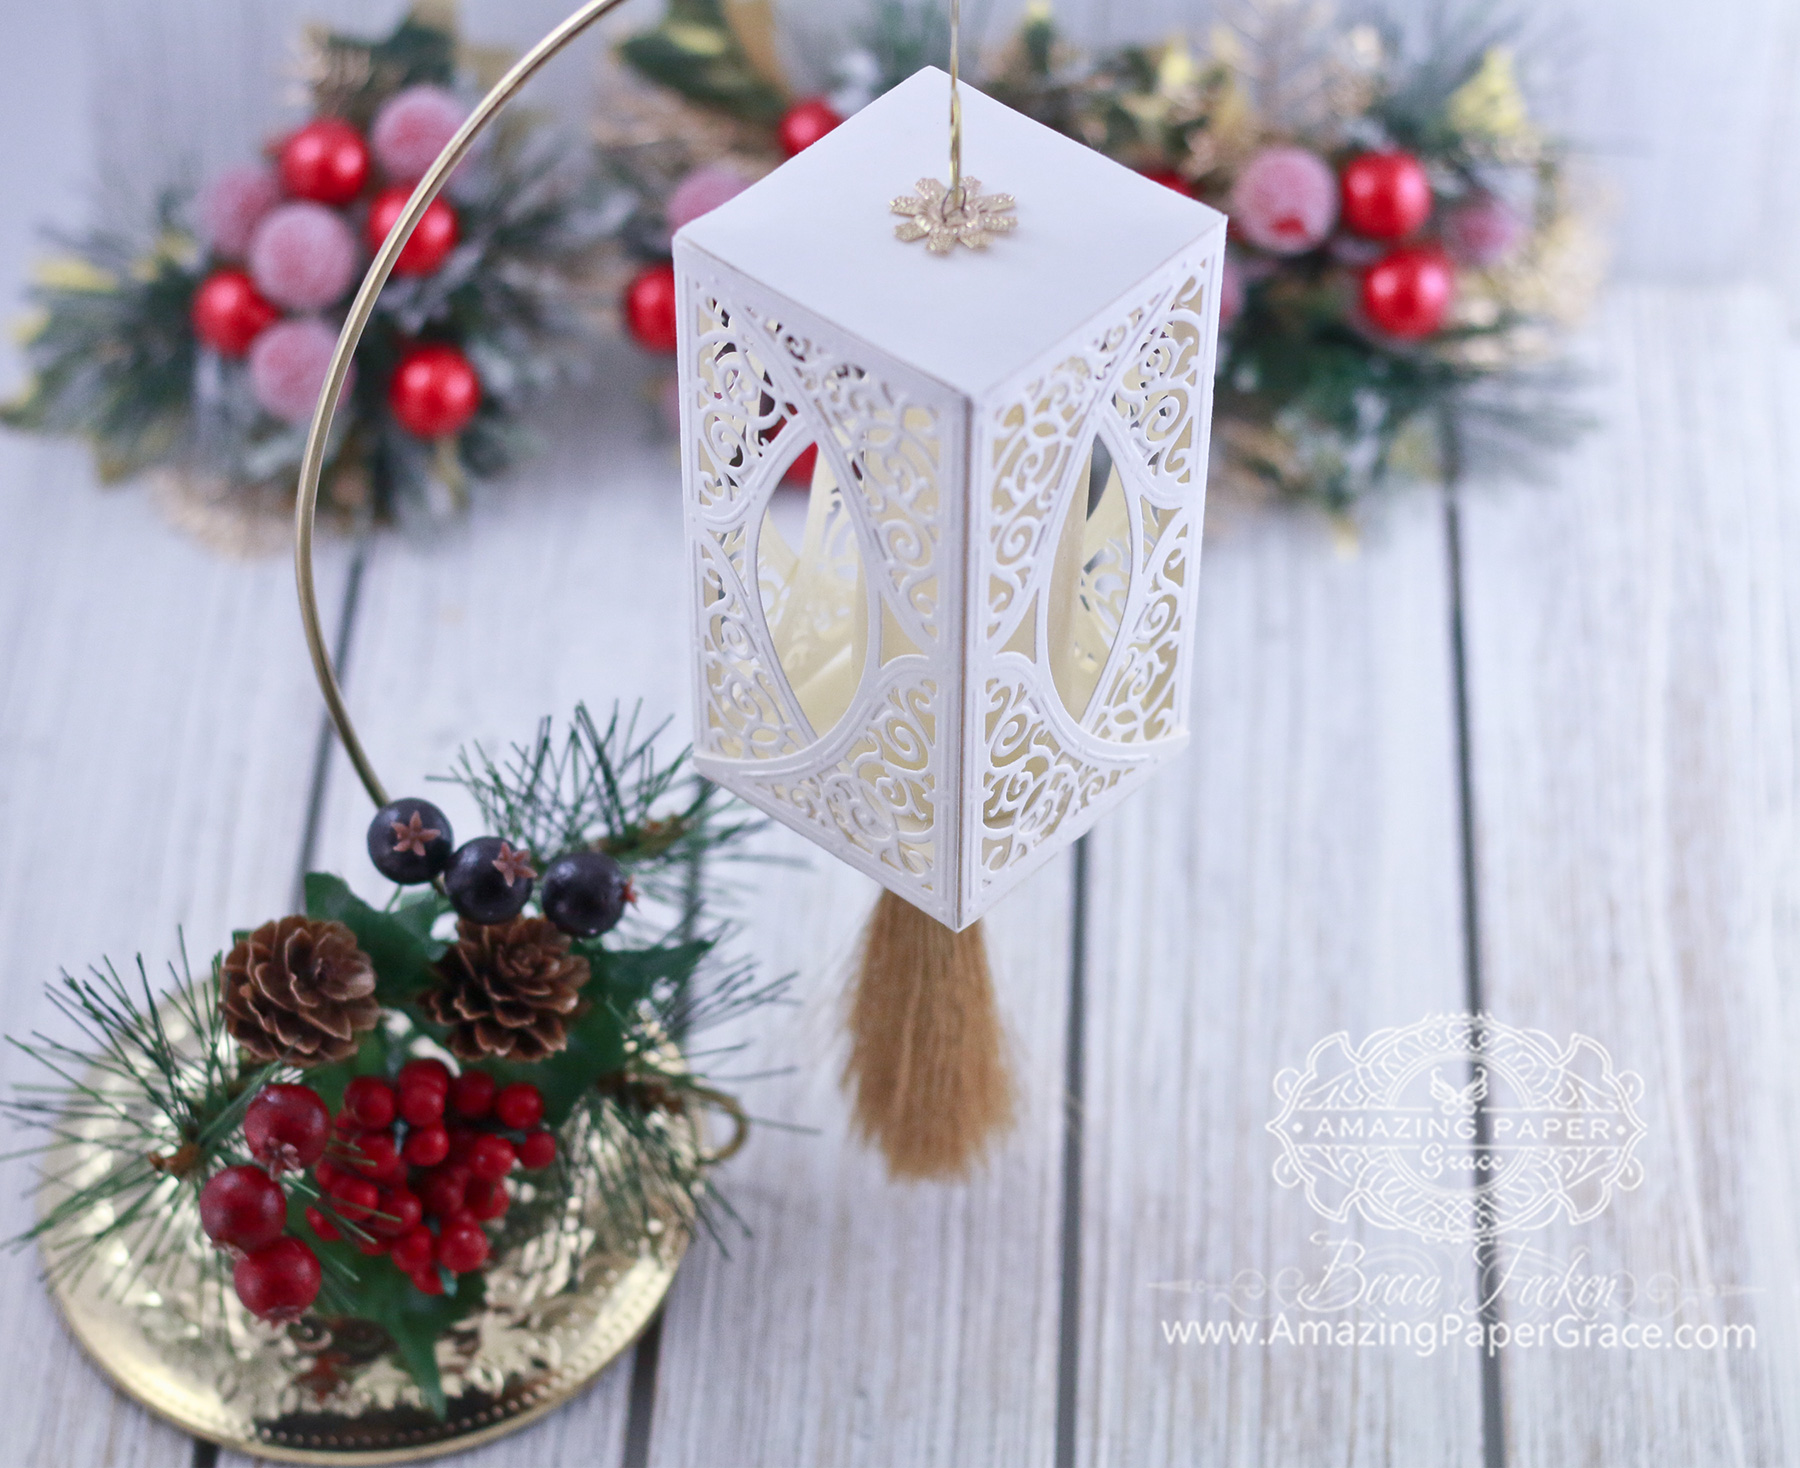
Your stash of dies is one of the many reasons you need to create a die cut, one of a kind, holiday ornament that becomes a keepsake for years to come. I'm
Becca Feeken with
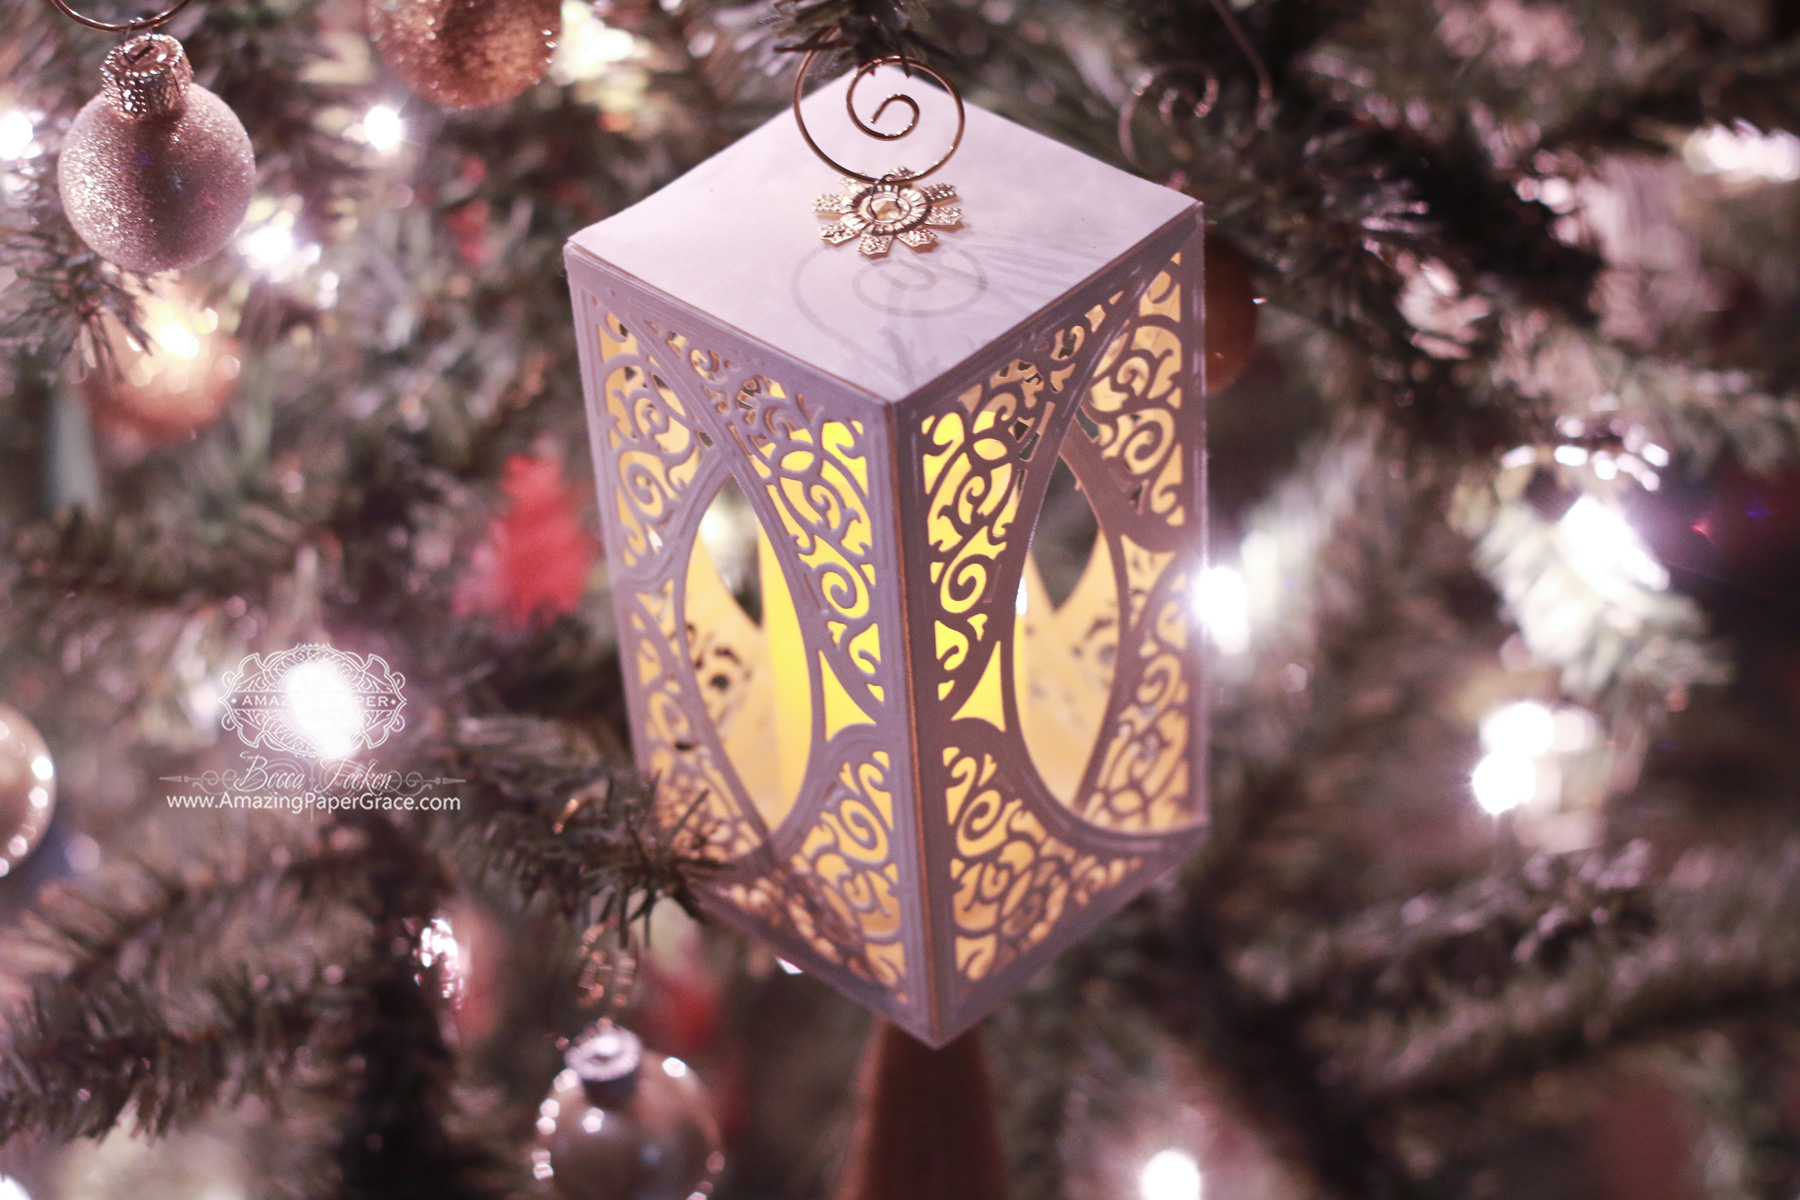
Amazing Paper Grace and today I'm going to show you a die cut ornament lantern to make for your Christmas Tree. It's simple to make but what's more, color coordinate it with your tree and it looks charming!

Every year my family and I have a special ornament to hang on the Christmas tree. It's thankfully one of the traditions I look forward to every year and my children have likewise continued. We never really go hunting for that "special" ornament but somehow it comes to us and we always know it's the one. No matter the origin, these mementos are close to my heart because they are treasured keepsakes. In fact, how could I possibly know that holding each one in my hand would transport me back to the very day the ornament was chosen?

As the years go on, I'm more mindful to lean towards something that will bring sweet memories of the year it was created. I store these just as I store my glass ornaments but just love that it's another opportunity to see my favorite die cuts and at a special time. All it takes is a couple of folds and some glue.

One of my very favorite dies is
Spellbinders S4-505 Swirl Bliss Pocket because it has so many possibilities! Even though pocket is in the name, it is a die I've used for
boxes, book covers, and now a die cut ornament. It's very easy to make, and requires minimal supplies (supply list at bottom of post). Join me, I'll show you.
Assemble Your Die Cut Ornament:

Cut
Swirl Bliss Pocket 8 times. Flex all score lines on pockets.

Lay out pockets in pairs (4).

Cut 2 squares 2-1/4" x 2-1/4" and pierce each with a hole in the center. Attach a loop from recycled ornament and an ornament hook to the center of each square. (If you don't have an old ornament, feel free to use thread or ribbon adhered to the square.)

For each pair of pockets, apply adhesive to the front side of one pocket along the bottom flap. Then, adhere to other identical pocket in pair, keeping front sides together.

Trim seam on each joined pair to 1/4"

Apply adhesive to side flaps of each pocket then adhere joined pairs to 2-1/4" square by placing a seam on each corner.

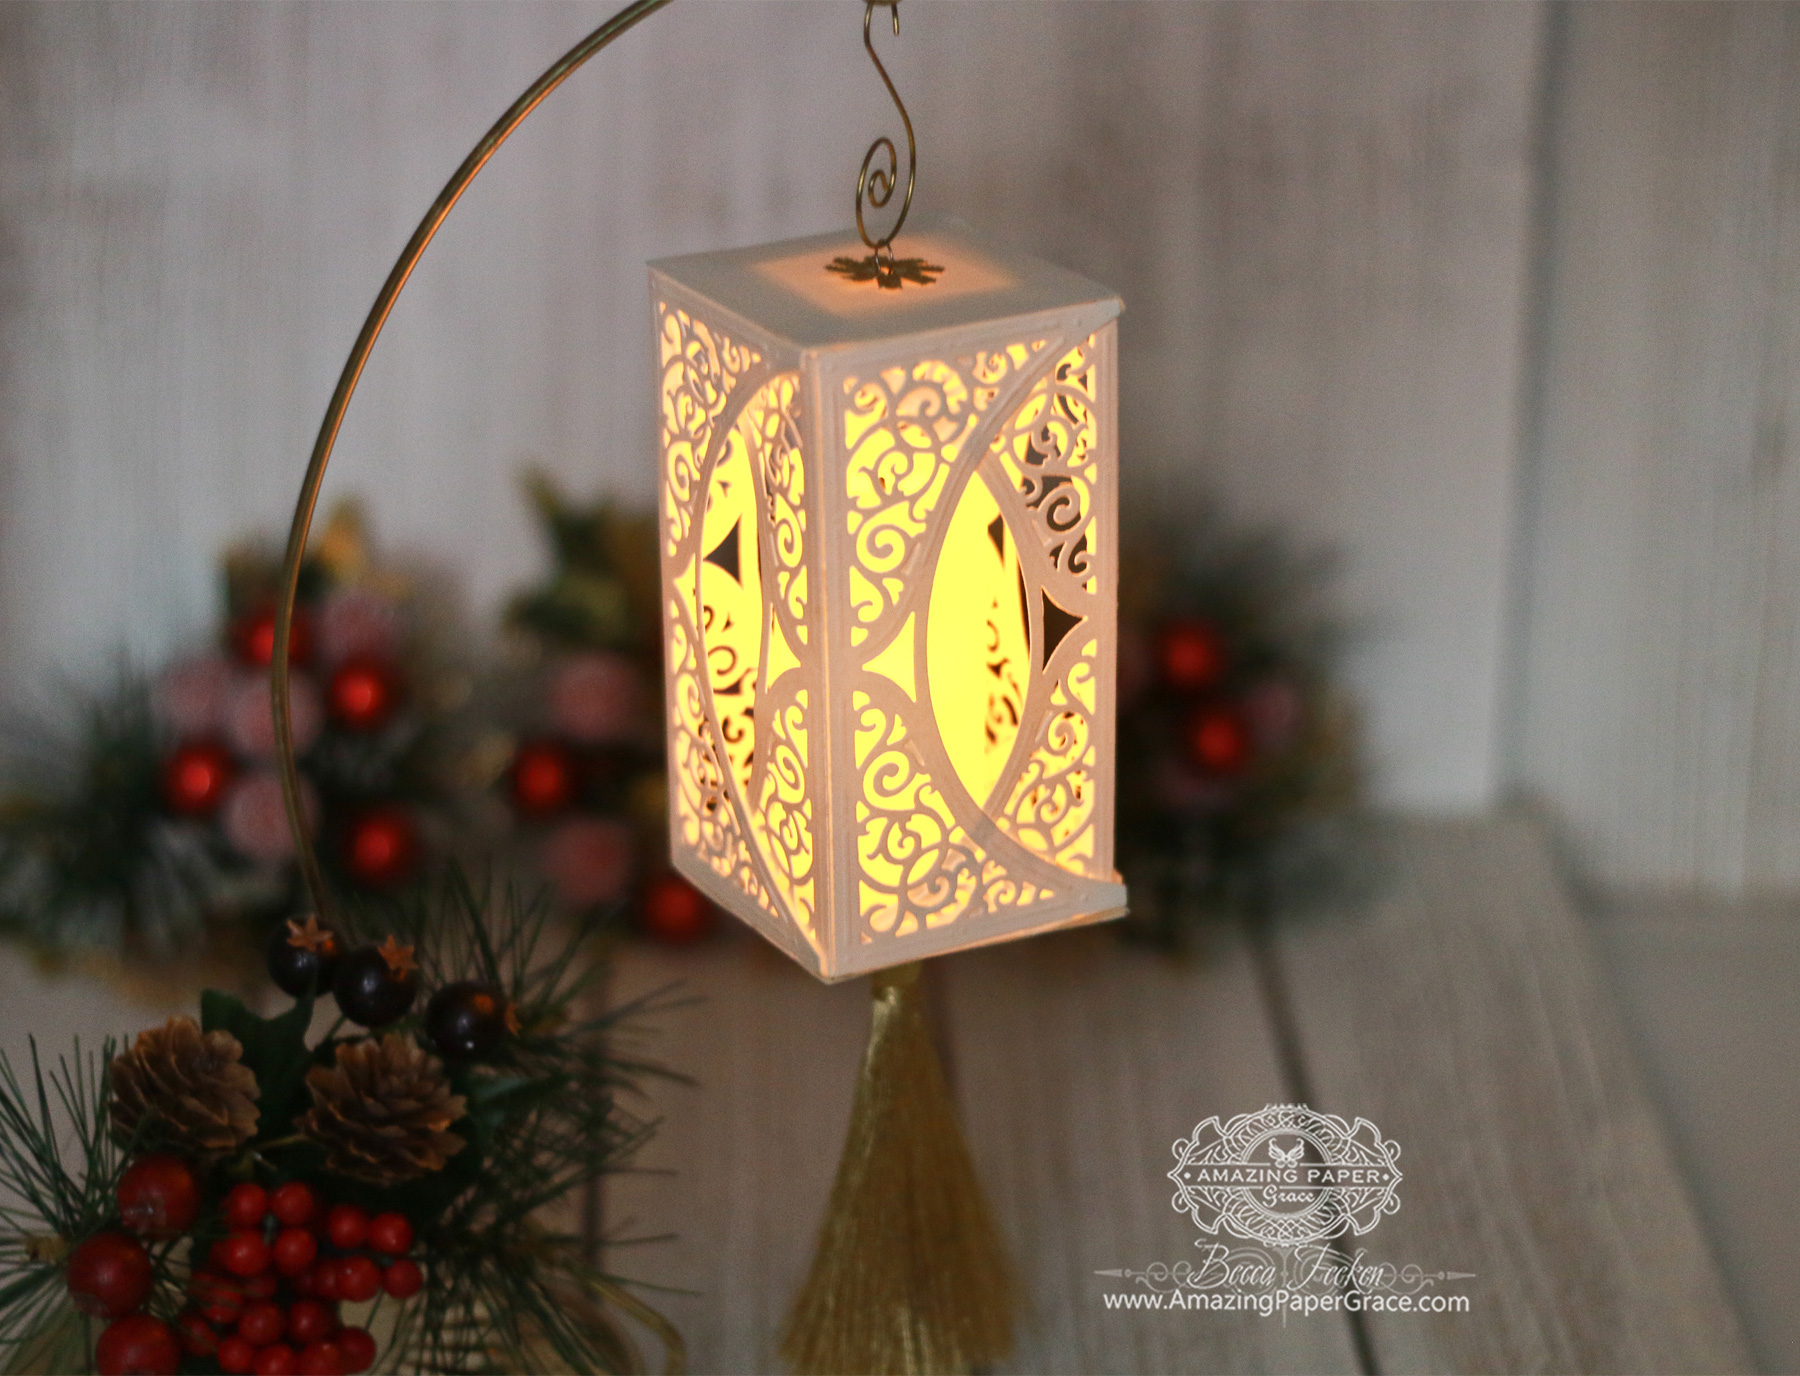
Continue to add by adhering 3 more pairs to the square bottom (inside) until all four sides are constructed. I chose to add a large flameless candle to the lantern that was too large to go through the side (a small flameless votive would fit). I left one end open so that I could get candle in place and glued closed.
Add embellishment as needed then insert a flameless candle and finally, hang from tree.

Handmade ornaments are beautiful and because you made it with your own hands, it 's bound to bring back memories of the making. Have a look in your stash for wonderful treasures for your tree!
Sending hugs!
Becca Feeken – www.amazingpapergrace.com

Spellbinders Supplies:
Other Supplies:
Neenah Classic Crest, Natural White, 80lb Smooth, Ornament Hook, Ornament Loop from a recycled ornament, Flameless LED Votive, Scor-Tape, Gold Tassel


 />
/>