Hi everyone, Alli Roth here from Partyography! For today's blog post and video tutorial, I thought it's the purr-fect time to put these Kitty Cats Dies to good use! If you like to throw parties you're probably always in need of cute party favors and packaging so today I'm sharing how to make these kitten chow party favor bags. Whether your little ones are having a kitty themed party or you're celebrating your real life furry friends, these bags are a great way to make sure party guests don't leave empty handed!
Instructions:
To start, print out this pdf of "kitten chow" labels onto white cardstock or create your own.
I used my Matting Basics dies to cut the label and three other rectangles. You could use a paper trimmer but I love how easy these dies make it to create all the layers.
Next I cut the kittens out of gray cardstock using Kitty Cats Dies. I know yarn goes hand in hand with cats so I thought it'd be fun to incorporate that onto the bag.
The final step is to fill your bag with goodies and adhere everything to the bag with a stapler, glue and square adhesives.
Other Supplies:
Pink, white, and 2 shades of gray cardstock; Light pink yarn; Square adhesives; Scissors; Glue; Stapler; Clear cellophane bags (5x7).
Video Tutorial
Watch the video tutorial below or on Youtube to learn how to make this project:
Thank you so much for stopping by! For more party ideas and inspiration, visit: Partyography By Alli.
Hi everyone, Alli Roth here from Partyography! For today's blog post and video tutorial, I thought it's the purr-fect time to put these Kitty Cats Dies to good use! If you like to throw parties you're probably always in need of cute party favors and packaging so today I'm sharing how to make these kitten chow party favor bags. Whether your little ones are having a kitty themed party or you're celebrating your real life furry friends, these bags are a great way to make sure party guests don't leave empty handed!
Instructions:
To start, print out this pdf of "kitten chow" labels onto white cardstock or create your own.
I used my Matting Basics dies to cut the label and three other rectangles. You could use a paper trimmer but I love how easy these dies make it to create all the layers.
Next I cut the kittens out of gray cardstock using Kitty Cats Dies. I know yarn goes hand in hand with cats so I thought it'd be fun to incorporate that onto the bag.
The final step is to fill your bag with goodies and adhere everything to the bag with a stapler, glue and square adhesives.
Other Supplies:
Pink, white, and 2 shades of gray cardstock; Light pink yarn; Square adhesives; Scissors; Glue; Stapler; Clear cellophane bags (5x7).
Video Tutorial
Watch the video tutorial below or on Youtube to learn how to make this project:
Thank you so much for stopping by! For more party ideas and inspiration, visit: Partyography By Alli.
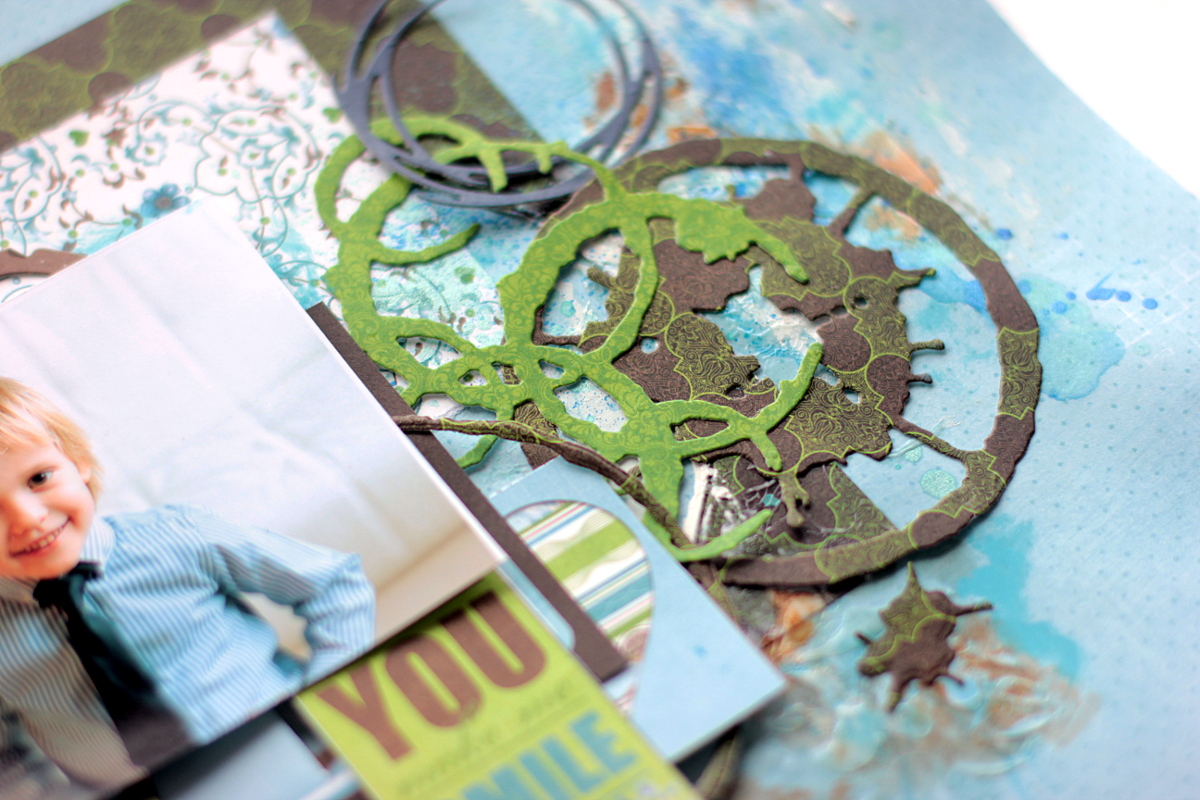
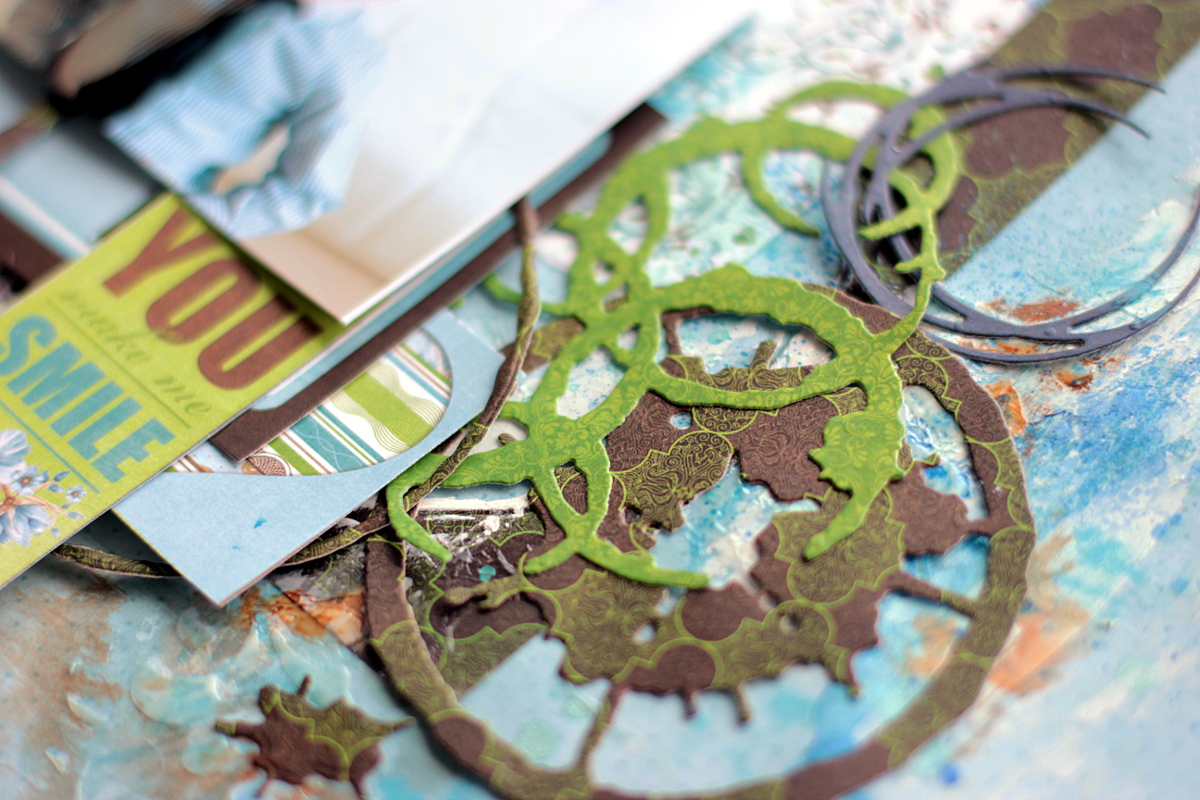
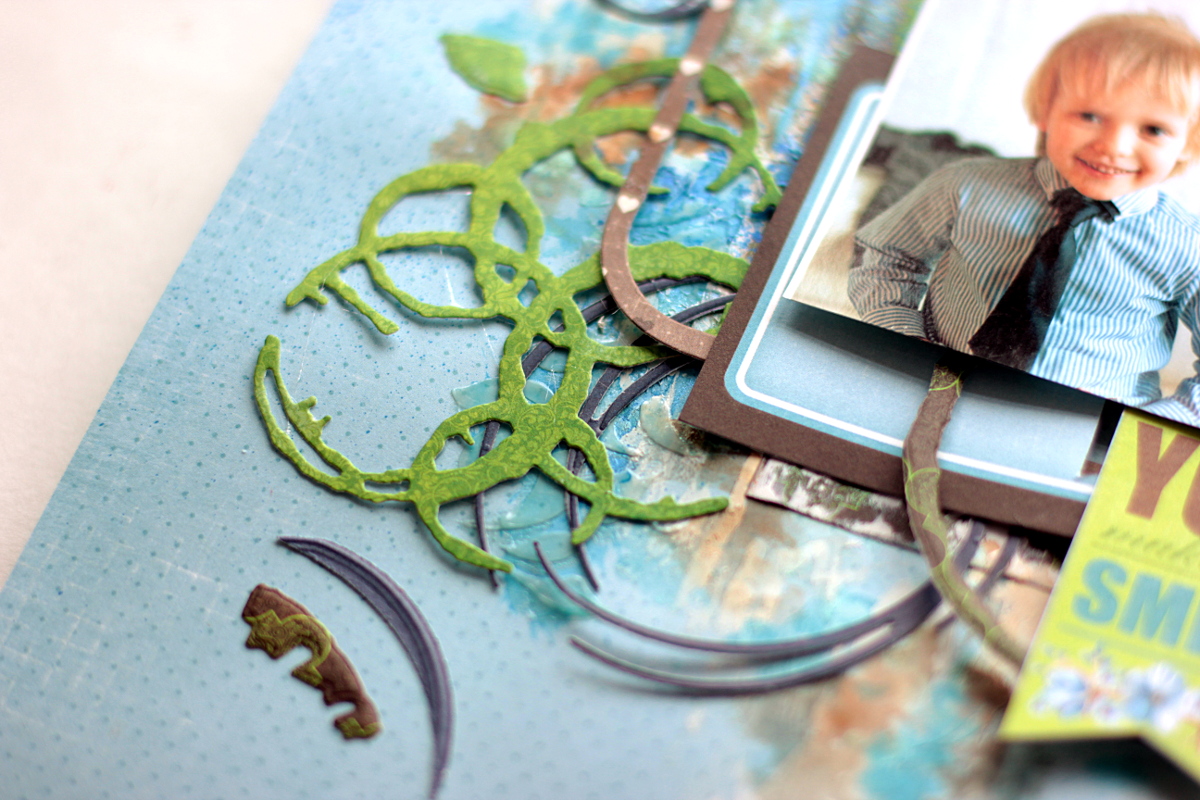
Hello, this is Elena here today sharing a layout made using dies from Seth Apter. These dies are fantastic if you are looking for fun shapes to use for any male or boy projects.
While working on the layouts for my youngest son I found that it’s quite easy to create with mixed media techniques. This time I combined Seth Apter’s dies and mixed media. I started by prepping embellishments for my layout and made plenty of them in advance.
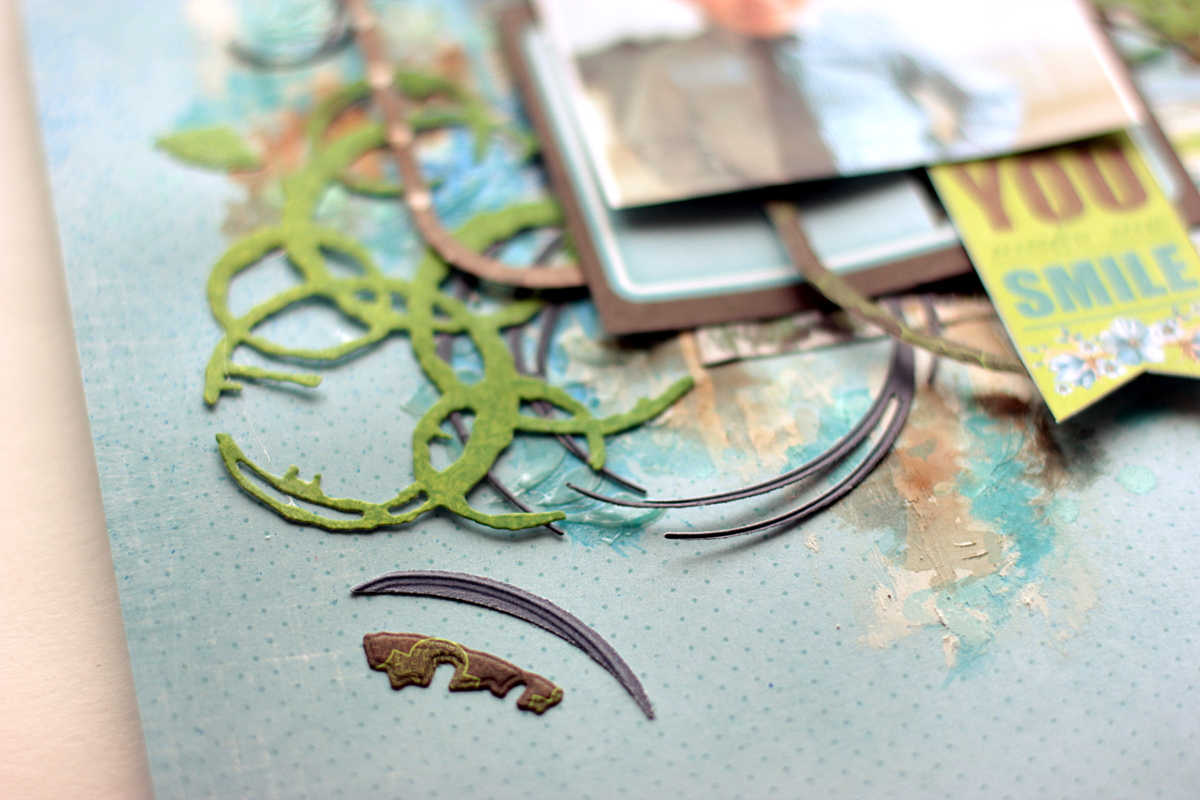
I die-cut S4-810 Strands out of blue cardstock and used patterned paper for the S4-804 Coffee Break die. The main focus was on S4-813 Splat die - is is such an eye catching piece, I placed it on the top of my die cut layers.
I also suggest you keep the leftovers you’ve got after the die-cutting as scraps - they can be used as separate embellishments on your projects.


 />
/>