☃️ Banner logo ☃️ Up to 50% Off ☃️

Spellbinders Blog

Embrace the Elegance of a Repeating Motif in One Die Cards

Embrace the Elegance of a Repeating Motif in One Die Cards

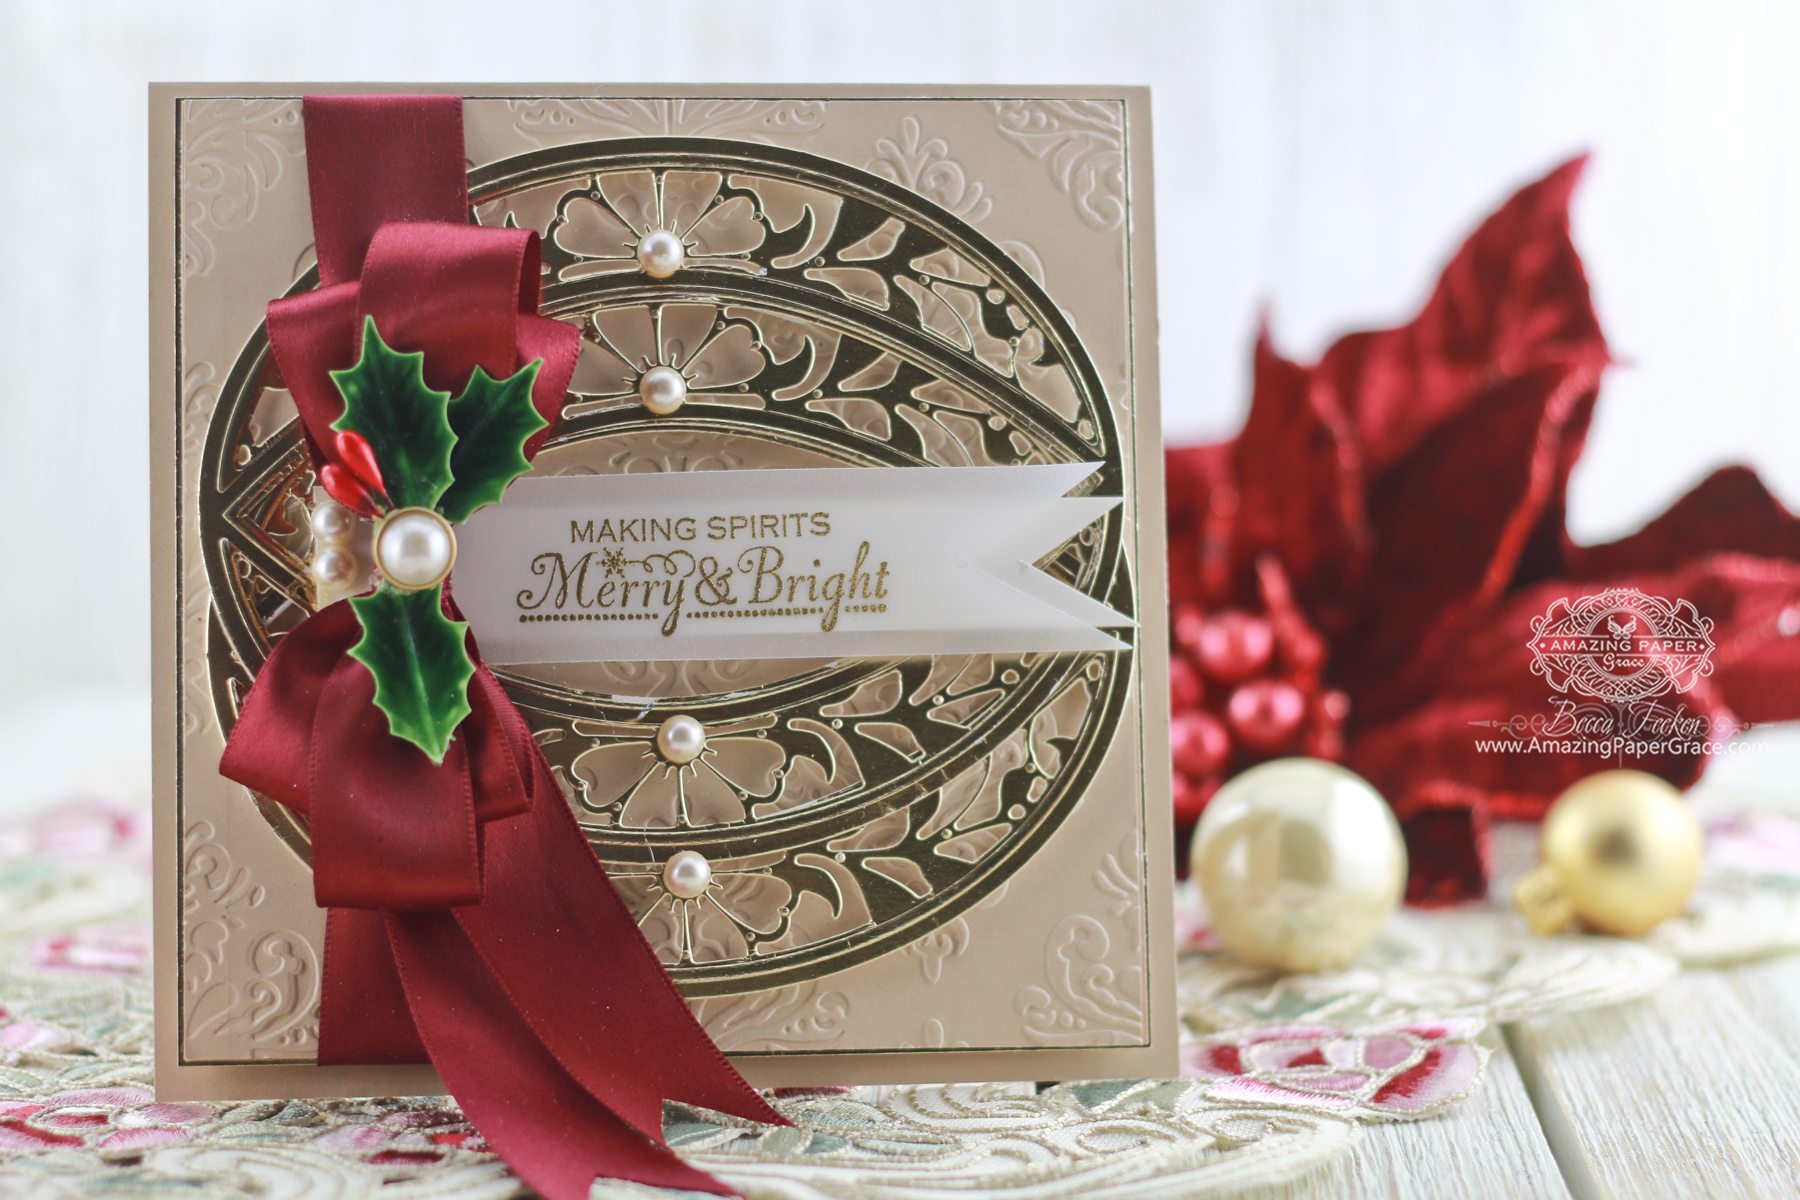
Every time I get a new die, I size it up and look at all the pieces.  Most often people contemplate what they can do with the 'main die'.  Well, there is treasure in the details because some of the runner ups in a die set have their own claim to fame.  Hi there, I'm Becca Feeken with Amazing Paper Grace and  today I'm sharing a ''One Die'' card  that gets that title because it makes use of a 'Repeating Motif'!  A supporting die is perfect for this type of technique moreover it will have you thinking about about what else is in the package while vowing never to leave a die behind.

Embrace the Elegance of a Repeating Motif in One Die Cards

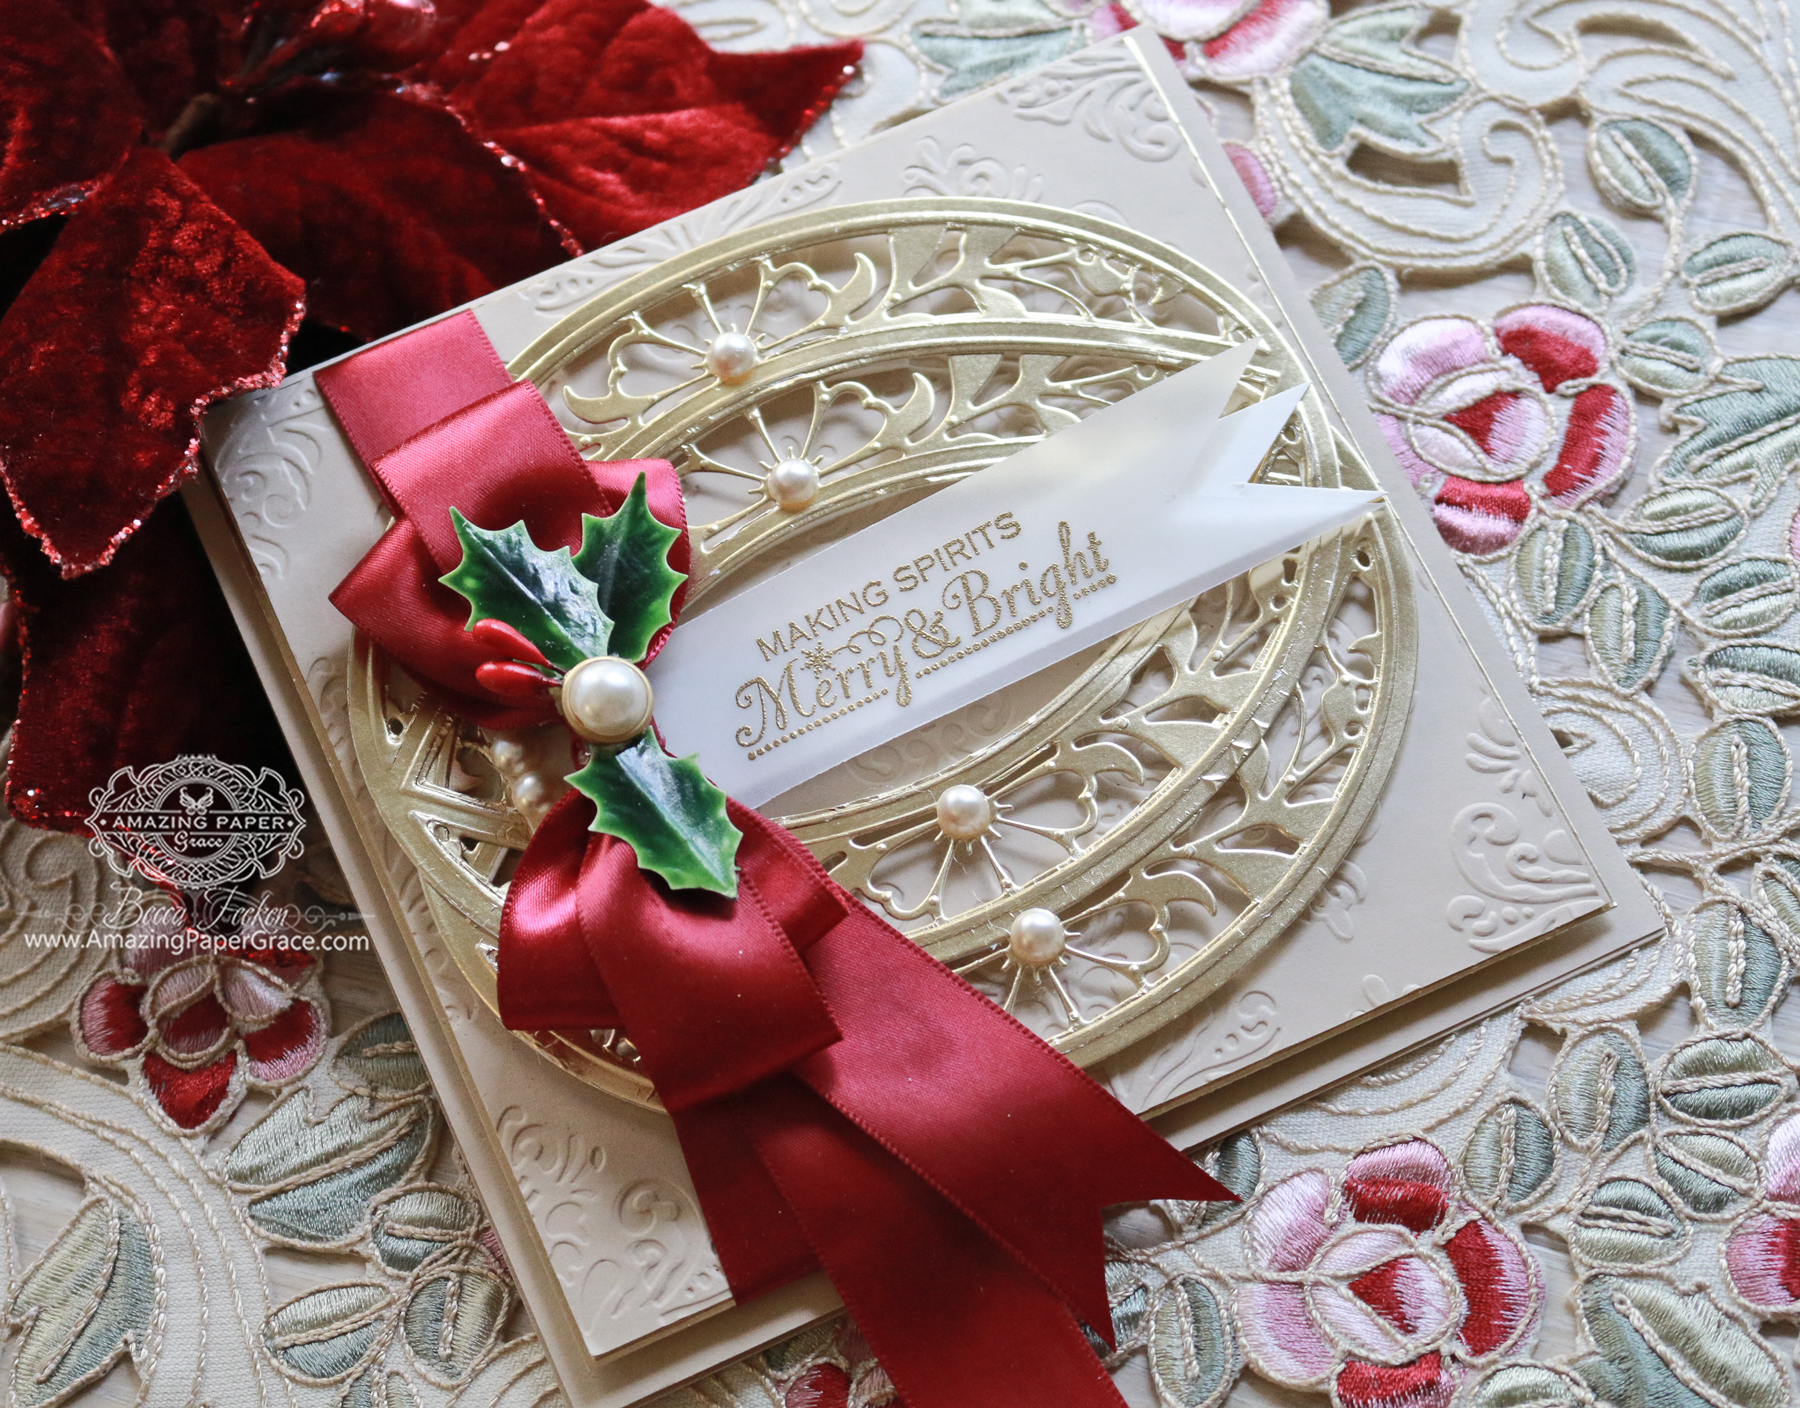
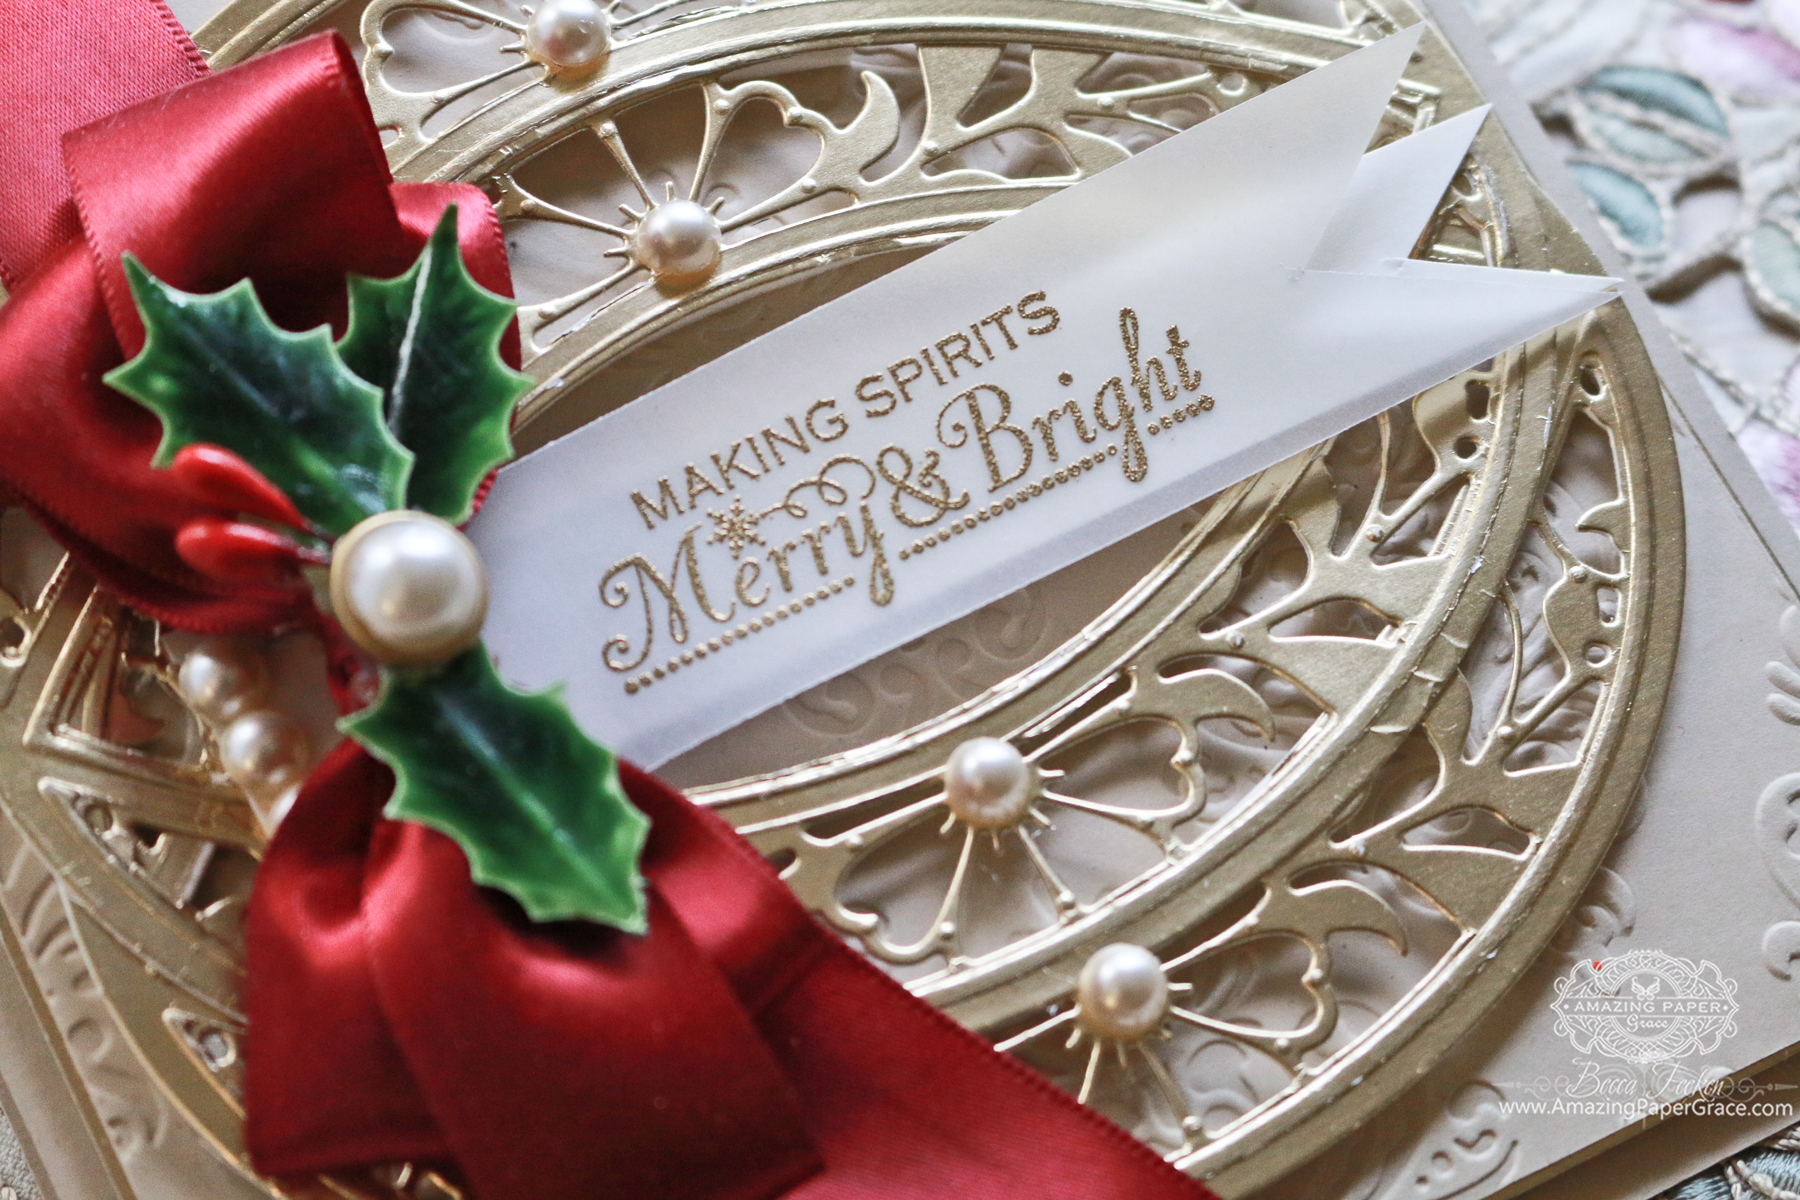
Recently I introduced Bella Rose Lattice Layering Die.  The details are so pretty but one of the supporting dies had me thinking about how to use it and highlight it alone in a card.  The center oval is a great element and it makes for such a stunning element when it is stacked on top of itself and then offset.  It will give you a focal point as large as the main attraction in the package.  That's a little trick I love to do, because repetition is eye-catching.  The eye tries to figure out what makes up the motif.    Let me show you how easy it is to get this combination.

Embrace the Elegance of a Repeating Motif in One Die Cards

The ovals snap together perfectly to make for an intriguing pattern.  Two are used in this case but a repetition of three will make almost a full background.

Embrace the Elegance of a Repeating Motif in One Die Cards

Building A Repeating Motif

Becca Feeken of amazingpapergrace.com - A Repeat Motif Card using Bella Rose Lattice Layering Die

Cut the Bella Rose Lattice Layering Die oval with two arched inserts, twice Becca Feeken of amazingpapergrace.com - A Repeat Motif Card using Bella Rose Lattice Layering Die Overlap left die onto right die, then use a clear glue product, like Ranger Glossy Accents, to sparingly attach one piece to the other. Becca Feeken of amazingpapergrace.com - A Repeat Motif Card using Bella Rose Lattice Layering Die Find the best real estate to put strips of doubly stacked foam tape to secure your project and raise it. Looking for easy?  This is easy.  Cut repeating motifs, stack them together to compose a striking focal panel for your card, and you're done!  I hope this will let you look at some of your supporting dies in a new way!! Sending hugs! Becca Feeken – www.amazingpapergrace.com

Spellbinders Supplies:

Other Supplies: Bazzill Almond Cream Cardstock, The Fine Touch Metallic Poster Board, The Paper Studio - Vellum,  Offray 5/8" Satin Ribbon,  Recollection Pearls, Ranger Gold Detail Embossing Powder, Ranger Glossy Accents, Recollections Christmas I Noel Stamp Set, 3M Foam Tape,

Read more

Quick Technique | Twinkle All The Way Card with Fa La La Die

Quick Technique | Twinkle All The Way Card with Fa La La Die

Hello friends and welcome back for another episode from our brand new Quick Technique series!
Quick Technique is all about sharing simple projects using our products and showcasing fun and fresh techniques! We hope you’ll love this new installment on our blog and will give some (or possibly all?) of these techniques a try!
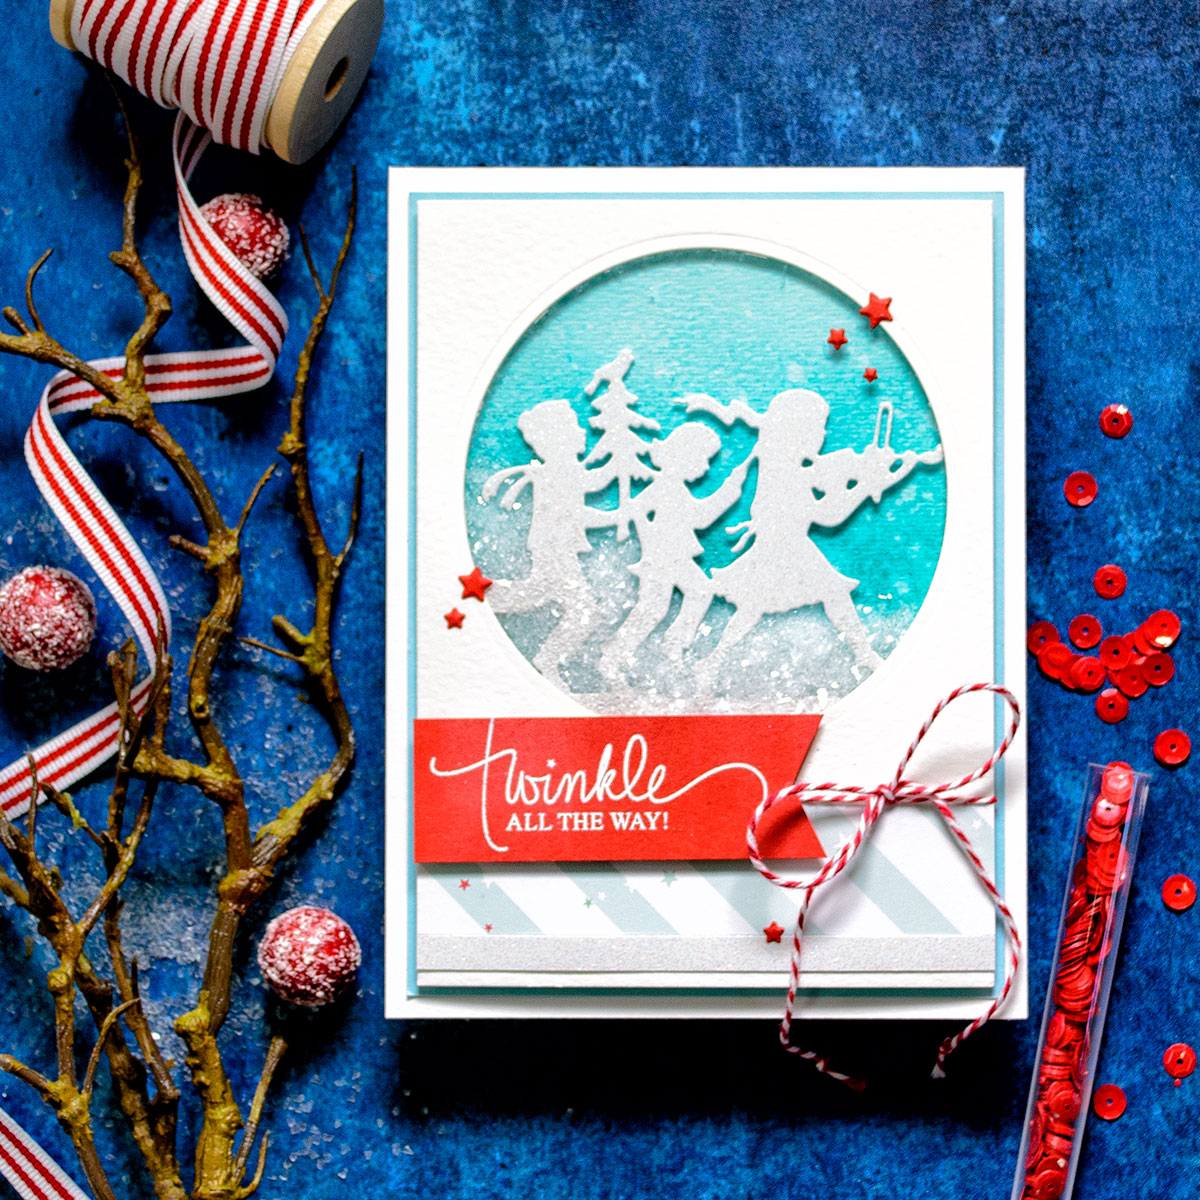
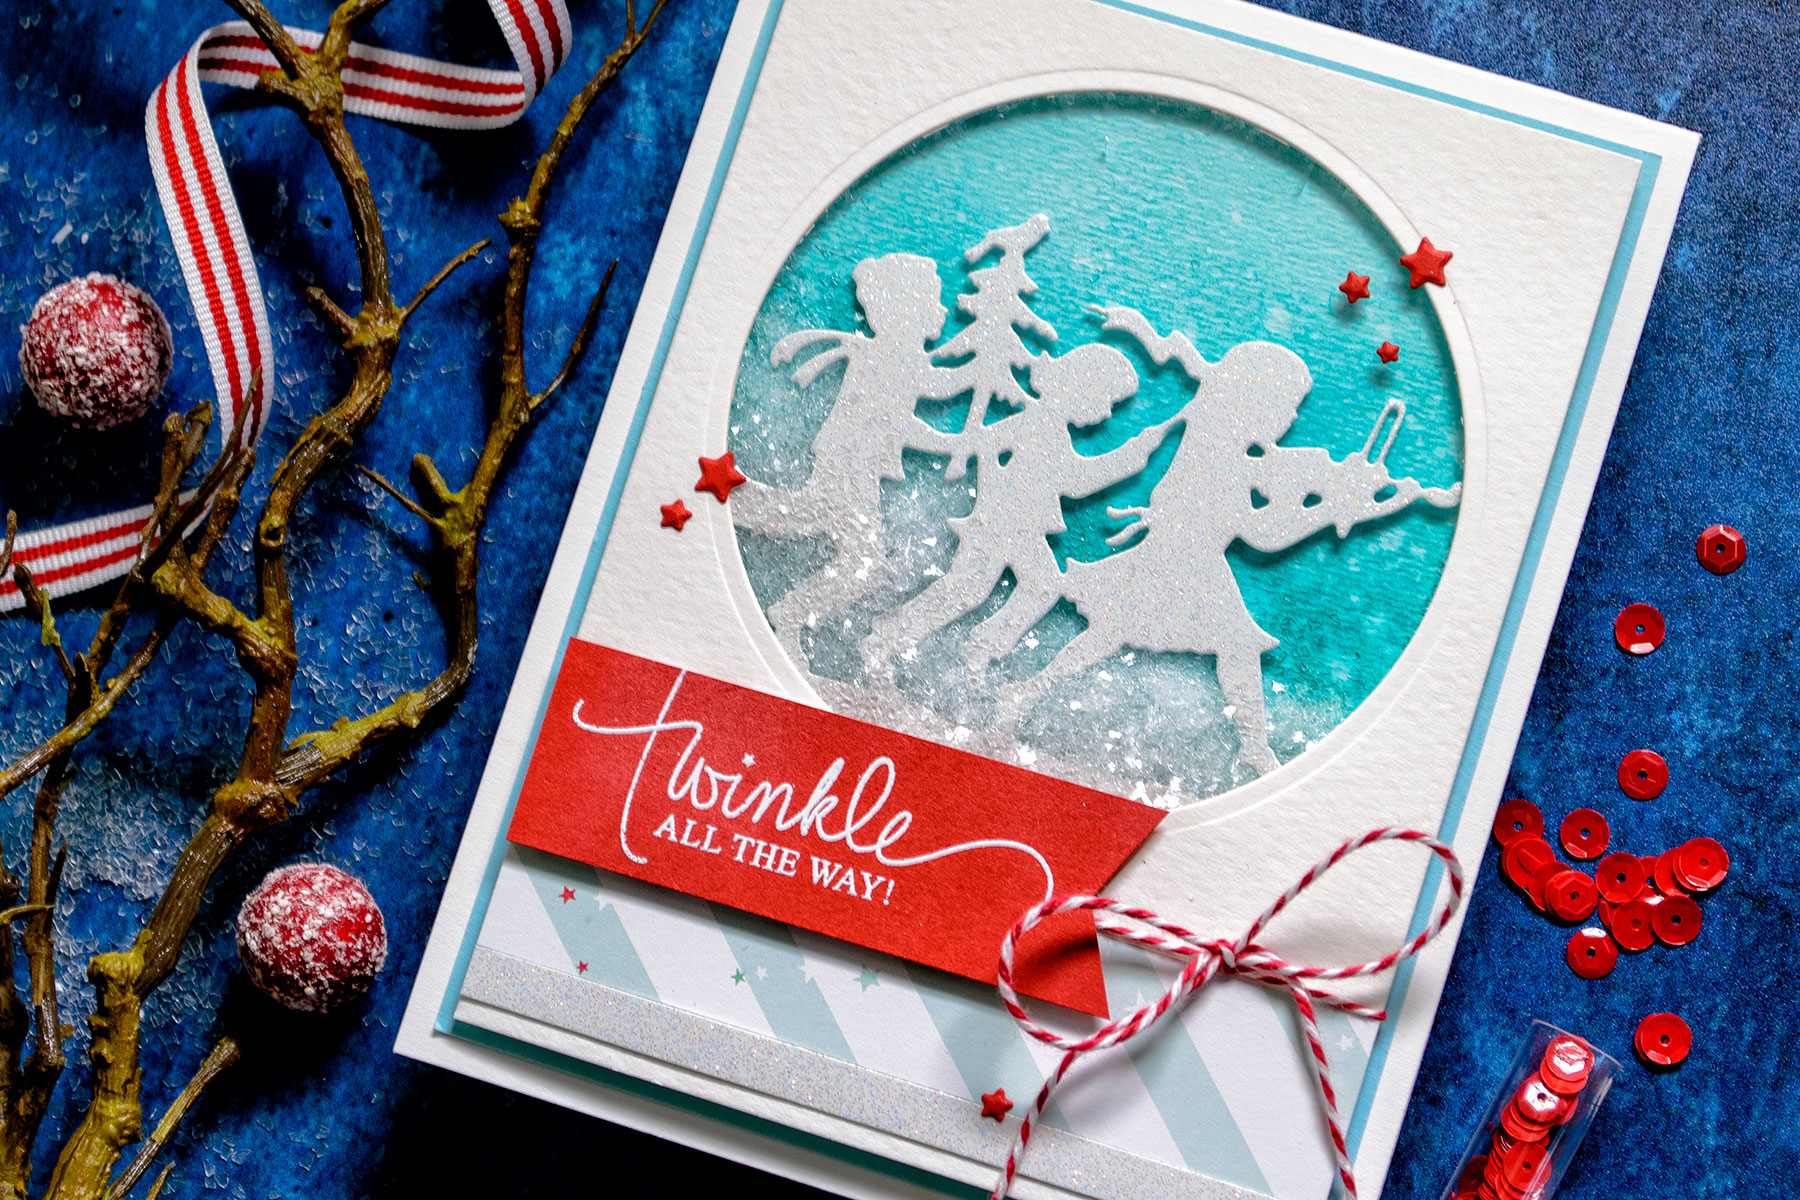
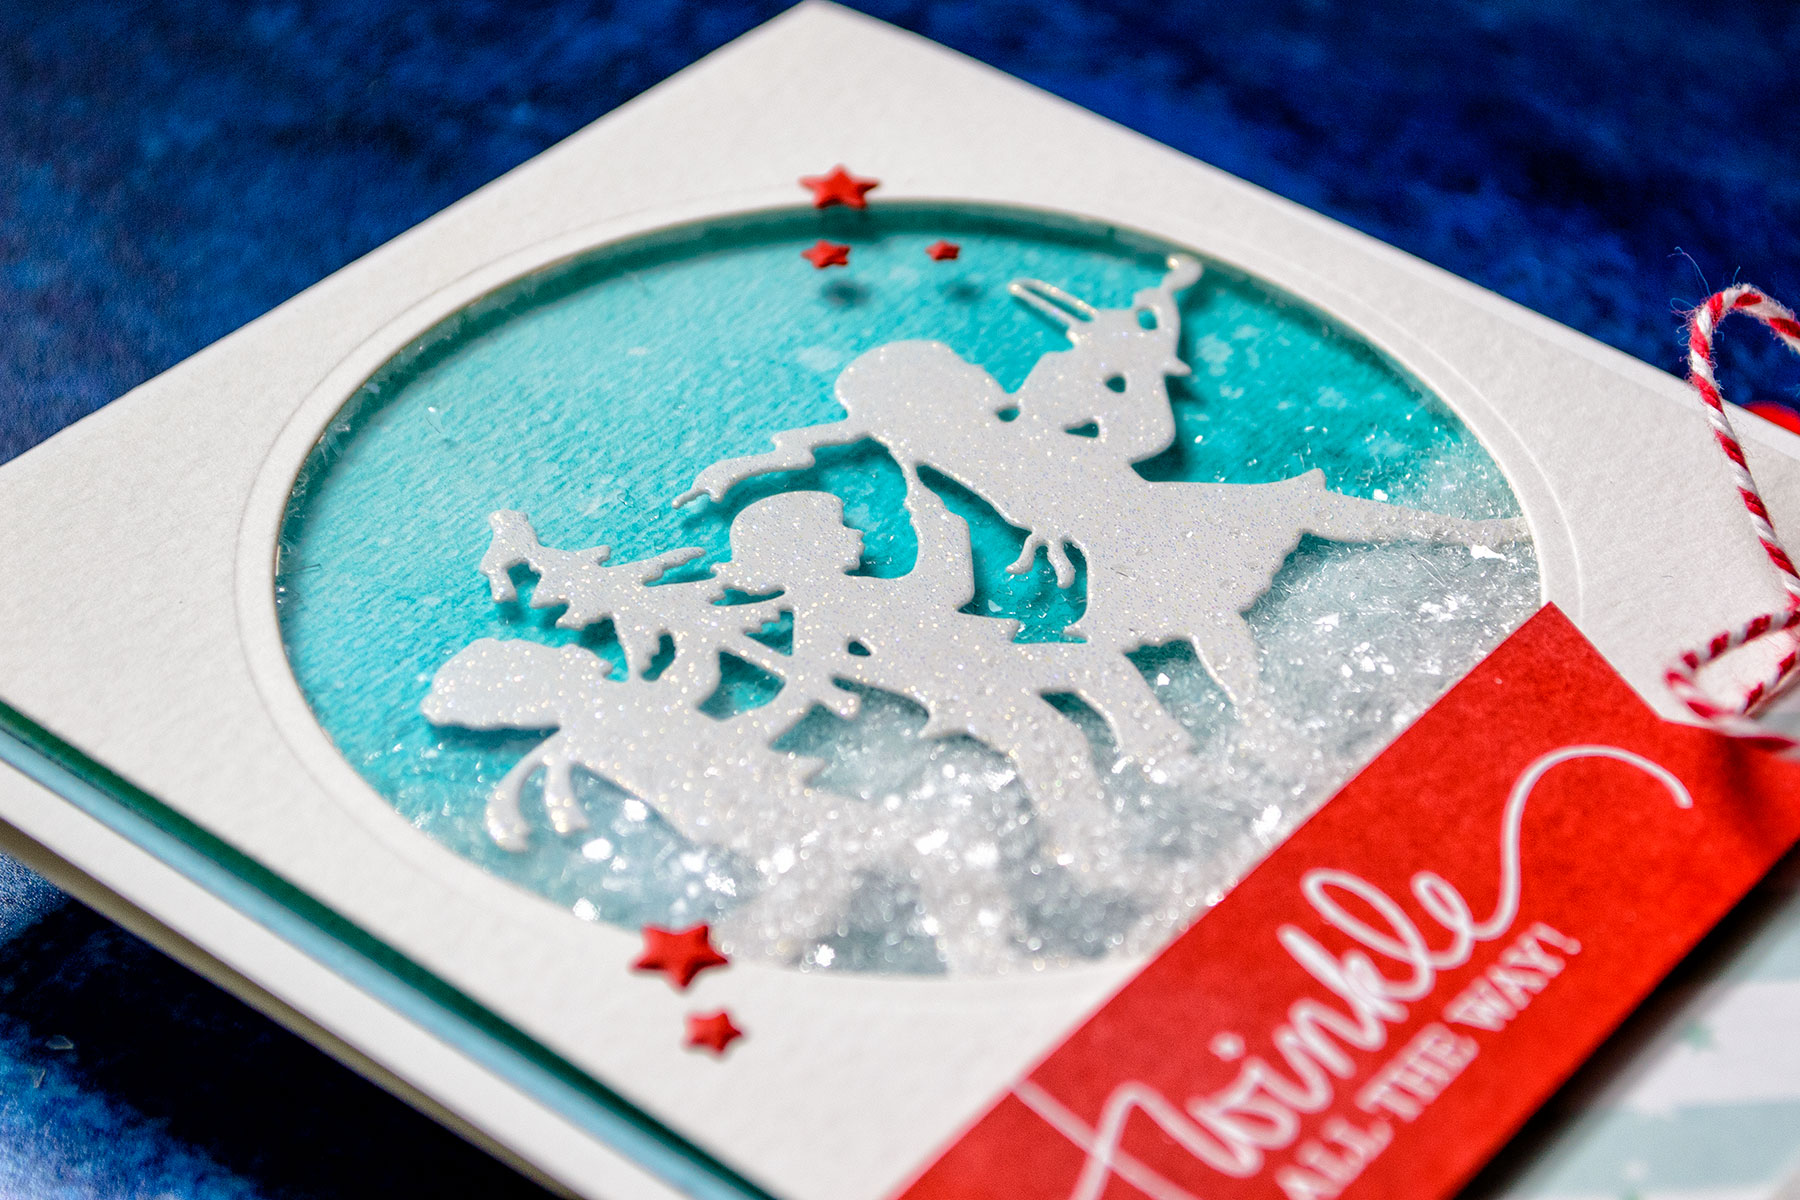
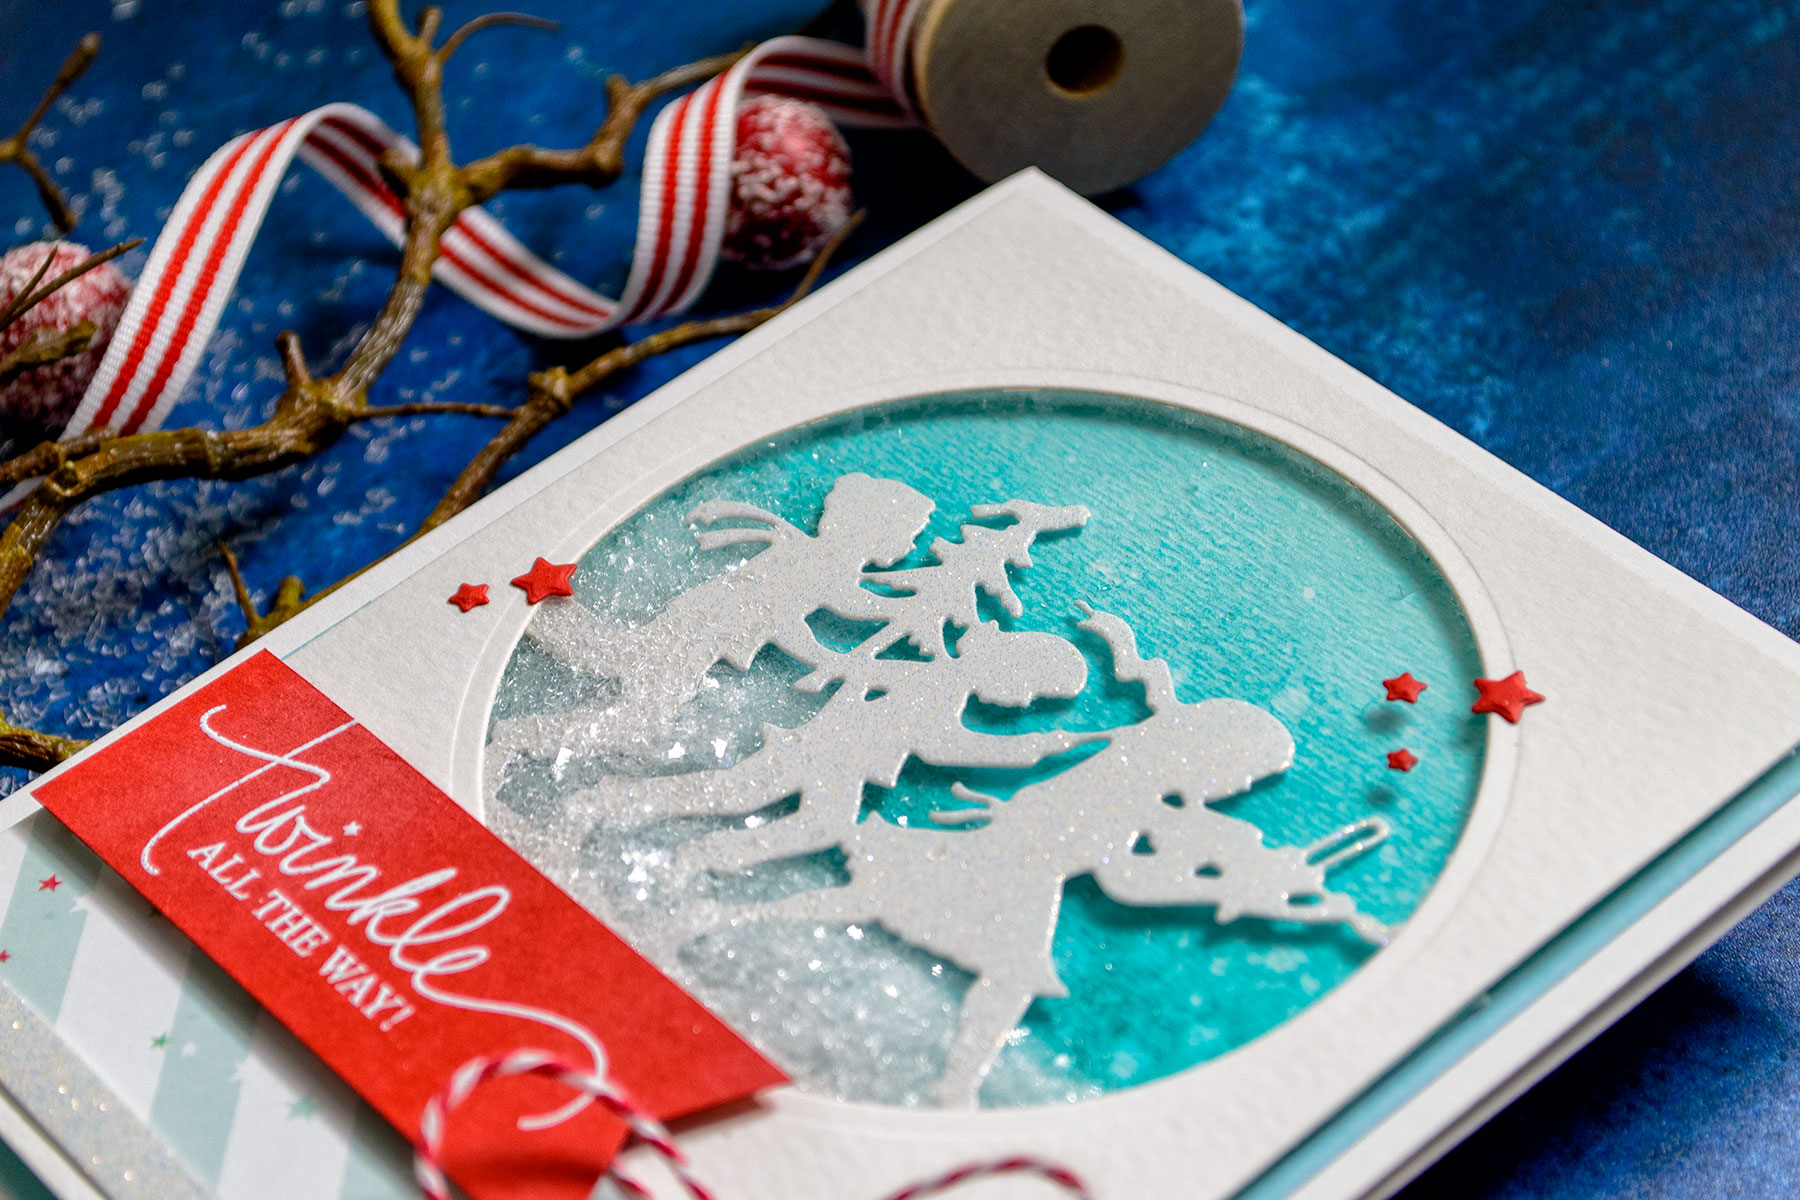
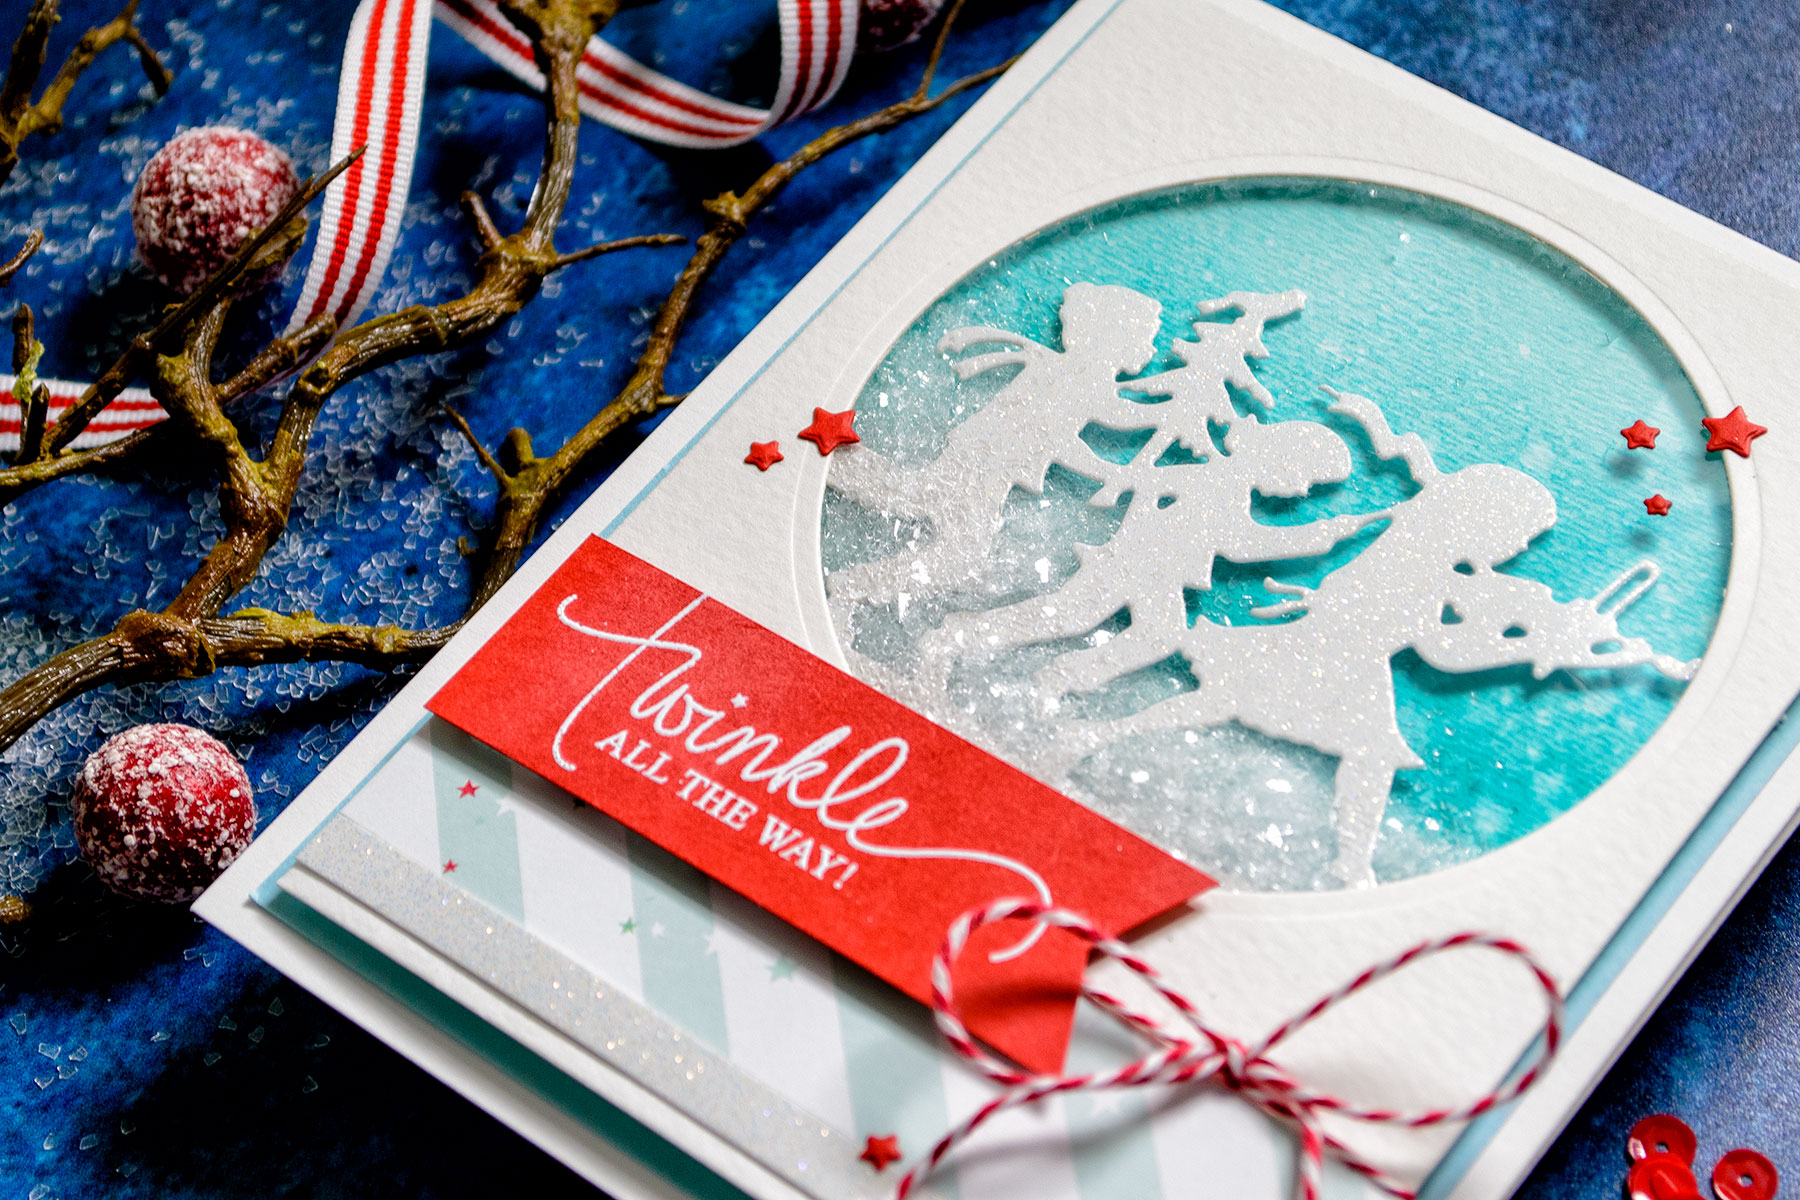
Today we are sharing a card created using S4-828 Fa La La dies from the Joyous Celebrations collection from Sharyn Sowell (you can find more inspiration using dies from Sharyn here)!

Quick Technique | Twinkle All The Way Card by Yana Smakula for Spellbinders using Fa La La Die

Project created by Yana Smakula

Quick Technique - Shaker!

Cut white cardstock panel 4 ½” x 6”. Die-cut circle in the panel. Adhere clear acetate from the back of the panel to create a screen for the die cut window. Die-cut Fa La La out of white glitter paper. Adhere from the back of the white panel inside the circle opening. Use foam adhesive to create shaker walls. Add Diamond Dust to create snow inside the shaker. Blend Peacock Feathers and Tumbled Glass Distress inks onto white cardstock panel. Use panel to close the shaker.

Quick Technique | Twinkle All The Way Card by Yana Smakula for Spellbinders using Fa La La Die

Instructions:

Looking for a full set of instructions to create this card? See below!
  • Create 5” x 6 ½” card base.
  • Cut blue cardstock panel to 4 ⅝  x 6 ⅛”.
  • Cut white cardstock panel 4 ½” x 6”. Die-cut circle in the panel. Adhere clear acetate from the back of the panel to create a screen for the die cut window. Add strips of patterned and glitter paper on the front at the bottom of the panel. Tie twine into a bow.
  • Die-cut Fa La La out of white glitter paper. Adhere from the back of the white panel inside the circle opening.
  • Use foam adhesive to create shaker walls. Add Diamond Dust to create snow inside the shaker.
  • Blend Peacock Feathers and Tumbled Glass Distress inks onto white cardstock panel. Use panel to close the shaker.
  • Adhere shaker panel onto blue panel. Adhere onto the card base.
  • White heat emboss a sentiment onto red cardstock panel. Trim one end into a V-shape. Foam mount onto the card.
  • Embellish card using pre-cut self adhesive stars.

Quick Technique | Twinkle All The Way Card by Yana Smakula for Spellbinders using Fa La La Die

Spellbinders supplies:

Other Supplies: White Cardstock (Neenah Solar White 80 LB); Colored Cardstock (My Colors Cardstock - Scarlet; Simon Says Stamp - Surf Blue); Patterned Paper (Pinkfresh Studio - Christmas Wishes); White Glitter Paper; Clear Acetate; Foam Adhesive; Tape Runner; Distress Inks (Tumbled Glass, Peacock Feathers); Clear Stamp (Mama Elephant - Merry Greetings); Clear Embossing Ink; White Embossing Powder; Heat Gun; Doodlebug Red and White Twine; FloraCraft Diamond Dust; Ink Blending Tool; Water Mister.

Quick Technique | Twinkle All The Way Card by Yana Smakula for Spellbinders using Fa La La Die Quick Technique | Twinkle All The Way Card by Yana Smakula for Spellbinders using Fa La La Die

Have you ever tried this technique? Will you give it a try? Let us know in the comments below! And have fun die-cutting!

Read more

Quick Technique | Twinkle All The Way Card with Fa La La Die

Quick Technique | Twinkle All The Way Card with Fa La La Die

Hello friends and welcome back for another episode from our brand new Quick Technique series!
Quick Technique is all about sharing simple projects using our products and showcasing fun and fresh techniques! We hope you’ll love this new installment on our blog and will give some (or possibly all?) of these techniques a try!
Today we are sharing a card created using S4-828 Fa La La dies from the Joyous Celebrations collection from Sharyn Sowell (you can find more inspiration using dies from Sharyn here)!

Quick Technique | Twinkle All The Way Card by Yana Smakula for Spellbinders using Fa La La Die

Project created by Yana Smakula

Quick Technique - Shaker!

Cut white cardstock panel 4 ½” x 6”. Die-cut circle in the panel. Adhere clear acetate from the back of the panel to create a screen for the die cut window. Die-cut Fa La La out of white glitter paper. Adhere from the back of the white panel inside the circle opening. Use foam adhesive to create shaker walls. Add Diamond Dust to create snow inside the shaker. Blend Peacock Feathers and Tumbled Glass Distress inks onto white cardstock panel. Use panel to close the shaker.

Quick Technique | Twinkle All The Way Card by Yana Smakula for Spellbinders using Fa La La Die

Instructions:

Looking for a full set of instructions to create this card? See below!
  • Create 5” x 6 ½” card base.
  • Cut blue cardstock panel to 4 ⅝  x 6 ⅛”.
  • Cut white cardstock panel 4 ½” x 6”. Die-cut circle in the panel. Adhere clear acetate from the back of the panel to create a screen for the die cut window. Add strips of patterned and glitter paper on the front at the bottom of the panel. Tie twine into a bow.
  • Die-cut Fa La La out of white glitter paper. Adhere from the back of the white panel inside the circle opening.
  • Use foam adhesive to create shaker walls. Add Diamond Dust to create snow inside the shaker.
  • Blend Peacock Feathers and Tumbled Glass Distress inks onto white cardstock panel. Use panel to close the shaker.
  • Adhere shaker panel onto blue panel. Adhere onto the card base.
  • White heat emboss a sentiment onto red cardstock panel. Trim one end into a V-shape. Foam mount onto the card.
  • Embellish card using pre-cut self adhesive stars.

Quick Technique | Twinkle All The Way Card by Yana Smakula for Spellbinders using Fa La La Die

Spellbinders supplies:

Other Supplies: White Cardstock (Neenah Solar White 80 LB); Colored Cardstock (My Colors Cardstock - Scarlet; Simon Says Stamp - Surf Blue); Patterned Paper (Pinkfresh Studio - Christmas Wishes); White Glitter Paper; Clear Acetate; Foam Adhesive; Tape Runner; Distress Inks (Tumbled Glass, Peacock Feathers); Clear Stamp (Mama Elephant - Merry Greetings); Clear Embossing Ink; White Embossing Powder; Heat Gun; Doodlebug Red and White Twine; FloraCraft Diamond Dust; Ink Blending Tool; Water Mister.

Quick Technique | Twinkle All The Way Card by Yana Smakula for Spellbinders using Fa La La Die Quick Technique | Twinkle All The Way Card by Yana Smakula for Spellbinders using Fa La La Die

Have you ever tried this technique? Will you give it a try? Let us know in the comments below! And have fun die-cutting!

Read more