

 />
/>
Hello Friends! I'm so excited to introduce to you today four more etched dies sets from my NEW Timeless Heart Collection: Double Heart Gatefold Card Etched Dies, Double Heart Gift Box Etched Dies, Rolled Flowers Etched Dies and Layered Leaf Vines Etched Dies. This gate-fold card and gift box ensemble was a lot of fun to create using these die sets. The Rolled Flowers are so easy to make, with just one die cut you get the stamens, flower petals and leaves!! Follow the tutorials below to create these projects and flowers.

Instructions:
Double Heart Gift Box Etched Dies: 1. Die cut 4 box side panels from designer cardstock. Die cut 4 decorative pieces from white cardstock. 2. Glue decorative pieces to 4 side panels.
 3. Apply glue or adhesive tape to 4 tabs and then adhere panels together to form box.

 4. Die cut 2 lids from designer cardstock. Die cut decorative pieces from white cardstock and then glue to both lids.
 5. Apply tape or glue to 4 lid tabs. Glue lid side panels together at the tabs to form both lids.
 6. Apply lids to top and bottom to finish box. Decorate top of box with Rolled Flowers, Layered Leaf Vines and silk ribbon bow.


 2. Die cut 2 card side panels from designer cardstock.
 3. Die cut 2 decorative pieces from white cardstock and then glue to side panels.

4. Die cut top decorative piece and sentiment from white cardstock and then glue to card.
 5. Apply adhesive strip or glue to side panel tabs and adhere to back of card.


 2. Shape petals and leaves with Tool N’ One™ Stylus and then glue strips together offsetting petals and leaves as pictured below. I used E-Z Runner Micro tape to adhere strips together.
 3. Roll flower strip with Tool N’ One™ Quilling Tip starting at the stamens side. Apply glue at the end of strip to keep secure. Open leaves and flower petals out to shape flower.


- S6-126 Double Heart Gatefold Card Etched Dies
- S5-318 Double Heart Gift Box Etched Dies
- S4-797 Rolled Flowers Etched Dies
- S4-795 Layered Leaf Vines Etched Dies
- Platinum 6 Die Cutting and Embossing Machine – 6” Platform
- Tool ‘N One™
- Stylus Tips For Tool N’ One™
- Quilling Tip for Tool N’ One™


 Trace a circle around the lid as a guide on a pretty piece of paper. Note to cut the piece a bit larger than your penciled outline. Then clip out little wedges on its edges as shown so it will fit well, and glue down.
 Make sure to add a strip of paper around the edge of the lid to hide any messy glue that may have seeped out (because we are not perfectionists here!)

 Don't panic when things don't go perfectly. Remember, this isn't a contest and you are a creative crafter, right? Just take a piece of scrap and cut out an extra bit to fill in, you clever thing, you! And trim off the wonky part on the bottom, while you're at it.
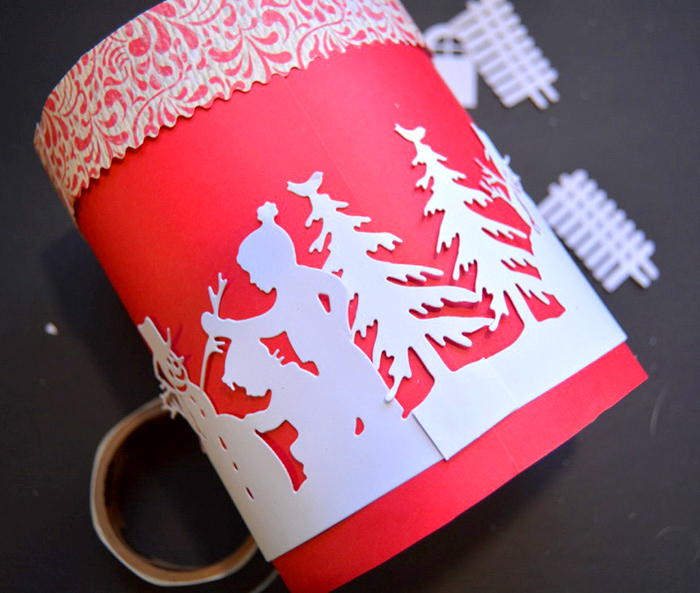 Let's decorate it a little more. Use your glitter, sequins, ribbon, inks, or whatever. Put on some music and dance!
 Pieces of vellum were placed behind my windows so a battery operated votive light can be tucked inside. I added a straw chimney and smoke was made from a piece of pipe cleaner.
Assemble your house and then attach to the lid of your round box.
Pieces of vellum were placed behind my windows so a battery operated votive light can be tucked inside. I added a straw chimney and smoke was made from a piece of pipe cleaner.
Assemble your house and then attach to the lid of your round box.
 Finally, tuck in a piece of tissue paper with a little home made gift inside. Christmas is going to be full of magic. You're going to be ready early so you can enjoy every moment, stress free!
