-
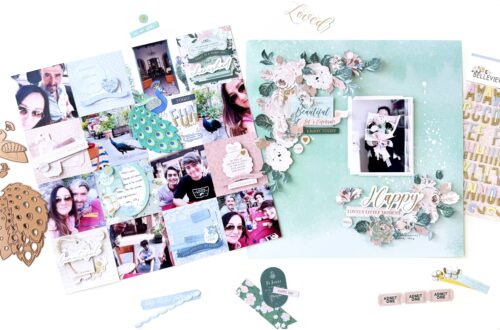
Unveiling Memories: Scrapbooking with Belleview – A Journey in Creativity
Hello, fellow crafters and scrapbooking enthusiasts! Angela here. I’m thrilled to be here as a guest on Spellbinders, sharing my passion by creativity and showcasing the beautiful Belleview paper collection by Rosie’s Studio. As an avid scrapbooker, I’ve always been drawn to the magic of preserving memories through art, and I can’t wait to share two of my latest layouts…
-
Softening BetterPress Backgrounds with Vellum
In the colorful world of paper crafting, where every hue and texture play a vital role in creating a masterpiece, one extra step can elevate your design to a whole new level of sophistication. Today, we’ll do that with the subtle elegance of vellum. For all our projects today, we’ll be the latest goodies from Spellbinders’ BetterPress. As a paper…
-
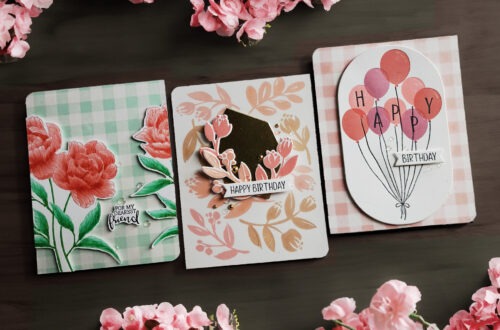
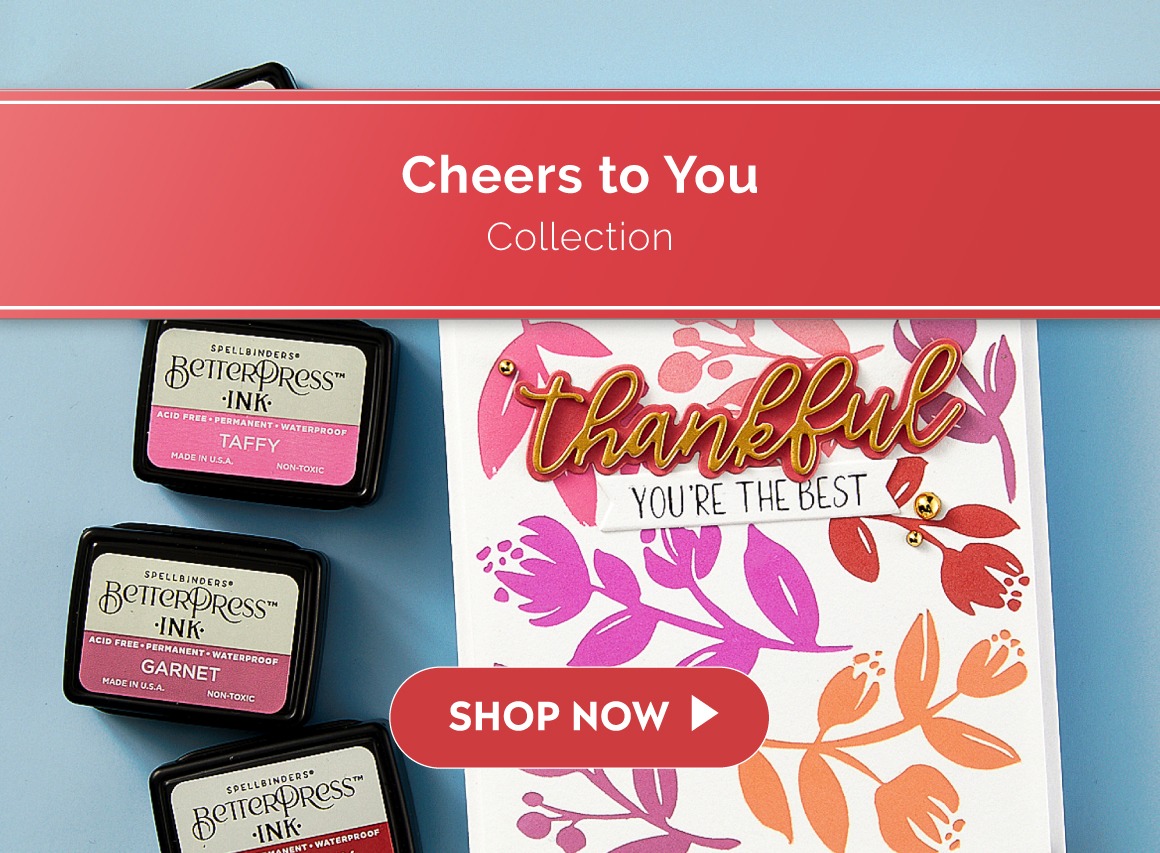
Creating Multi-Color Letterpressed Designs with the Cheers To You Collection
Hi there, this is Annie Williams and I’m thrilled to be back on the blog today to share a couple of colorful cards made with the new Cheers To You Collection from Spellbinders. The gorgeous new registration plate designs, versatile background, and classic sentiments in the collection inspired me to create three multi-color cards for various occasions. Peony Plaid Friendship…
-
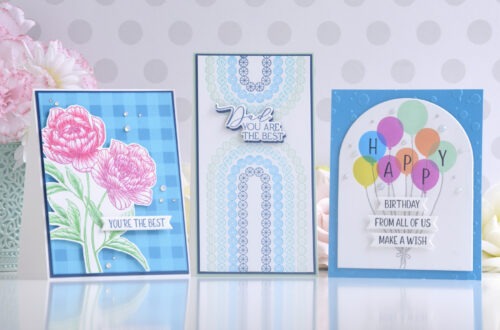
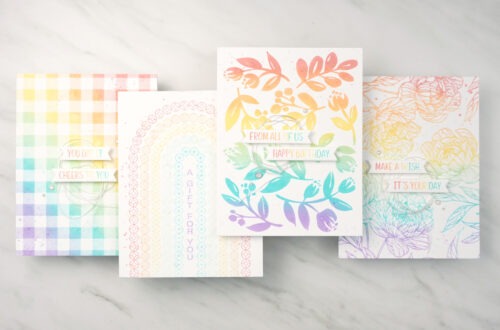
Ink and Impress: Crafting Dynamic Backgrounds with BetterPress Plates
Hi there my Spellbinders’ friends! My name is Jaycee Gaspar and I’m so excited to share four cards featuring the Cheers to You BetterPress Collection. This collection features a mix of BetterPress Press Plates, standard-size Ink Pads, and replacement BetterPress materials. If you have been waiting for a chance to get started with the BetterPress system, now is your chance…
-
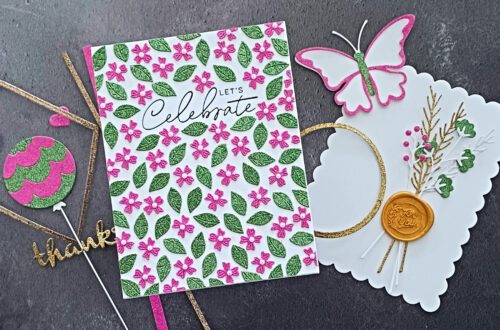
Fun Ways To Add Beautiful Sparkle To Your Cards
Hello there Spellbinders friends! Lisa Tilson is here with you today on the Spellbinders blog. Today we are going to be playing with glitter cardstock! I have lots of examples and ideas for you and some great tips to help you get the most out of your cardstock. I love to add glitter cardstock to my cards, often in fairly…
-
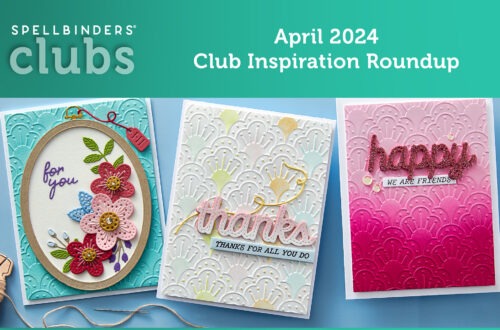
April 2024 Clubs Inspiration Roundup!
Hello Spellbinders’ fans! We hope you are excited to receive or maybe have already received your Apri 2024 Club packages in the mail! To bring you even more inspiration and spark your creativity using products from our Small Die of the Month, Large Die of the Month, Quick & Easy Card Kit of the Month, Stitching Die of the Month, Glimmer Hot Foil Kit of…
-
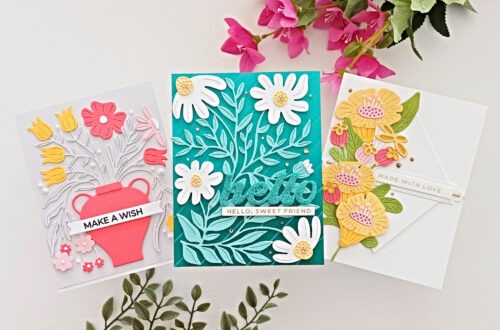
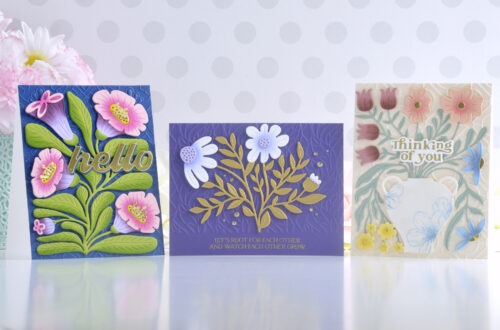
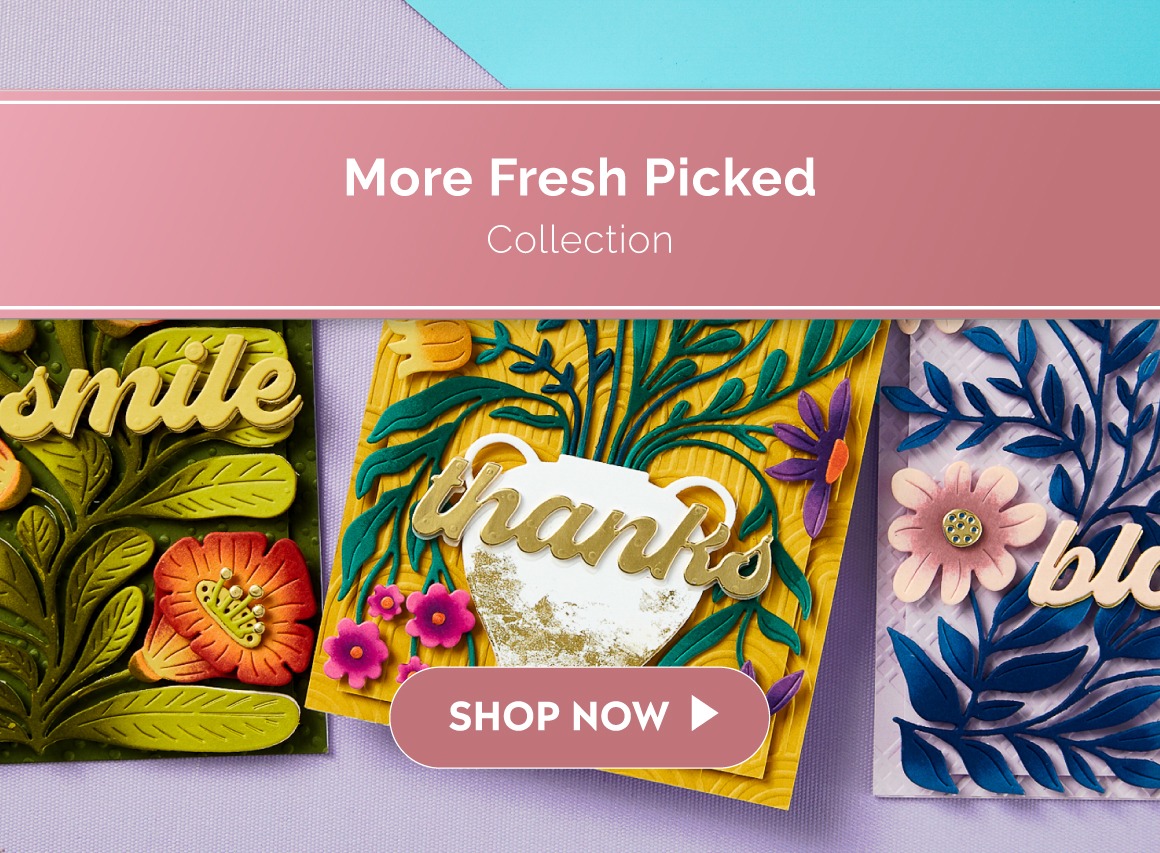
Fabulous Florals with the Fresh Picked Collection
Hello Crafters! It’s Melody Rupple here and I’m excited to be on the blog today to share a few cards I have created with the new More Fresh Picked Collection. I love the newest additions to the Fresh Picked Collection. The modern, contemporary feel of the collection is so fun for cardmaking. The More Fresh Picked Collection includes 3 floral…
-
Brighten Up Your Day and Create Three Simple Floral Cards
Hello there Spellbinders friends! Lisa Tilson here from My Card Trip and I am excited to be back here with you on the Spellbinders blog. Today I have some cards to share using the More Fresh Picked Collection. I really loved the first Fresh Picked Collection so I was delighted to be asked to make some more cards for you…
-
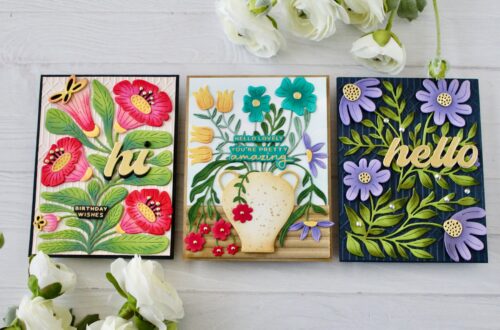
Playing with Color and the More Freshed Picked Collection
Hi there, this is Annie Williams and I’m excited to be back on the blog today to share a couple of colorful cards made with the new More Fresh Picked Collection from Spellbinders. I love the bold floral designs in the Fresh Picked line, so I tried to pick some fun color combinations to use with them while adding extra…
-
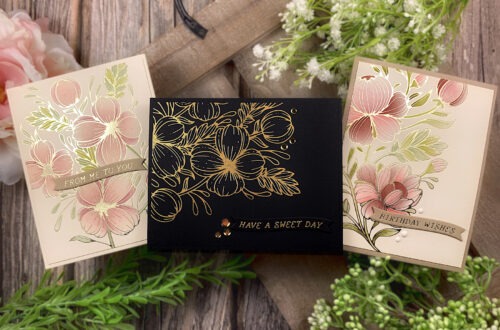
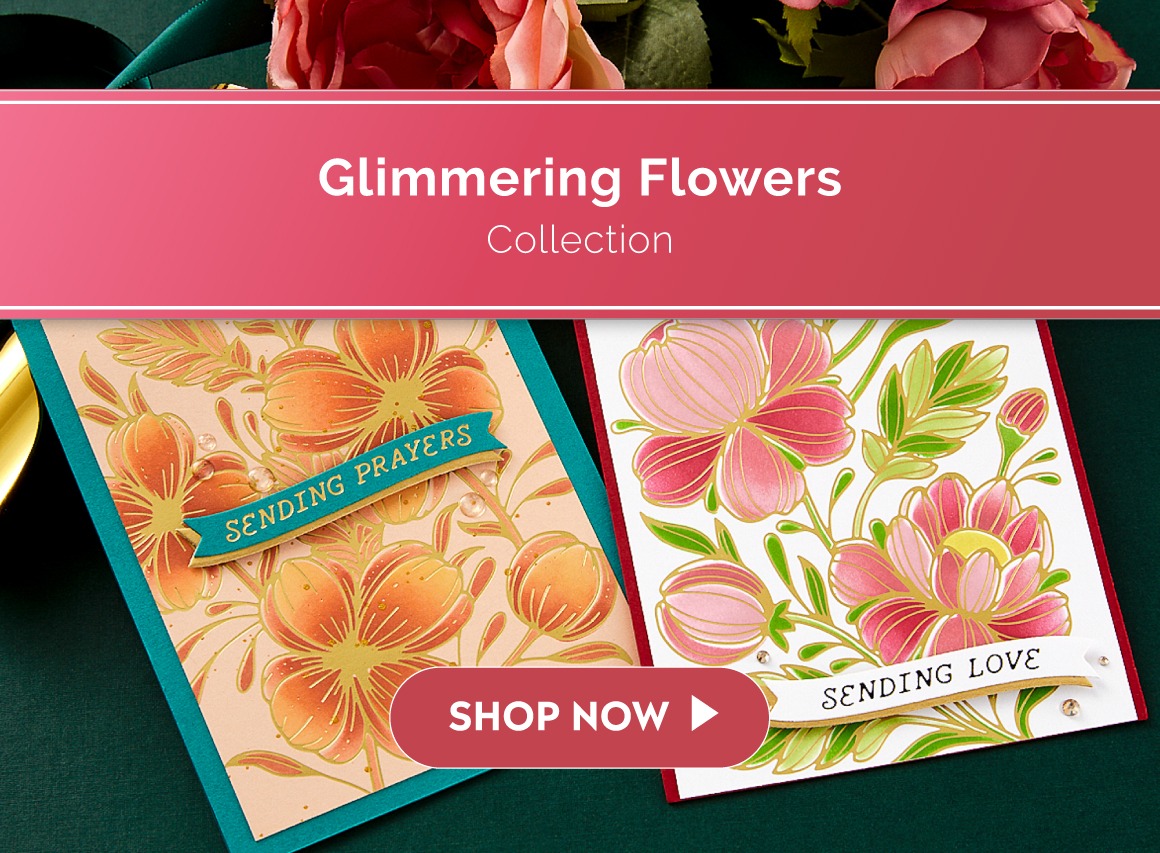
Glimmering Flowers With Jennifer
Hello everyone! This is Jennifer Rustioni from @armieritagli! I’m so happy to be here again as a guest on the Spellbinders Blog! Today I share with you three cards I created featuring the new wonderful Spellbinders Glimmering Flowers Collection! MISTLETOE KISS The first card I realized is featuring the lovely Spellbinders Glimmering Buttercups Hot Foil Plate. I used the Spellbinders…