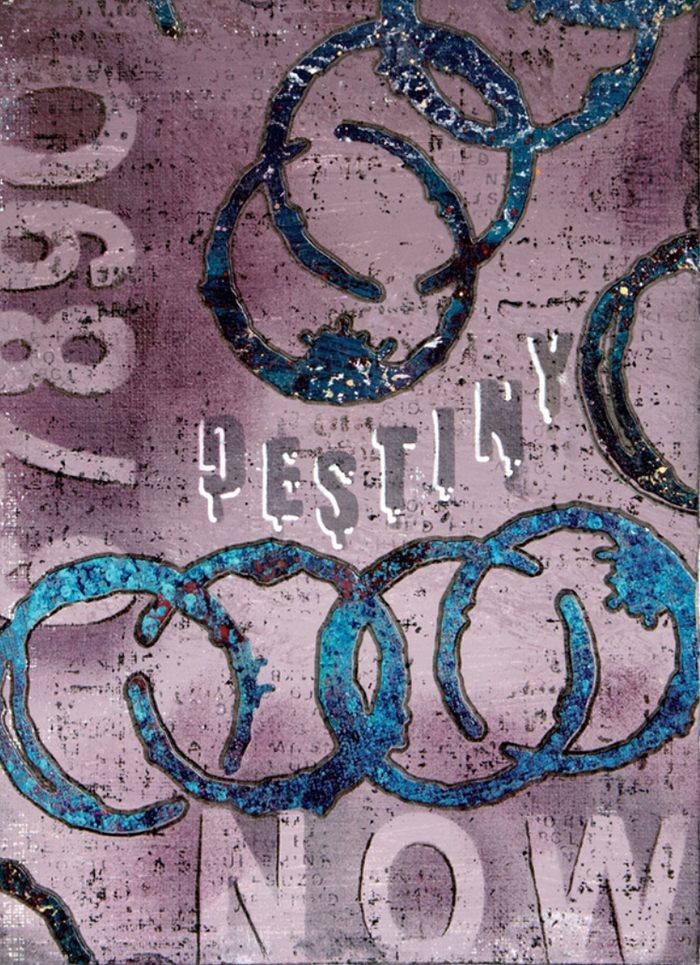
Spellbinders Blog

New Collection Release Preview with Seth Apter

New Collection Release Preview with Seth Apter

Hi everybody. I am thrilled to be on the blog today, sharing a preview of my newest collection of products with Spellbinders.  These will be available for your purchase and creative use next month, my newest dies were designed with YOU in mind. Because the designs are abstract in nature, your inner artist is in charge and you can create unique art all your own. Whether your style is grungy, vintage, shabby chic, industrial - or anything in between - these dies will fit the bill.
Today I wanted to share a few of my favorites, along with examples of how the die cuts are used in artwork and a few tips.

STARSTRUCK

New Collection Release Preview with Seth Apter S4-809 StarStruck Etched Dies Tip: Run your die through your die-cutting machine multiple times. Then layer the die cuts, slightly rotated, to create an entirely new dimensional design all your own. New Collection Release Preview with Seth Apter S4-809 Starstruck Etched Dies Artwork

SUNBURST

New Collection Release Preview with Seth Apter S4-812 Sunburst Etched Dies

Tip: Run your die through your die-cutting machine several times using different paper. Then reassemble your die cuts to create more complex and interesting elements. New Collection Release Preview with Seth Apter S4-812 Sunburst Etched Dies Artwork

PERISCOPE

New Collection Release Preview with Seth Apter S4-811 Periscope Etched Dies Tip: Add embellishments to your die cuts for more depth and dimension in your work. New Collection Release Preview with Seth Apter S4-811 Periscope Etched Dies Artwork

SPLAT

New Collection Release Preview with Seth Apter S4-813 Splat Etched Dies

Tip: Outlining your die cuts using a gel pen makes them pop off the page. New Collection Release Preview with Seth Apter S4-813 Splat Etched Dies Artwork

RING STRING

New Collection Release Preview with Seth Apter S4-807 Ring String Etched Dies

Tip: Using your own hand painted paper for your die cuts will instantly make your artwork unique to all others. New Collection Release Preview with Seth Apter S4-807 Ring String Etched Dies Artwork Stay tuned for upcoming posts with more images, details and tutorials. For a sneak peek of the entire new collection right now, head to the Coming Soon page of Spellbinders® web site.

Read more

How To Make A Darling Paw Print Home Decor Sign

How To Make A Darling Paw Print Home Decor Sign

Hello fellow makers! Miranda here from Tinsel + Wheat! Today I'm excited to introduce you to little Lucy and walk you through the steps to create your own keepsake paw print home decor sign!
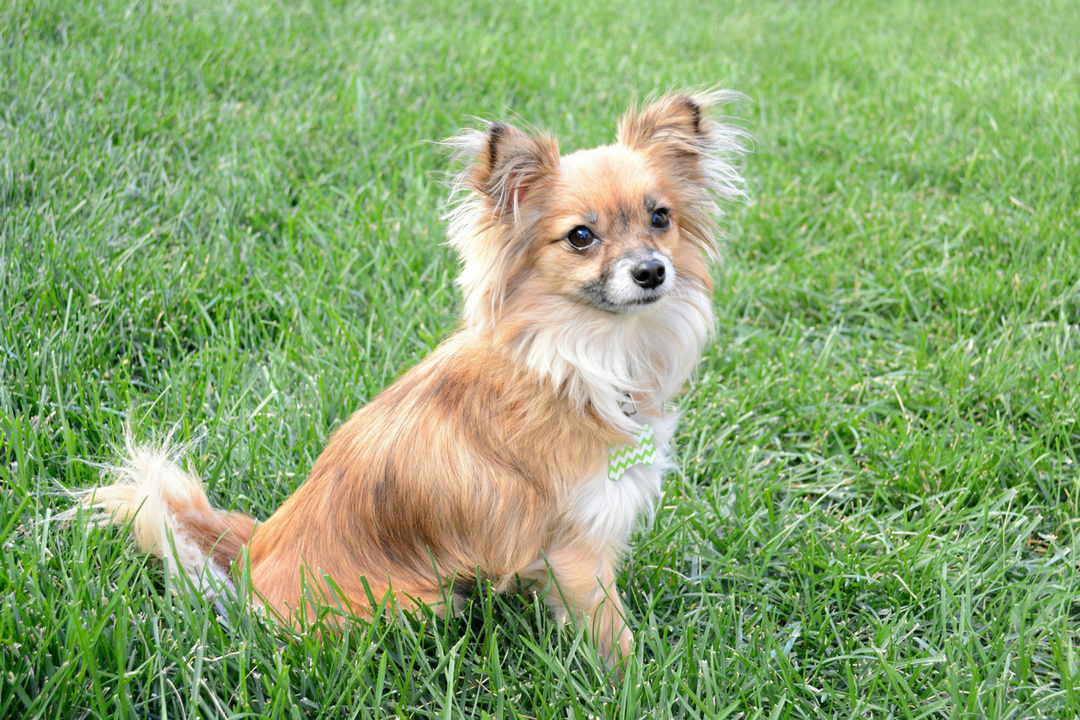
Meet Lucy! A teeny tiny adorable chihuahua mix adopted by my sister from the Texas Chihuahua Rescue in 2015. She is the cutest little fur baby and it was so fun to feature her in this project. Her little paw print is barely an inch in size! SO cute and her personality is just as sweet!! How To Make A Darling Paw Print Home Decor Sign | Texas Chihuahua Rescue
Let's chat supplies!

Here's what you'll need:

Cut list:

***Keep in mind you may need to create a larger sign - depending on the name of your pet and the size of its paws.***
  • (3) 3/4" cedar fence post - 2" x 7 3/4"
  • (2) 3/4" cedar fence post - 1" x 5 3/4"
  • (2) 1" x 2" - 9 1/2"
  • (2) 1" x 2" -  7 1/2"

Let's get started!

Step 1: Cut letters

Cut your desired letters from an old license plate or crafting tin using your Say It Like You Mean It Steel Rule Dies and your Platinum machine. Your die sandwich will be clear acrylic + die + license plate + clear acrylic plate.  Because the license plate metal is so thick you will need to roll this through, back and forth many times. I rolled mine through back and forth about 12 times. Some of the letters popped right out with a little manipulation. I assisted the process a couple times with scissors, just to free the letters from the plates. How To Make A Darling Paw Print Home Decor Sign | Step 1 How To Make A Darling Paw Print Home Decor Sign | Step 1 I decided to showcase the "u" with the front side of the license plate and all other letters with the reverse side. How To Make A Darling Paw Print Home Decor Sign | Step 1 Once your letters are cut you will be able to see how long your sign will need to be.

Step 2: Cut wood and prepare sign

Using the cut list above - go ahead and cut your sign pieces. How To Make A Darling Paw Print Home Decor Sign | Step 2 Glue the cedar fence post pieces together first.  I reinforced the glue with brad nails. Once the glue had dried a bit I sanded the face of the sign. This will help your pets paw print really show well on the wood. In hind sight, I would have sanded this perfectly smooth. How To Make A Darling Paw Print Home Decor Sign | Step 2 How To Make A Darling Paw Print Home Decor Sign | Step 2

Step 3:  Paint wood

Lightly brush white paint onto the cedar post sign. Then paint your frame pieces. I used a pretty coral pink spray paint. Let all pieces dry. How To Make A Darling Paw Print Home Decor Sign | Step 3 How To Make A Darling Paw Print Home Decor Sign | Step 3

Step 4:  Glue letters to sign

I used hot glue to adhere my letters to the sign face. So far the sign is holding up great!  You could use industrial glue (like E-6000) as well. How To Make A Darling Paw Print Home Decor Sign | Step 4

Step 5:  Paw prints

This is the fun part - ha!  You'll likely need a helper, I sure did!  While my sister held little Lucy I painted her little paws with black acrylic paint, stamped them on to the sign face, and then rinsed her little feet. Lucy's paws are so tiny!!  Her prints aren't perfect but her little feet are and her Mama Human loved how the prints turned out. All that matters!

Step 6:  Assemble sign with frame pieces

You'll want to assemble your sign with wood glue and brad nails if possible. How To Make A Darling Paw Print Home Decor Sign | Step 6

Step 7: Drill holes and add rope

Use 3/4" drill bit to drill one hole in each upper corner. String your rope through the holes and tie ends in a knot. How To Make A Darling Paw Print Home Decor Sign | Step 7 This turned out so cute! My sister has a forever memory of little Lucy's paws that she can treasure!  These little signs would make the perfect home decor piece or gift for any paw pet loving person. How To Make A Darling Paw Print Home Decor Sign | Final Project We always love to see your versions of these projects so make sure to tag us using #neverstopmaking! Make it a great day! Miranda

Read more

How To Make A Darling Paw Print Home Decor Sign

How To Make A Darling Paw Print Home Decor Sign

Hello fellow makers! Miranda here from Tinsel + Wheat! Today I'm excited to introduce you to little Lucy and walk you through the steps to create your own keepsake paw print home decor sign!
Meet Lucy! A teeny tiny adorable chihuahua mix adopted by my sister from the Texas Chihuahua Rescue in 2015. She is the cutest little fur baby and it was so fun to feature her in this project. Her little paw print is barely an inch in size! SO cute and her personality is just as sweet!! How To Make A Darling Paw Print Home Decor Sign | Texas Chihuahua Rescue

Let's chat supplies!

Here's what you'll need:

Cut list:

***Keep in mind you may need to create a larger sign - depending on the name of your pet and the size of its paws.***
  • (3) 3/4" cedar fence post - 2" x 7 3/4"
  • (2) 3/4" cedar fence post - 1" x 5 3/4"
  • (2) 1" x 2" - 9 1/2"
  • (2) 1" x 2" -  7 1/2"

Let's get started!

Step 1: Cut letters

Cut your desired letters from an old license plate or crafting tin using your Say It Like You Mean It Steel Rule Dies and your Platinum machine. Your die sandwich will be clear acrylic + die + license plate + clear acrylic plate.  Because the license plate metal is so thick you will need to roll this through, back and forth many times. I rolled mine through back and forth about 12 times. Some of the letters popped right out with a little manipulation. I assisted the process a couple times with scissors, just to free the letters from the plates. How To Make A Darling Paw Print Home Decor Sign | Step 1 How To Make A Darling Paw Print Home Decor Sign | Step 1 I decided to showcase the "u" with the front side of the license plate and all other letters with the reverse side. How To Make A Darling Paw Print Home Decor Sign | Step 1 Once your letters are cut you will be able to see how long your sign will need to be.

Step 2: Cut wood and prepare sign

Using the cut list above - go ahead and cut your sign pieces. How To Make A Darling Paw Print Home Decor Sign | Step 2 Glue the cedar fence post pieces together first.  I reinforced the glue with brad nails. Once the glue had dried a bit I sanded the face of the sign. This will help your pets paw print really show well on the wood. In hind sight, I would have sanded this perfectly smooth. How To Make A Darling Paw Print Home Decor Sign | Step 2 How To Make A Darling Paw Print Home Decor Sign | Step 2

Step 3:  Paint wood

Lightly brush white paint onto the cedar post sign. Then paint your frame pieces. I used a pretty coral pink spray paint. Let all pieces dry. How To Make A Darling Paw Print Home Decor Sign | Step 3 How To Make A Darling Paw Print Home Decor Sign | Step 3

Step 4:  Glue letters to sign

I used hot glue to adhere my letters to the sign face. So far the sign is holding up great!  You could use industrial glue (like E-6000) as well. How To Make A Darling Paw Print Home Decor Sign | Step 4

Step 5:  Paw prints

This is the fun part - ha!  You'll likely need a helper, I sure did!  While my sister held little Lucy I painted her little paws with black acrylic paint, stamped them on to the sign face, and then rinsed her little feet. Lucy's paws are so tiny!!  Her prints aren't perfect but her little feet are and her Mama Human loved how the prints turned out. All that matters!

Step 6:  Assemble sign with frame pieces

You'll want to assemble your sign with wood glue and brad nails if possible. How To Make A Darling Paw Print Home Decor Sign | Step 6

Step 7: Drill holes and add rope

Use 3/4" drill bit to drill one hole in each upper corner. String your rope through the holes and tie ends in a knot. How To Make A Darling Paw Print Home Decor Sign | Step 7 This turned out so cute! My sister has a forever memory of little Lucy's paws that she can treasure!  These little signs would make the perfect home decor piece or gift for any paw pet loving person. How To Make A Darling Paw Print Home Decor Sign | Final Project We always love to see your versions of these projects so make sure to tag us using #neverstopmaking! Make it a great day! Miranda

Read more