


 />
/>

Project created by in-house designer Yana Smakula
Step By Step Instructions:
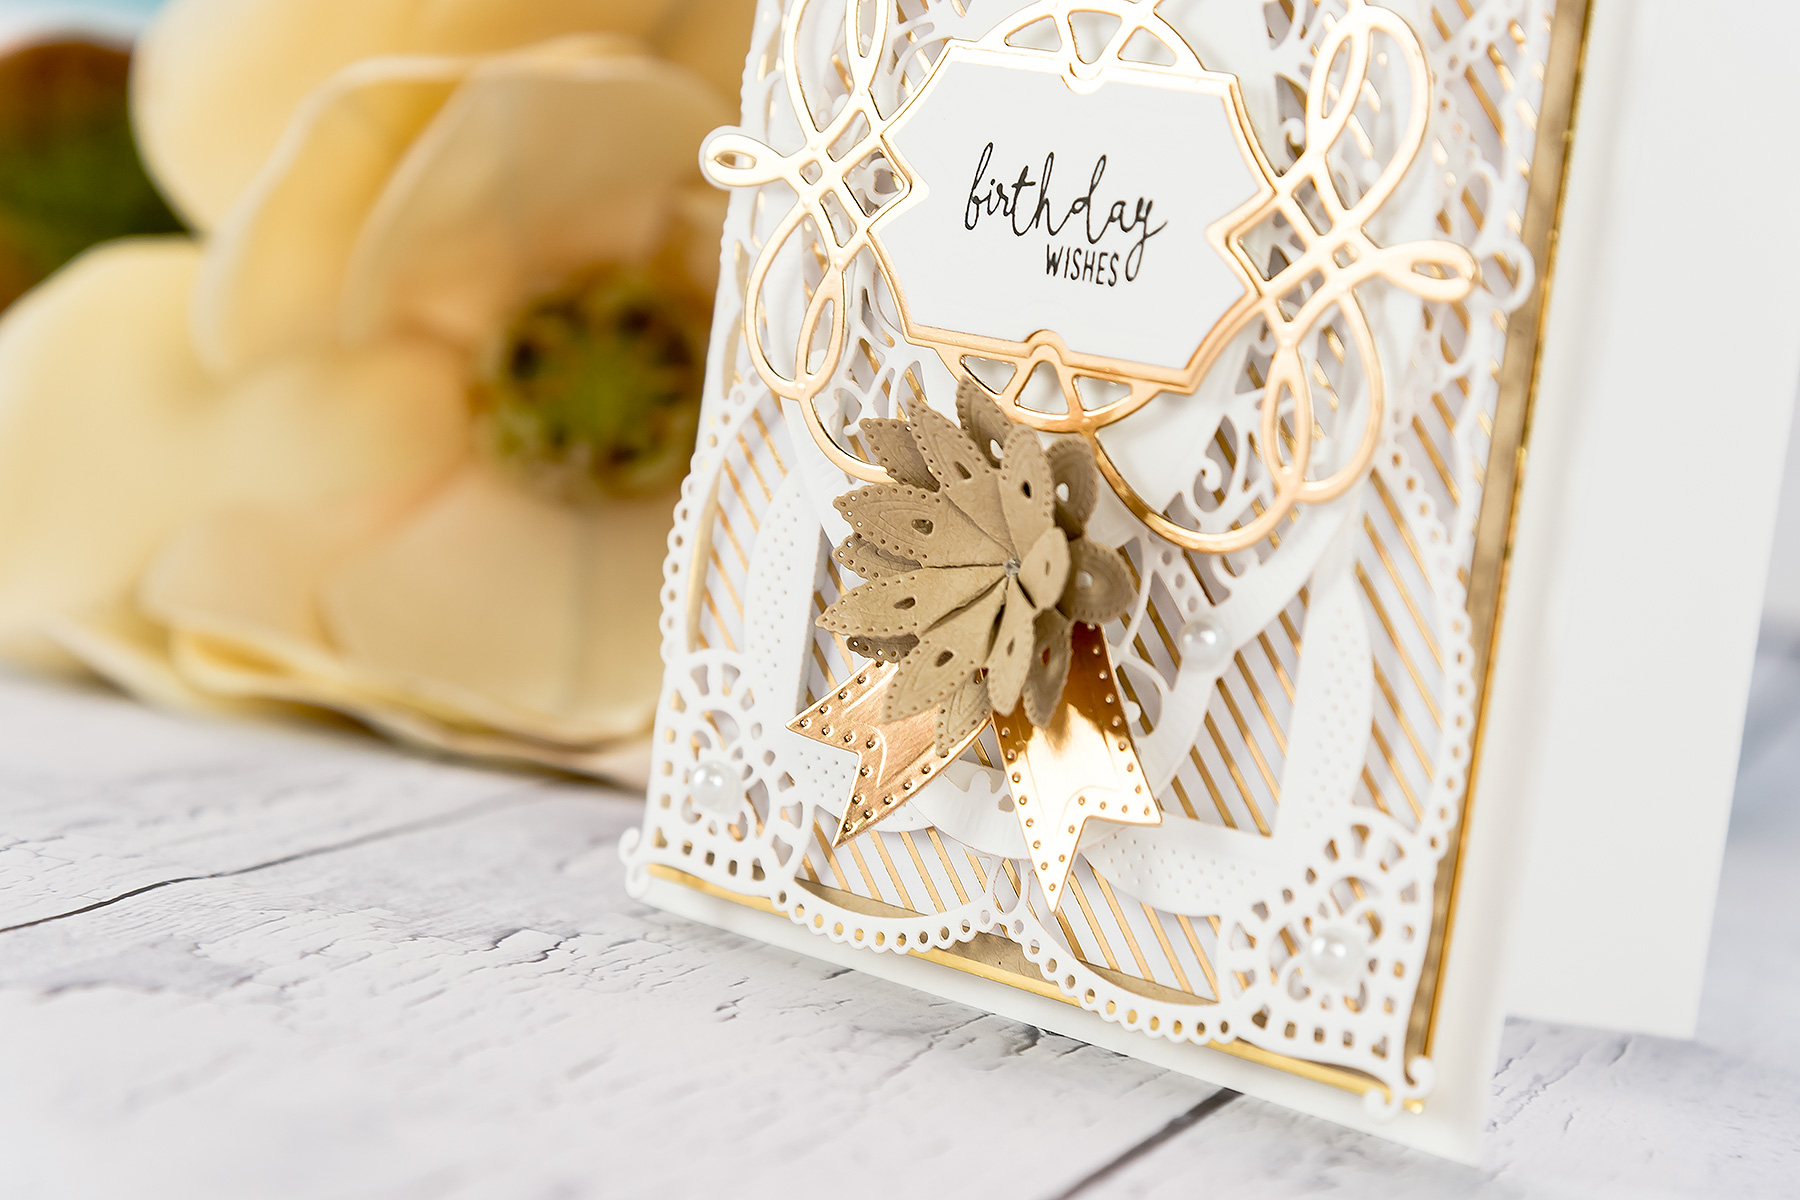
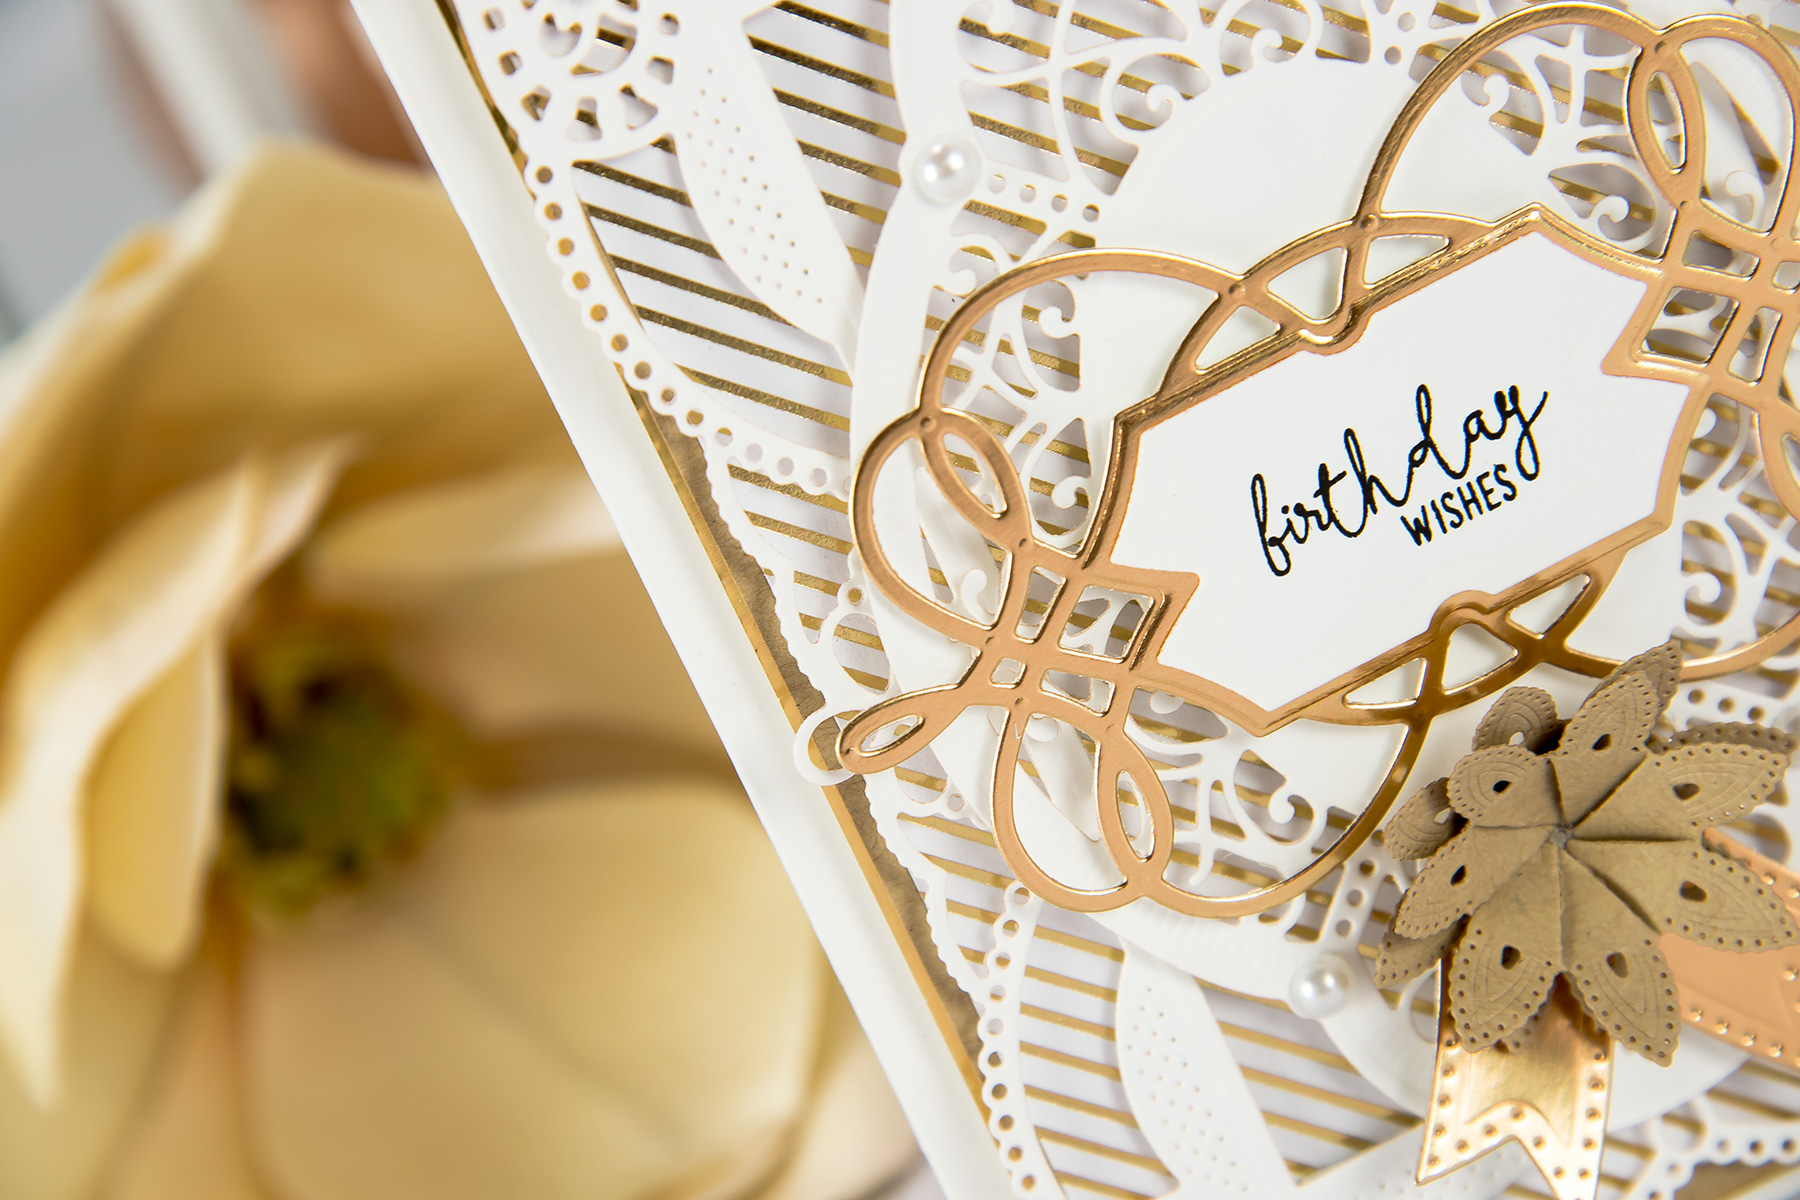
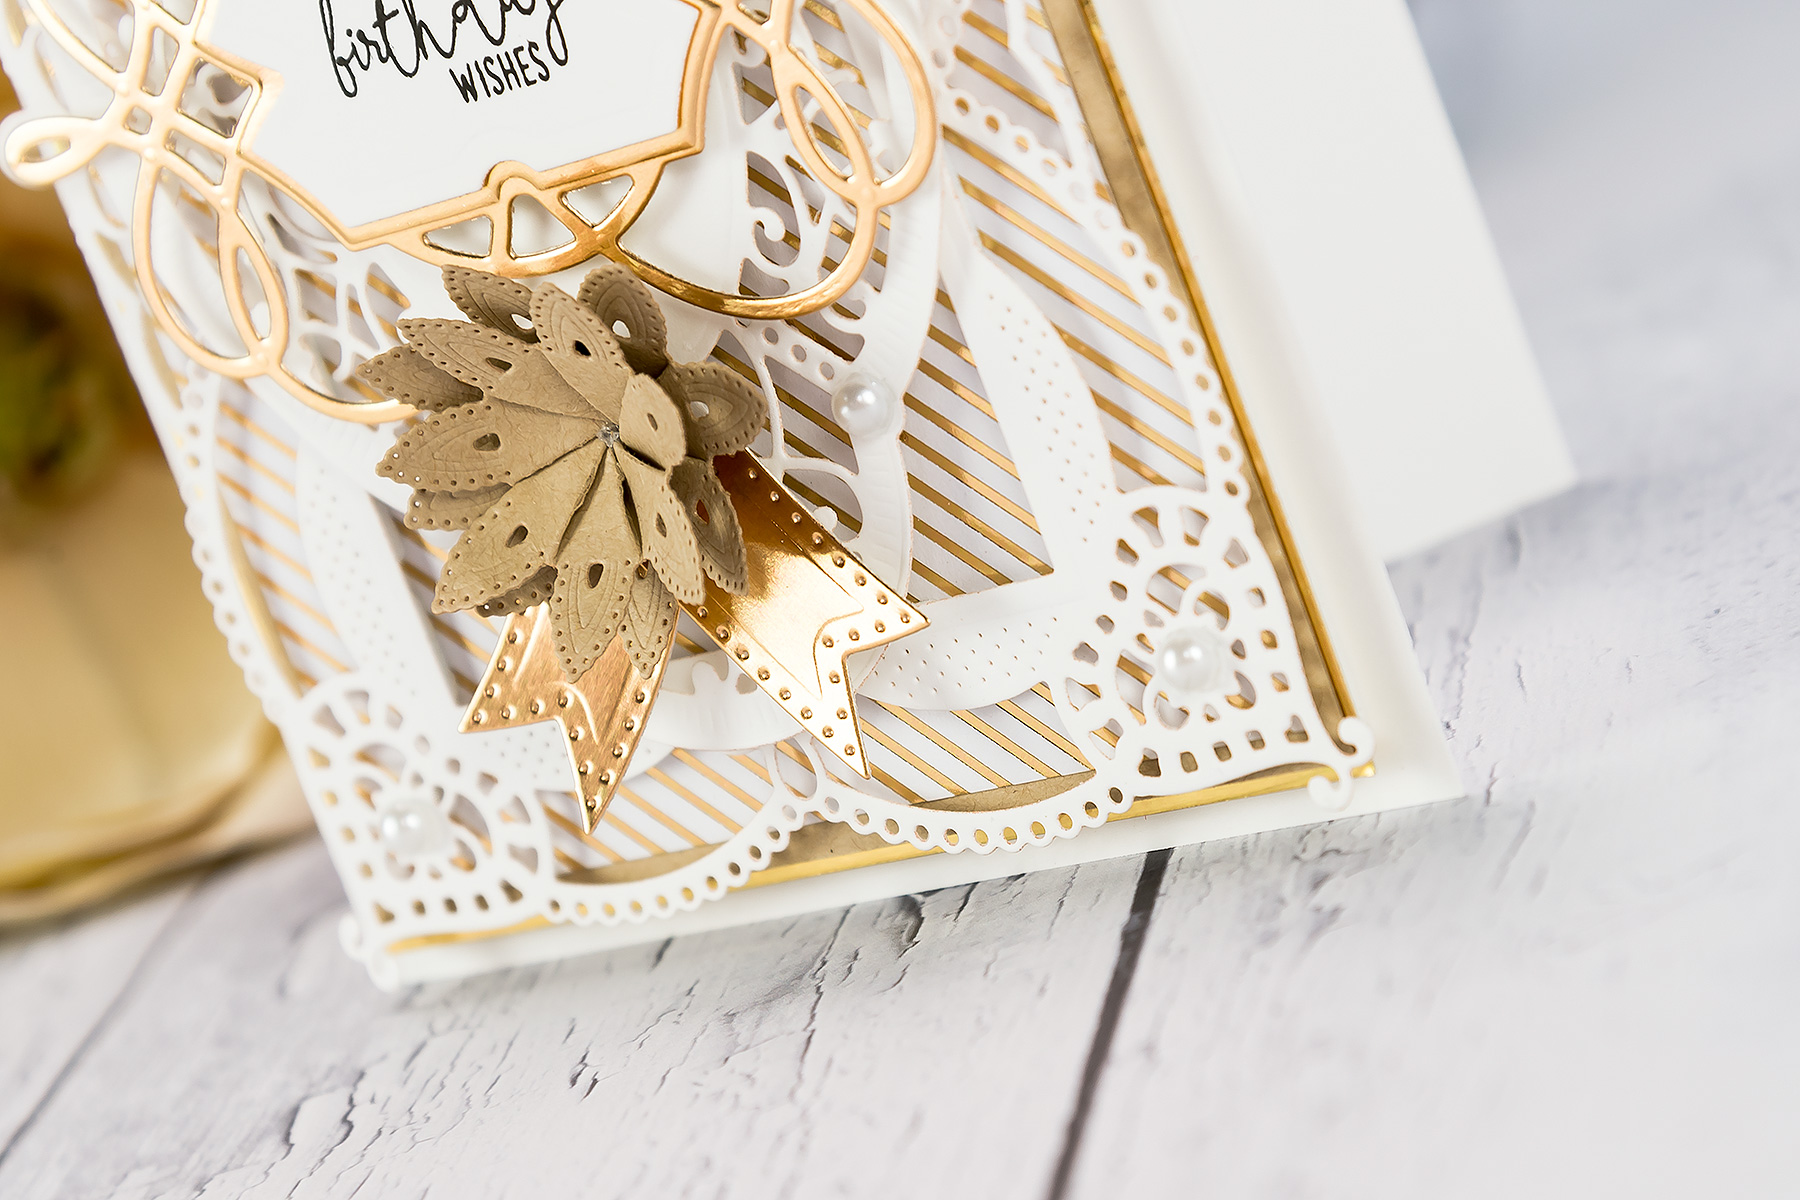
We have a full set of step by step instructions describing how to create this card.- Create 5 x 7 ” card base.
- Cut patterned paper panel to 4 ½ x 6 ½“. Cut kraft cardstock to 4 ½ x 6 ½”. Cut gold foil cardstock mat slightly larger, adhere all panels together, foam mount onto the card.
- Die-cut & emboss Chemise Frame and Rectangle Insert from the Coralene's Chemise Layering Frame Large set out of white cardstock. Foam mount onto the card.
- Die-cut & emboss Outer Layer and Filigree Frame Layer from the Hannah Elise Layering Frame Small set out of white cardstock. Foam mount onto the card using double layer of foam adhesive.
- Die-cut & emboss Swirl Frame from the Coralene's Chemise Layering Frame Large set out of gold foil cardstock. Foam mounted onto the card.
- Die-cut Labels from the Coralene's Chemise Layering Frame Large set out of white cardstock. Stamp sentiment. Adhere onto the card.
- Die-cut Small Flower/Border from the Lilly Pearl Flat Fold Flower/border set out of kraft cardstock. Fold along the fold lines and arrange into a flower. Adhere onto the card.
- Die-cut Curved Tails from the Vintage Pierced Banners set out of gold foil cardstock. Foam mount onto the card.
- Embellish card with pearls.
Spellbinders supplies:
- S4-819 Lilly Pearl Flat Fold Flower/Border
- S4-820 Vintage Pierced Banners
- S5-329 Hannah Elise Layering Frame Small
- S6-130 Coralene's Chemise Layering Frame Large
- PL-001 Platinum Die Cutting And Embossing Machine - 8.5" Platform
- T-001 Tool 'N One
Other Supplies:
White Cardstock (Neenah Solar White 110LB & 80 LB, Desert Storm 80 LB); Gold Foil Cardstock; Patterned Paper (DCWV - Happy Day Stack); Fun Foam; Tape Runner; Clear Stamp (Mama Elephant - Blogging Buddies); Versafine Onyx Black Ink; Self Adhesive Pearls.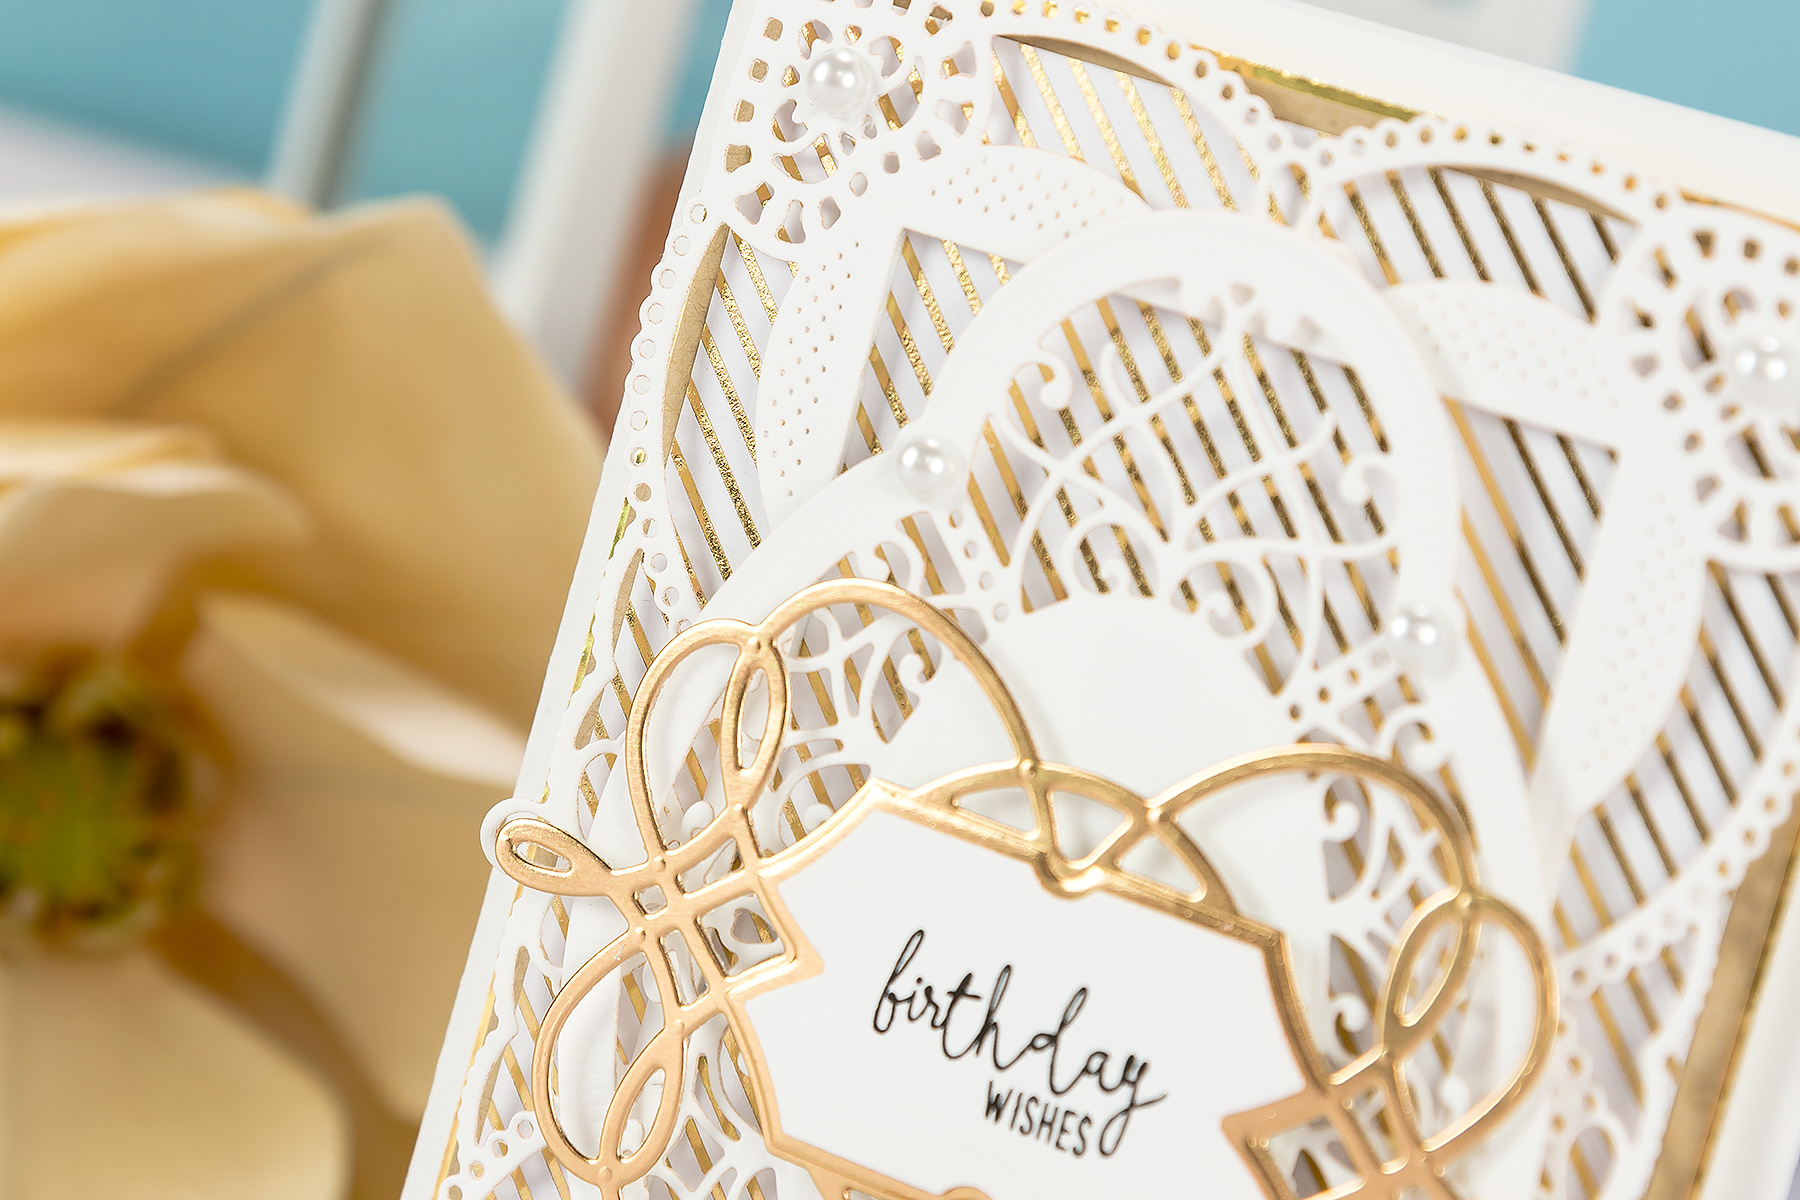
Pin me!
Like this project? Be sure to pin it!