Spellbinders Blog

Inlaid Die-Cutting: Hugs & Kisses with Border Flowers

Inlaid Die-Cutting: Hugs & Kisses with Border Flowers

Have you ever tried Inlaid Die Cutting Technique in your projects? In this card, we show you how to inlay white negative die cut into the green die cut for a simple and stunning effect. Try this technique out and share with us!
Inlaid Die-Cutting: Hugs & Kisses with Border Flowers by Yana Smakula Main Image
  Instructions:
  1. Create 5 x 7” top folding card base out of pearlescent white cardstock.
  2. Die-cut light blue cardstock panel with S6-002 5 X 7 Matting Basics B Card Creator Etched Dies Die #7 (the smallest size die is #1), using PL-001 Platinum Die Cutting And Embossing Machine - 8.5" Platform.
  3. Die-cut and emboss patterned paper panel using S6-001 5 X 7 Matting Basics A Card Creator Etched Dies Die #6. Adhere onto blue cardstock panel.
  4. Wrap ribbon around panels.
  5. Foam mount panels onto the card.
  6. Die-cut S3-266 Border Flower Etched Dies Border Die out of gold foil cardstock. Cut into 2 pieces. Adhere onto the card (at the top and bottom).
  7. Die-cut Border die out of gold foil (2 die cuts), green and white cardstock. Inlay white negative die cut into the green one. Adhere onto one of the gold die cuts, off set slightly. Adhere the second gold die cut under the cluster, but rotate 45 degrees. Adhere cluster onto the card.
  8. Stamp sentiment onto a white cardstock strip, foam mount onto the card.
  9. Die-cut S3-266 Border Flower Etched Dies Flowers Die, adhere onto the card.
  10. Embellish card with pearls.
Here are several close up shots... Inlaid Die-Cutting: Hugs & Kisses with Border Flowers by Yana Smakula Pic 1 Inlaid Die-Cutting: Hugs & Kisses with Border Flowers by Yana Smakula Pic 2 Inlaid Die-Cutting: Hugs & Kisses with Border Flowers by Yana Smakula Pic 3 Inlaid Die-Cutting: Hugs & Kisses with Border Flowers by Yana Smakula Pic 4 Inlaid Die-Cutting: Hugs & Kisses with Border Flowers by Yana Smakula Pic 5 Inlaid Die-Cutting: Hugs & Kisses with Border Flowers by Yana Smakula Pic 6   Spellbinders Supplies: Other Supplies: White Cardstock (Neenah Solar White 80 LB); Pearlescent White Cardstock (WorldWin); Colored Cardstock (Simon Says Stamp - Sea Glass; Bazzill Basics - Dotted Swiss Celtic Green; Gold Foil Cardstock); Patterned Paper (First Edition - Pretty Posy); Foam Adhesive; Glue; Black Ink; Clear Stamp (Avery Elle - Favorite Person); Self Adhesive Pearls; Tape Runner; Black and white ¼” ribbon.

Read more

Inlaid Die-Cutting: Hugs & Kisses with Border Flowers

Inlaid Die-Cutting: Hugs & Kisses with Border Flowers

Have you ever tried Inlaid Die Cutting Technique in your projects? In this card, we show you how to inlay white negative die cut into the green die cut for a simple and stunning effect. Try this technique out and share with us!
Inlaid Die-Cutting: Hugs & Kisses with Border Flowers by Yana Smakula Main Image
  Instructions:
  1. Create 5 x 7” top folding card base out of pearlescent white cardstock.
  2. Die-cut light blue cardstock panel with S6-002 5 X 7 Matting Basics B Card Creator Etched Dies Die #7 (the smallest size die is #1), using PL-001 Platinum Die Cutting And Embossing Machine - 8.5" Platform.
  3. Die-cut and emboss patterned paper panel using S6-001 5 X 7 Matting Basics A Card Creator Etched Dies Die #6. Adhere onto blue cardstock panel.
  4. Wrap ribbon around panels.
  5. Foam mount panels onto the card.
  6. Die-cut S3-266 Border Flower Etched Dies Border Die out of gold foil cardstock. Cut into 2 pieces. Adhere onto the card (at the top and bottom).
  7. Die-cut Border die out of gold foil (2 die cuts), green and white cardstock. Inlay white negative die cut into the green one. Adhere onto one of the gold die cuts, off set slightly. Adhere the second gold die cut under the cluster, but rotate 45 degrees. Adhere cluster onto the card.
  8. Stamp sentiment onto a white cardstock strip, foam mount onto the card.
  9. Die-cut S3-266 Border Flower Etched Dies Flowers Die, adhere onto the card.
  10. Embellish card with pearls.
Here are several close up shots... Inlaid Die-Cutting: Hugs & Kisses with Border Flowers by Yana Smakula Pic 1 Inlaid Die-Cutting: Hugs & Kisses with Border Flowers by Yana Smakula Pic 2 Inlaid Die-Cutting: Hugs & Kisses with Border Flowers by Yana Smakula Pic 3 Inlaid Die-Cutting: Hugs & Kisses with Border Flowers by Yana Smakula Pic 4 Inlaid Die-Cutting: Hugs & Kisses with Border Flowers by Yana Smakula Pic 5 Inlaid Die-Cutting: Hugs & Kisses with Border Flowers by Yana Smakula Pic 6   Spellbinders Supplies: Other Supplies: White Cardstock (Neenah Solar White 80 LB); Pearlescent White Cardstock (WorldWin); Colored Cardstock (Simon Says Stamp - Sea Glass; Bazzill Basics - Dotted Swiss Celtic Green; Gold Foil Cardstock); Patterned Paper (First Edition - Pretty Posy); Foam Adhesive; Glue; Black Ink; Clear Stamp (Avery Elle - Favorite Person); Self Adhesive Pearls; Tape Runner; Black and white ¼” ribbon.

Read more

Altering Die Cuts with Scissors. Thanks For All You Do Card & Video Tutorial

Altering Die Cuts with Scissors. Thanks For All You Do Card & Video Tutorial

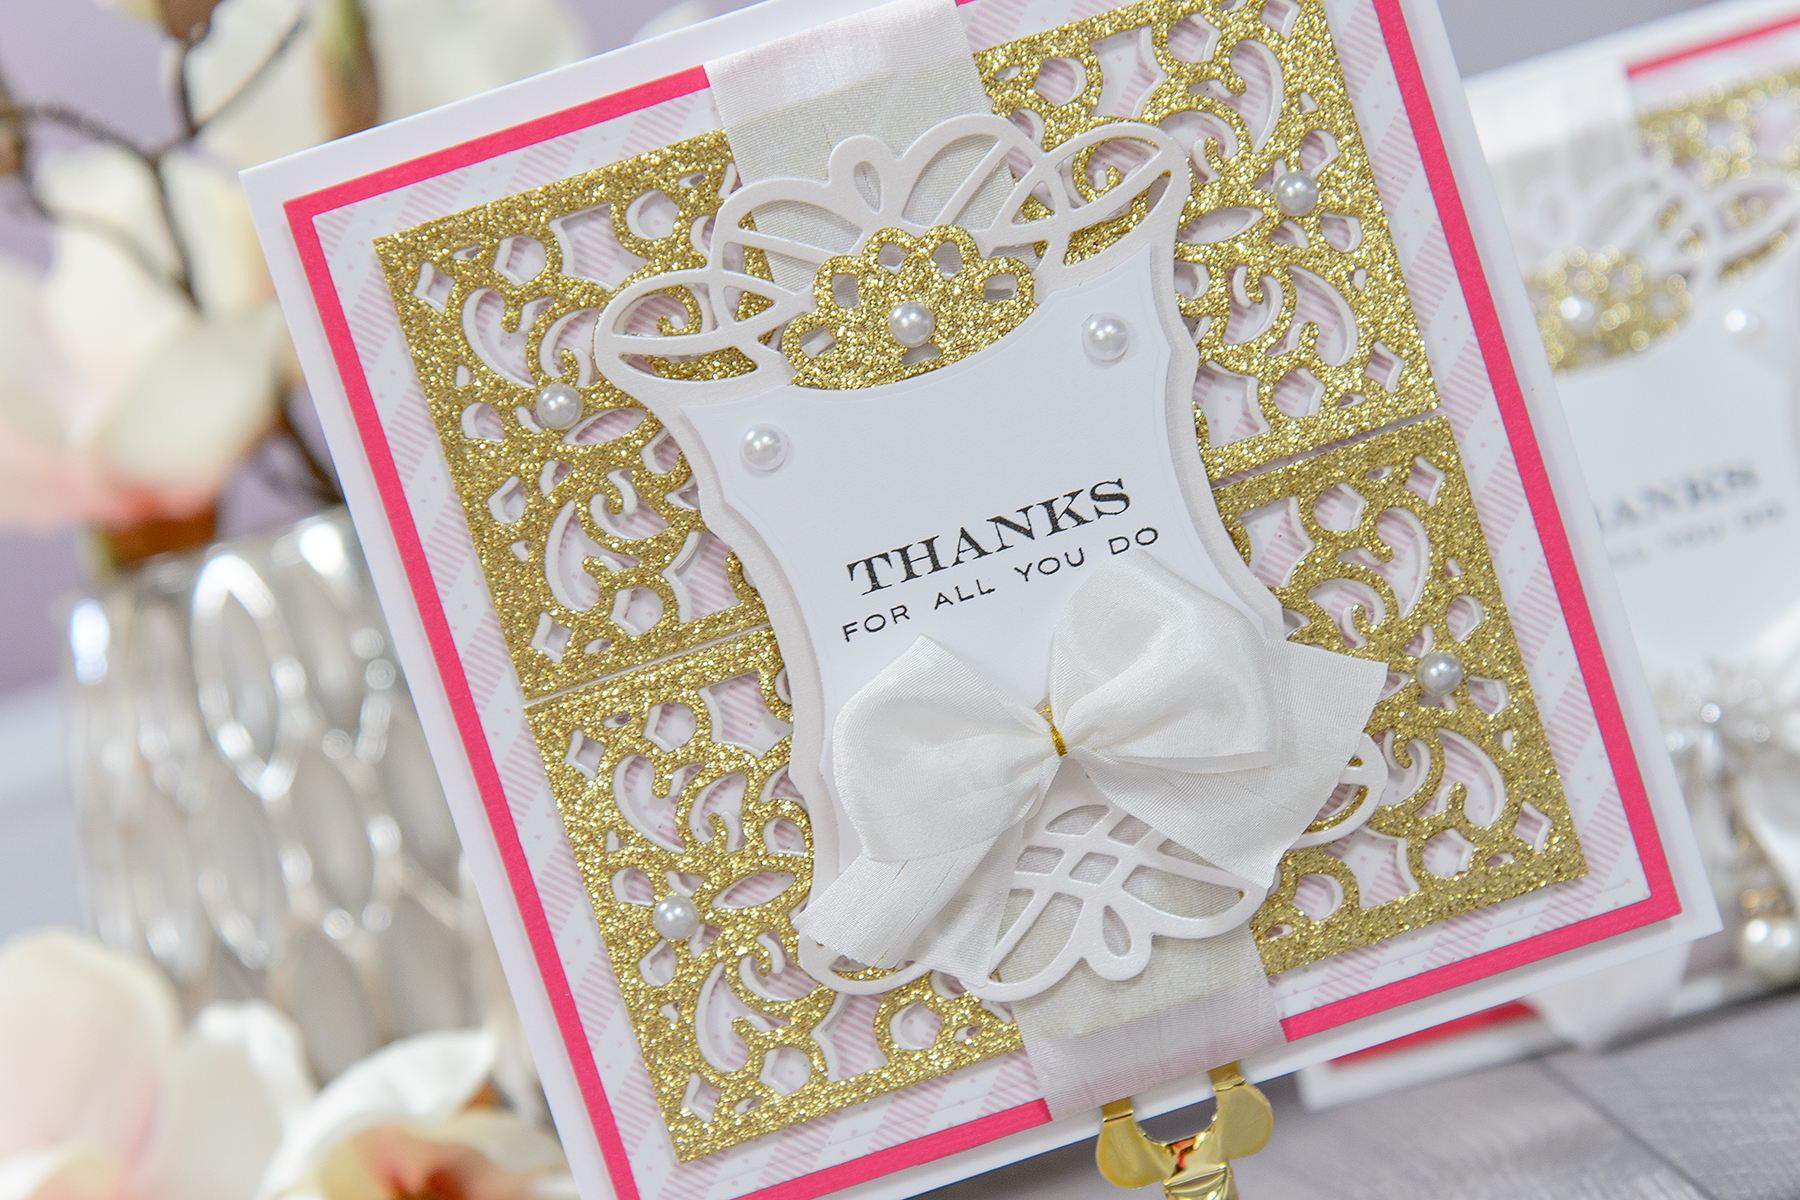
Hello everyone, this is Yana Smakula and thank you for joining me! For my today’s blog post & video tutorial I decided to do something different, like altering die cuts with scissors! Usually we simply cut the piece out with the help of our dies and use it as is, but one can always alter die cut pieces slightly to make them a better match for a specific project.

Altering Die Cuts with Scissors. Thanks For All You Do Card & Video Tutorial - Featured Image
This card was published in the Die-cutting Essentials Magazine Issue 25 along with a few other cards done in a similar style - check it out for more inspiration.

I started working on this card by die-cutting base panels for my project. I cut one out of pink cardstock and one, slightly smaller, out of patterned paper. You can cut panels like these using your paper trimmer, but I love to use my Matting Basics dies for this as I always get perfectly sized panels. And I can also dry emboss them and add a bit of extra detail.

Altering Die Cuts with Scissors. Thanks For All You Do Card & Video Tutorial

While I didn’t emboss the pink cardstock panel as it is mostly covered up by the pink one, I did emboss the patterned paper one. The embossing is hard to see on a photo, but it looks really beautiful in real life.

Altering Die Cuts with Scissors. Thanks For All You Do Card & Video Tutorial

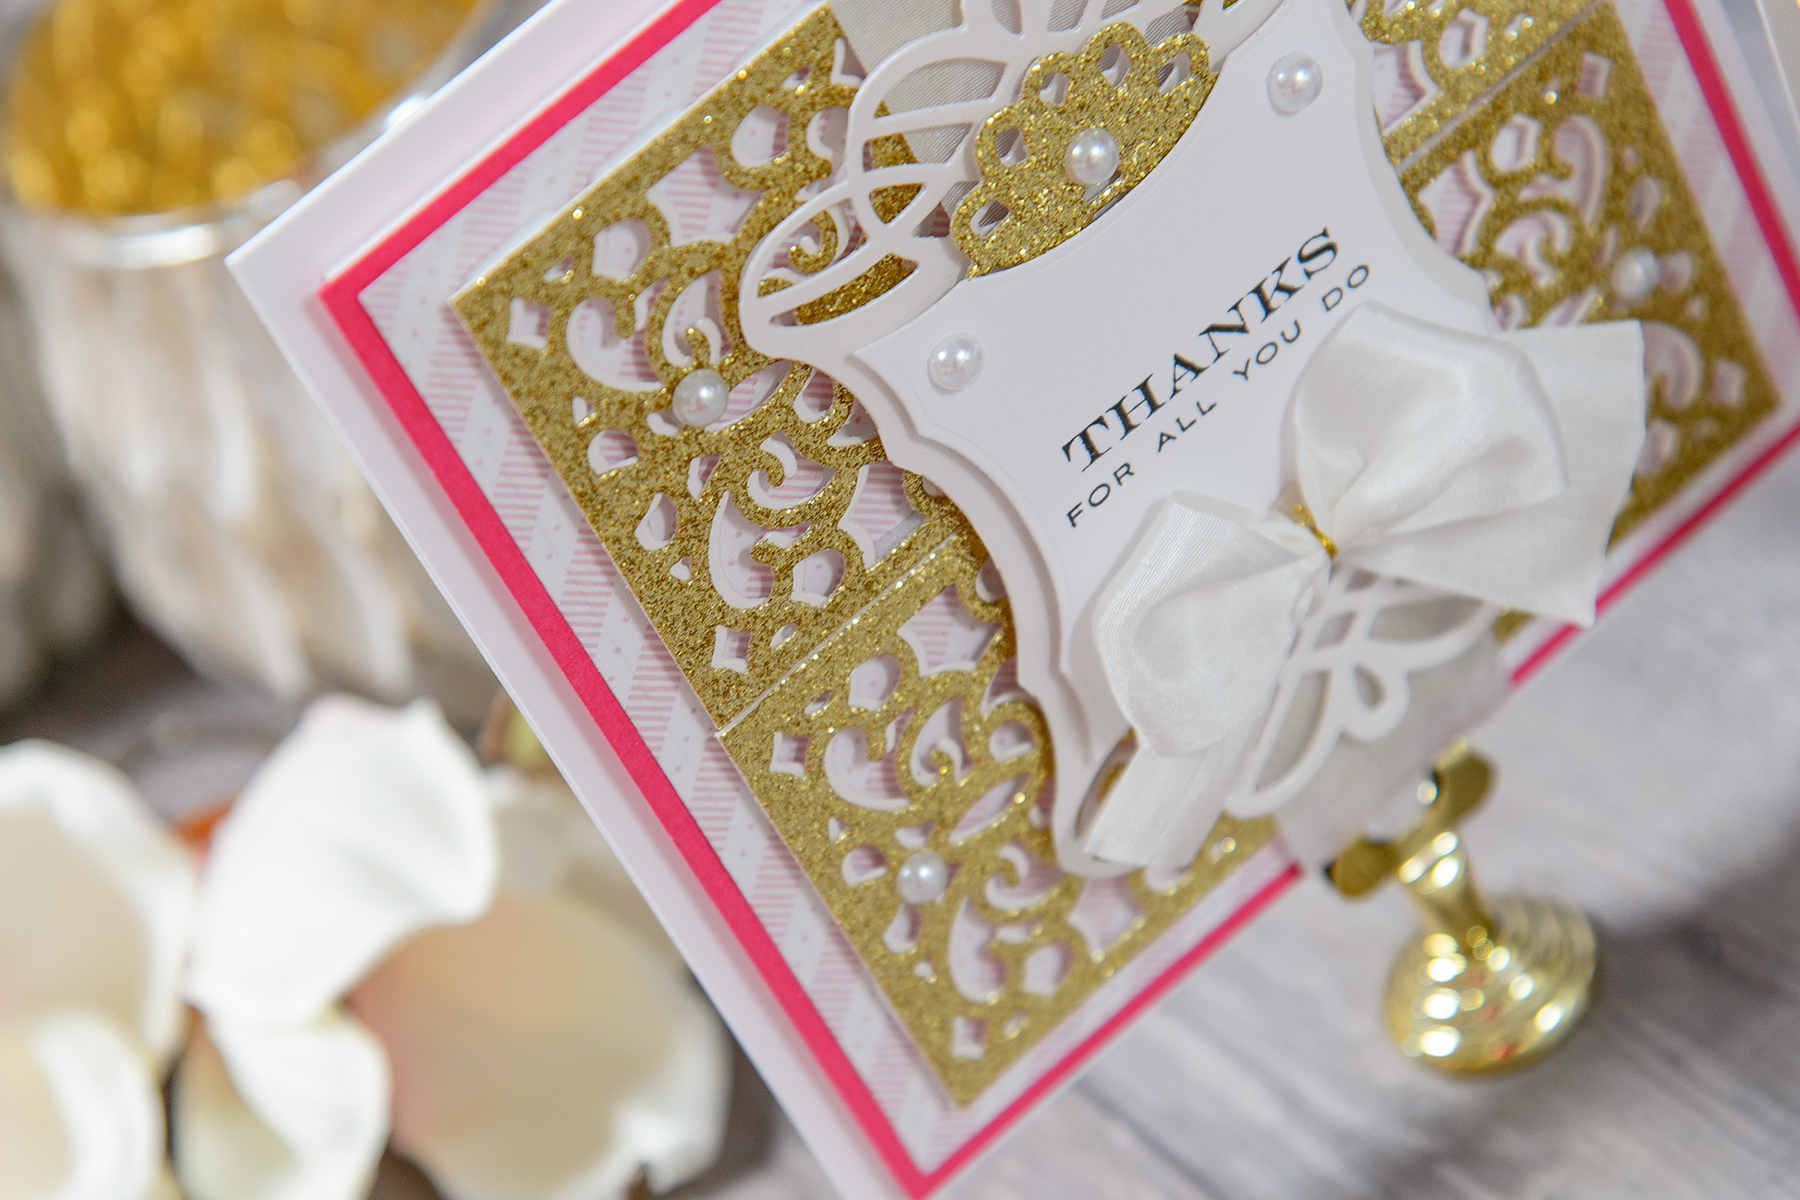
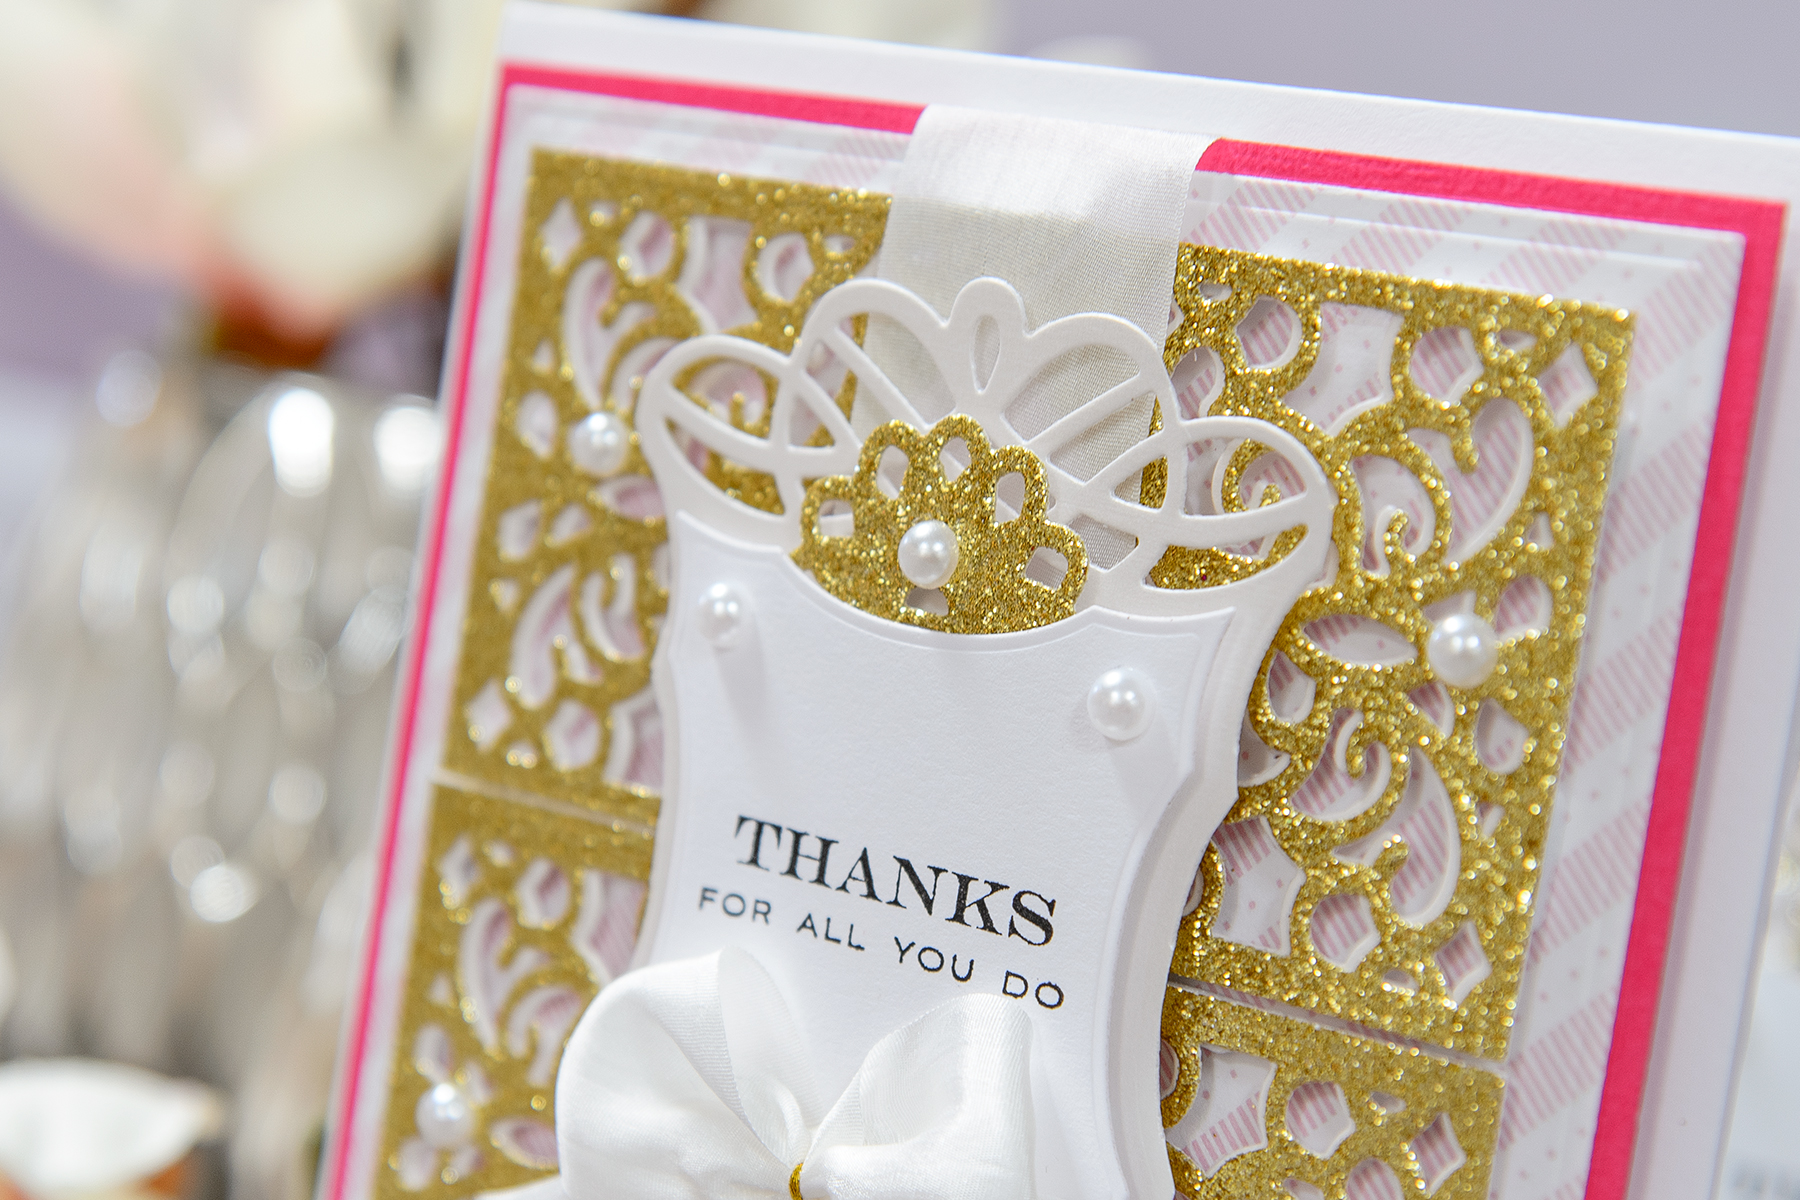
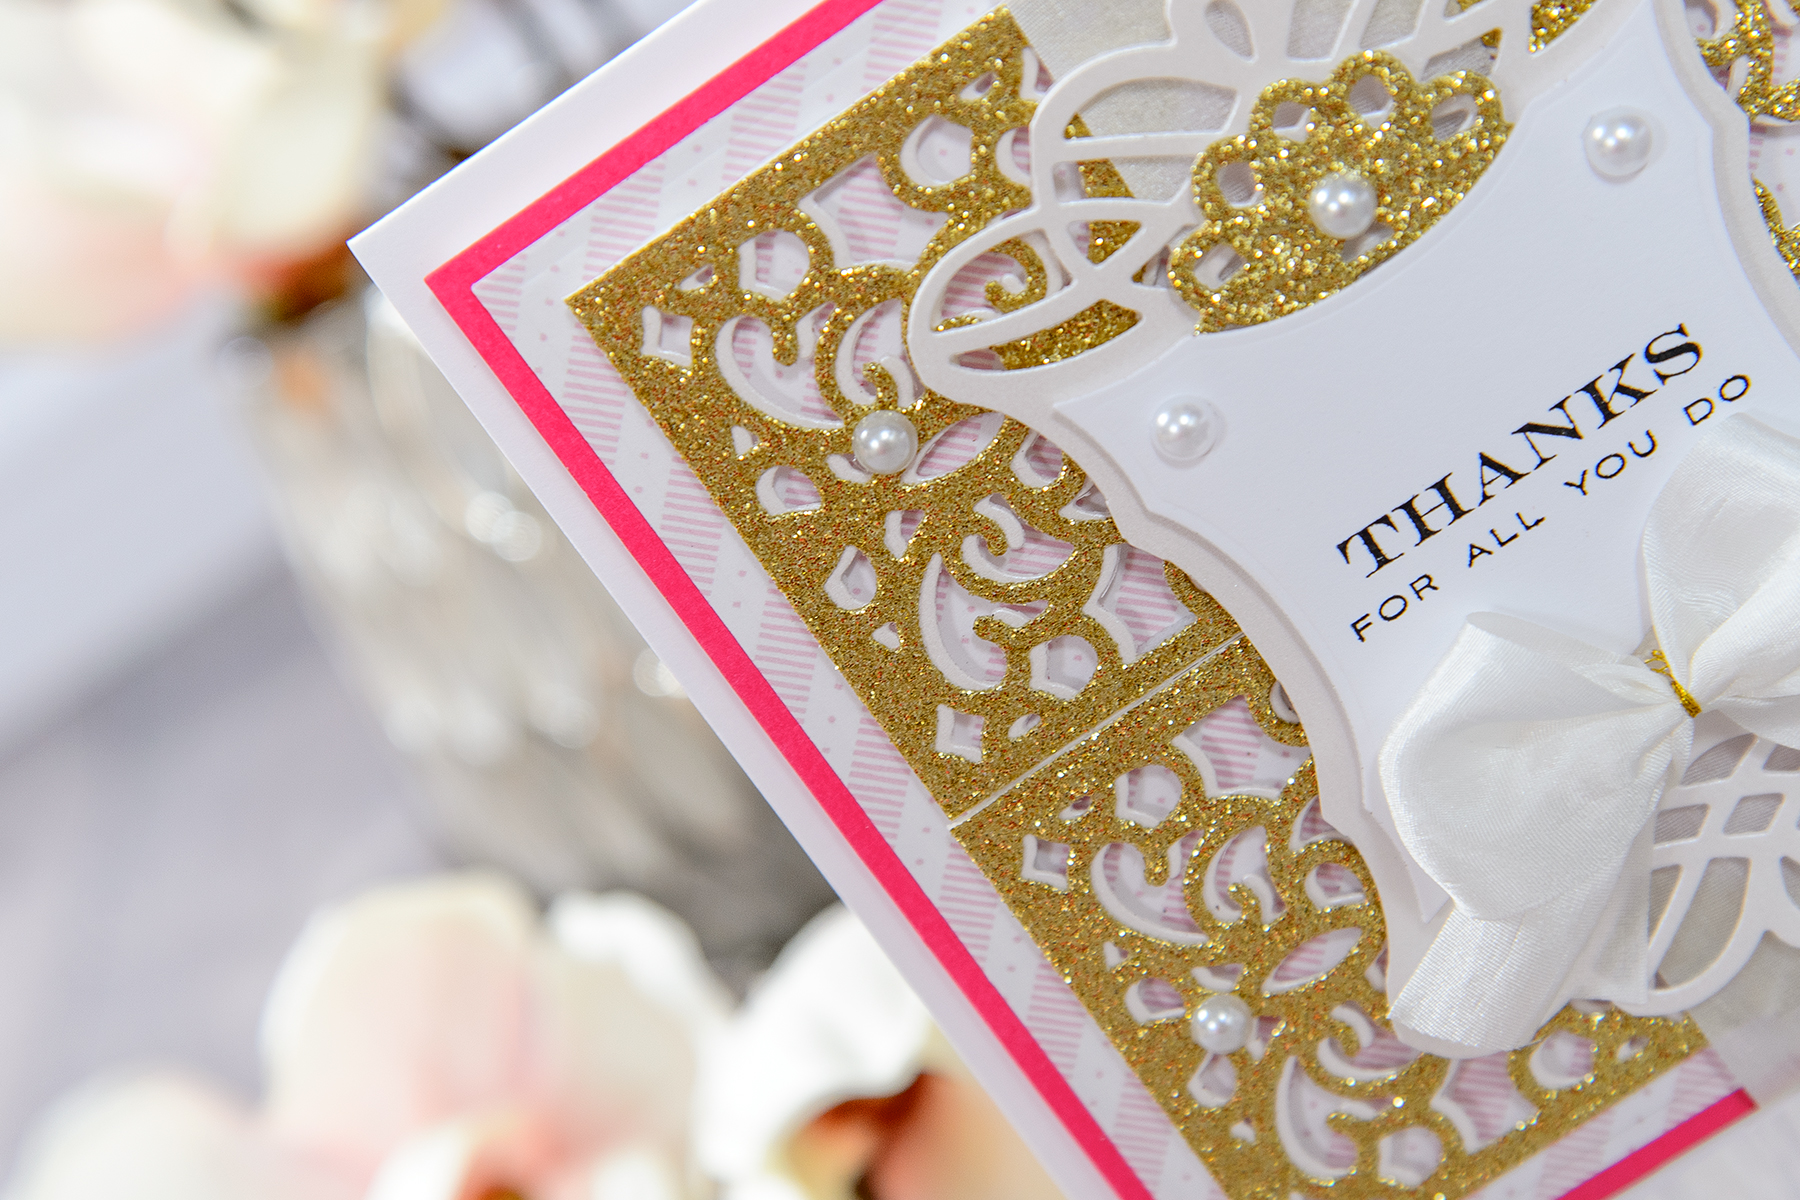
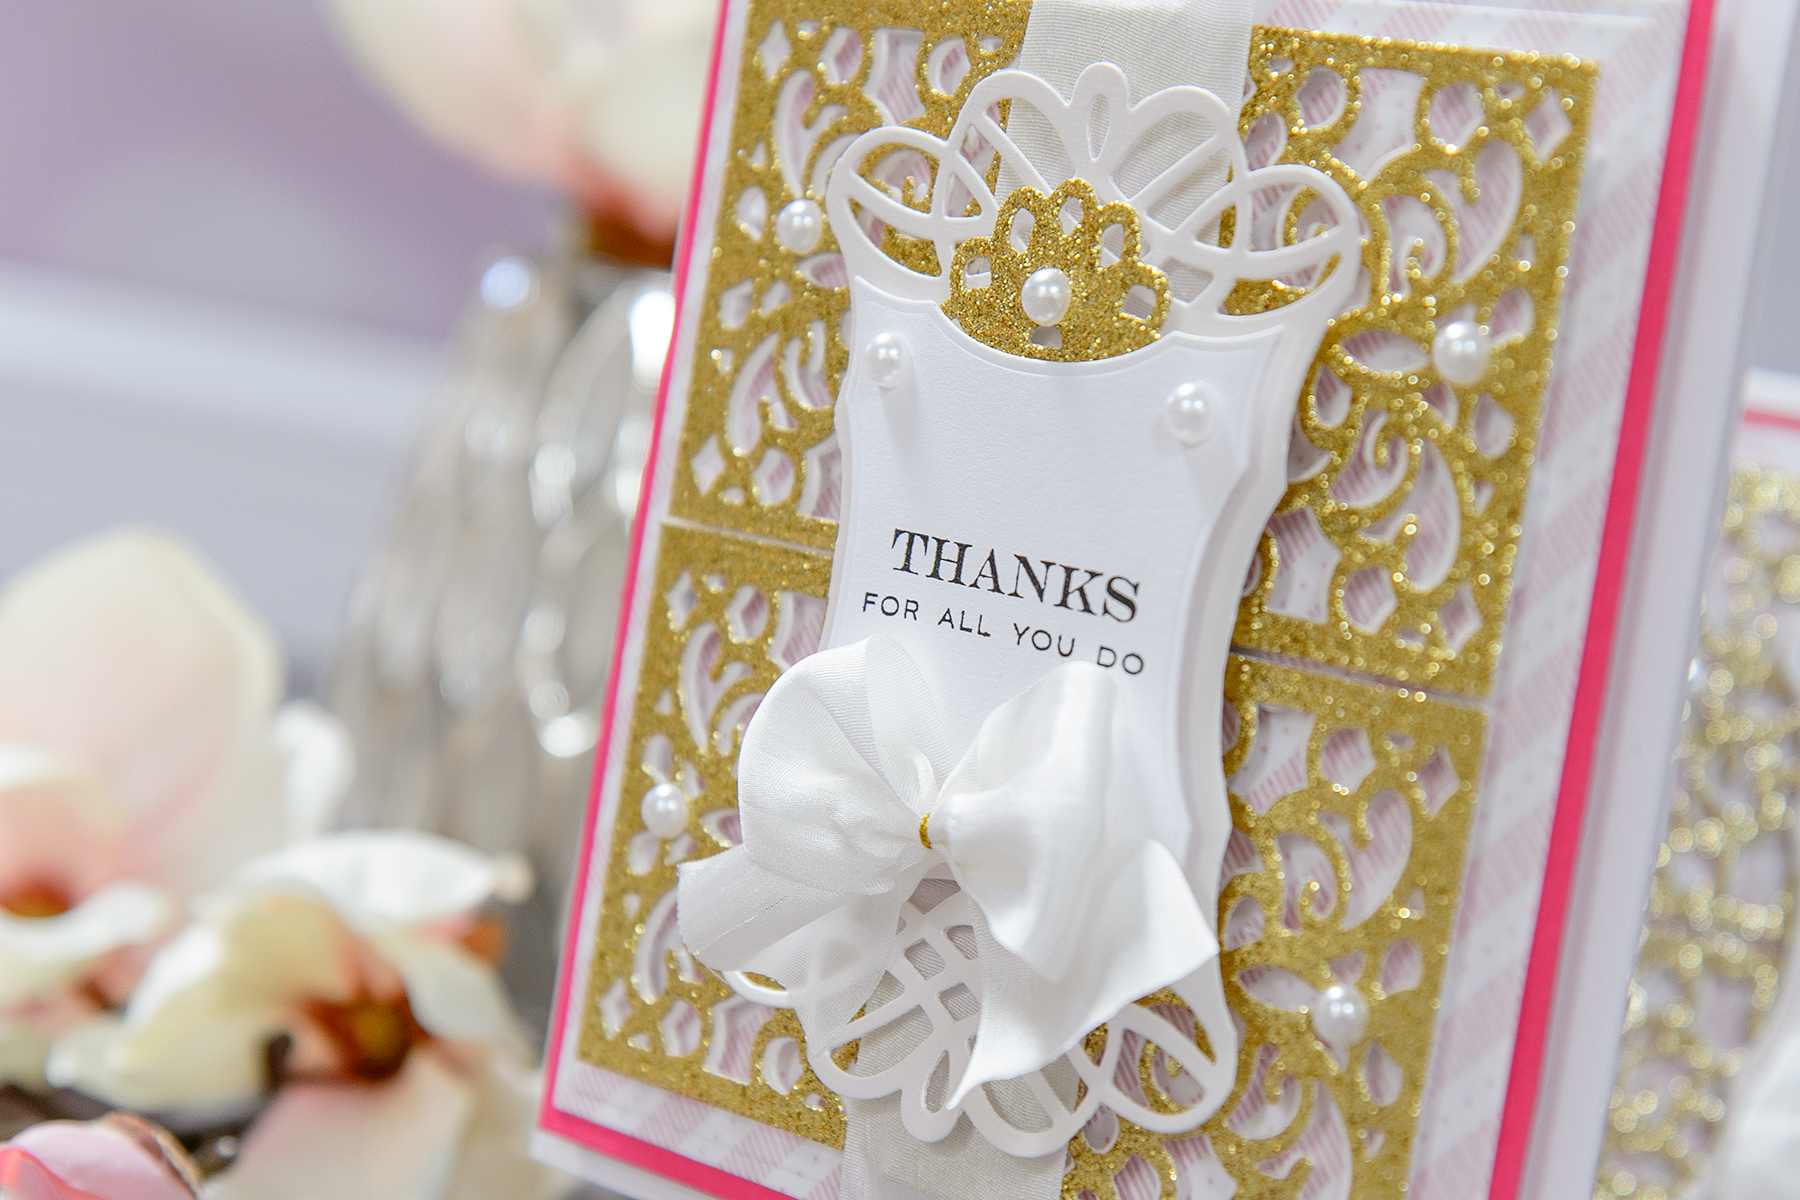
Next, I die-cut 8 identical elements using two dies from the Filigree Pocket set. I secured them together using washi tape and cut 4 identical elements out of gold glitter cardstock and 4 out of pearlescent white cardstock. The pocket die not only cuts the pocket shape, but also adds score lines to your die cut. I used those lines as a guide and trimmed my pieces with my scissors. Using double sided tape I adhered the two together (a gold glitter and a pearlescent one) and offset slightly positioning the gold one on top and pearlescent one on the bottom.

Altering Die Cuts with Scissors. Thanks For All You Do Card & Video Tutorial

I adhered my 2 background panels together and added a layer of fun foam from the back to later pop this background up on a 6” square card base. Using foam adhesive I foam mounted 4 filigree elements to create the illusion of a seamless background. After adding white silk ribbon onto my card I adhered my background onto a white top folding card base.

Altering Die Cuts with Scissors. Thanks For All You Do Card & Video Tutorial

To create a focal point I die cut Braided Grace Square out of pearlescent white paper and also a smaller label out of white paper, the latter housed my “Thanks For All You Do” sentiment.

Altering Die Cuts with Scissors. Thanks For All You Do Card & Video Tutorial

Before adhering the Braided Grace Square piece, I used my scissors and altered it to have a more rectangular rather than square shape (I simply cut some of the loops off). I didn’t want to cover a lot of that beautiful filigree background, but I also wanted to use this particular, Braided Grace Square die, so altering it with scissors was the best option!

To embellish this card I added a ribbon bow and adhered several self adhesive pearls.

Spellbinders Supplies

Other supplies: First Edition Sweet Nothings 12x12 Paper Pad; Cardstock: Neenah Solar White 110 LB cardstock, My Colors Cardstock Watermelon Pink 12x12 cardstock, My Paper Studio Solid Glitter Gold 12x12 cardstock, White pearlescent cardstock; May Arts 1 ¼” wide Silk Ribbon - White; Self Adhesive White Pearls; Adhesive: Scrapbook Adhesives 3D Foam Squares, iCraft Mixed Media Adhesive, Hot Glue Gun; Altenew Many Thanks Stamps; Tsukineko Versafine Onyx Black Ink Pad

Watch video tutorial below to learn how to make this project:

https://youtu.be/Fv0o_aXmkGQ

Thank you so much for stopping by today and have fun die cutting!

Read more