Tax included. Shipping calculated at checkout.
Spellbinders Blog
Masculine Cards with Elena Olinevich
Oct 22, 2017
Hello Spellbinders friends, it’s Elena here with you today. As a cardmaker, I usually like to create floral and delicate cards, it’s so easy to make them since there are many embellishments to choose from. However I always find it challenging to create masculine cards. So I keep on practicing making them. I played with D-Lites Bottles Dies this time and made the cards I'm sharing today.
I started by making a background from kraft paper with gold dots. I dry embossed my paper Bottles dies in my Platinum 6” machine using the embossing sandwich.
I also die-cut some of the bottles from background paper as I wanted to foam mount a few of them onto my cards.
I also die-cut the bottles of different sizes from several different papers. Then, I dry embossed them. If you feel that the papers you’ve used are too light for your project, you can ink up the edge of the die cut for a more finished look.
I foam mounted my bottles on the banner die cuts I created using Vintage Pierced Banners die.
I finished my cards by stamping sentiments and adhering a few enamel dots.
Masculine Cards with Elena Olinevich
Oct 22, 2017
Hello Spellbinders friends, it’s Elena here with you today. As a cardmaker, I usually like to create floral and delicate cards, it’s so easy to make them since there are many embellishments to choose from. However I always find it challenging to create masculine cards. So I keep on practicing making them. I played with D-Lites Bottles Dies this time and made the cards I'm sharing today.
I started by making a background from kraft paper with gold dots. I dry embossed my paper Bottles dies in my Platinum 6” machine using the embossing sandwich.
I also die-cut some of the bottles from background paper as I wanted to foam mount a few of them onto my cards.
I also die-cut the bottles of different sizes from several different papers. Then, I dry embossed them. If you feel that the papers you’ve used are too light for your project, you can ink up the edge of the die cut for a more finished look.
I foam mounted my bottles on the banner die cuts I created using Vintage Pierced Banners die.
I finished my cards by stamping sentiments and adhering a few enamel dots.
Spellbinders Supplies:
I hope you liked my masculine cards, and if you are more experienced in creating them, I would be happy to hear your comments below how you deal with making cards for guys.
Embrace the Elegance of a Repeating Motif in One Die Cards
Oct 21, 2017
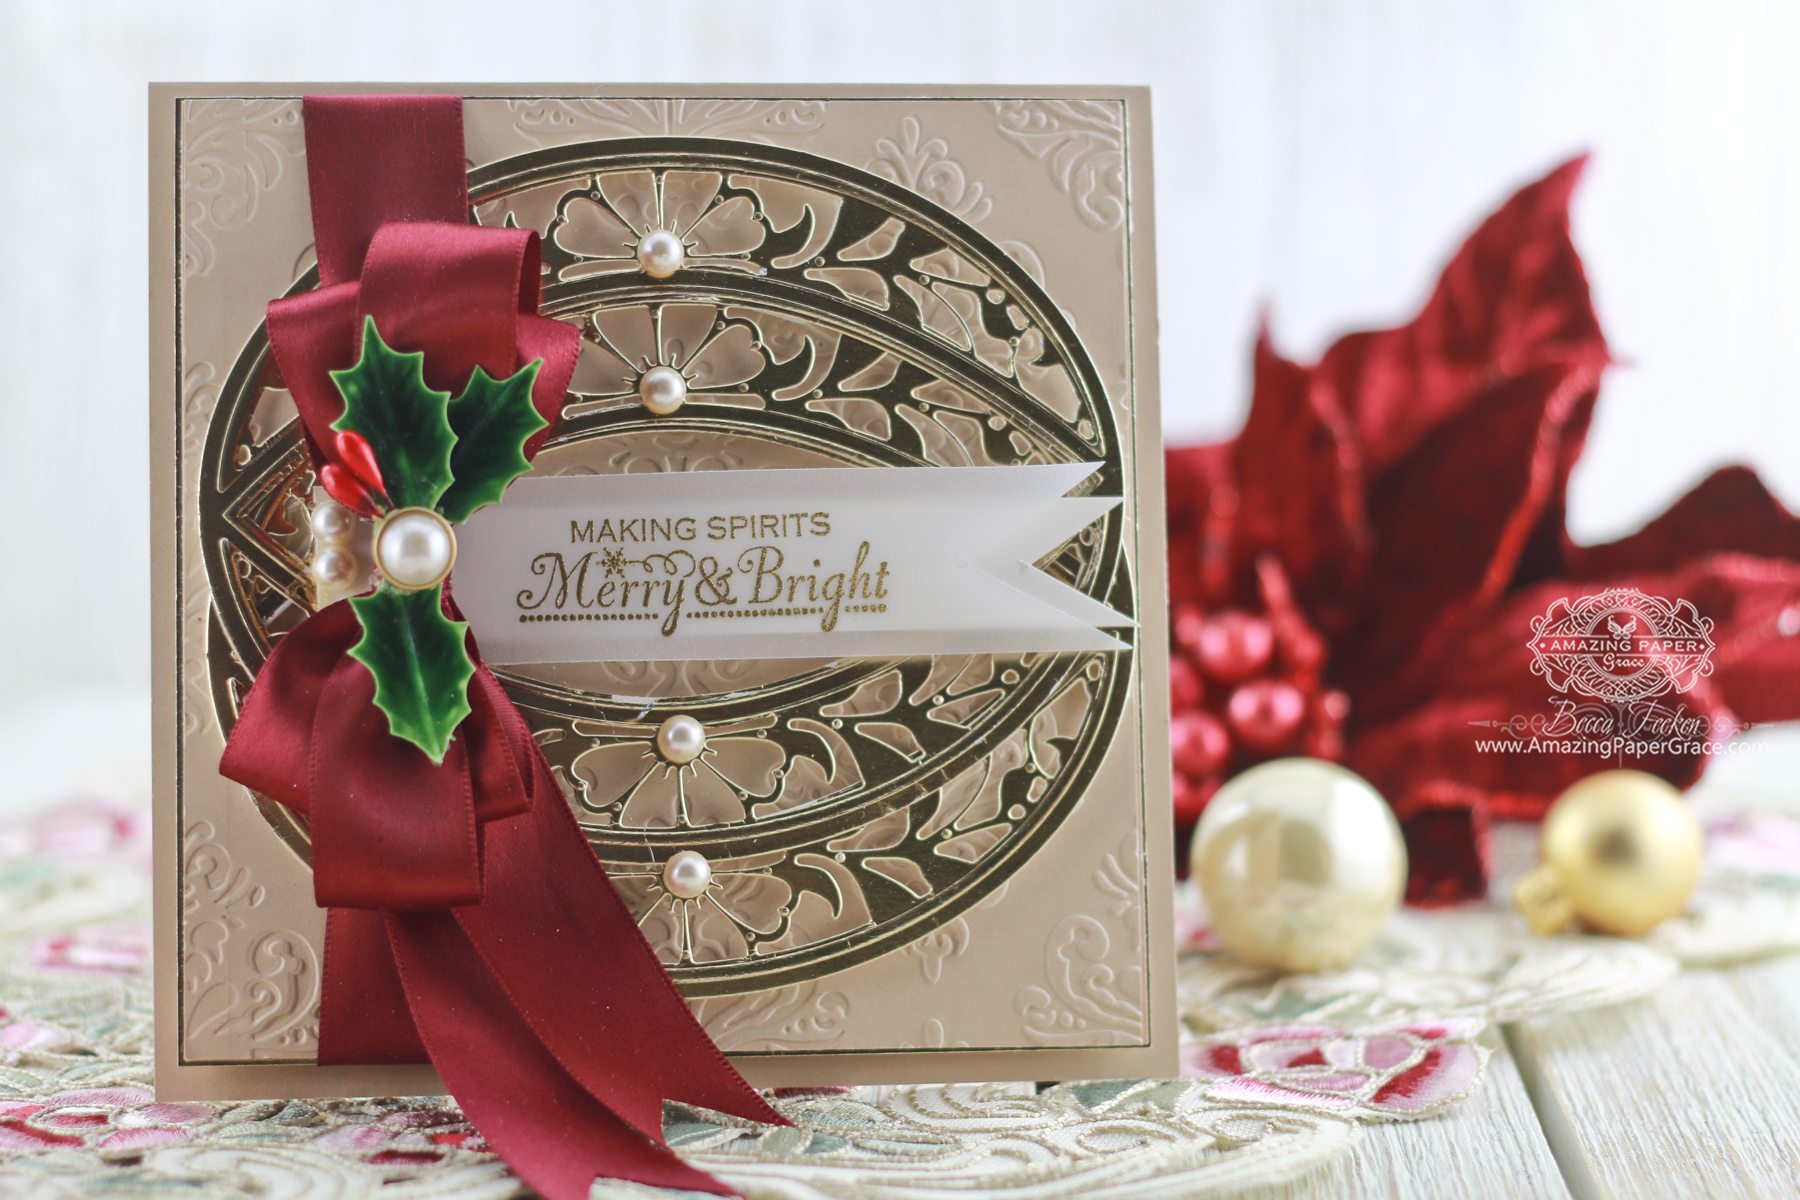
Every time I get a new die, I size it up and look at all the pieces. Most often people contemplate what they can do with the 'main die'. Well, there is treasure in the details because some of the runner ups in a die set have their own claim to fame. Hi there, I'm Becca Feeken with Amazing Paper Grace and today I'm sharing a ''One Die'' card that gets that title because it makes use of a 'Repeating Motif'! A supporting die is perfect for this type of technique moreover it will have you thinking about about what else is in the package while vowing never to leave a die behind.
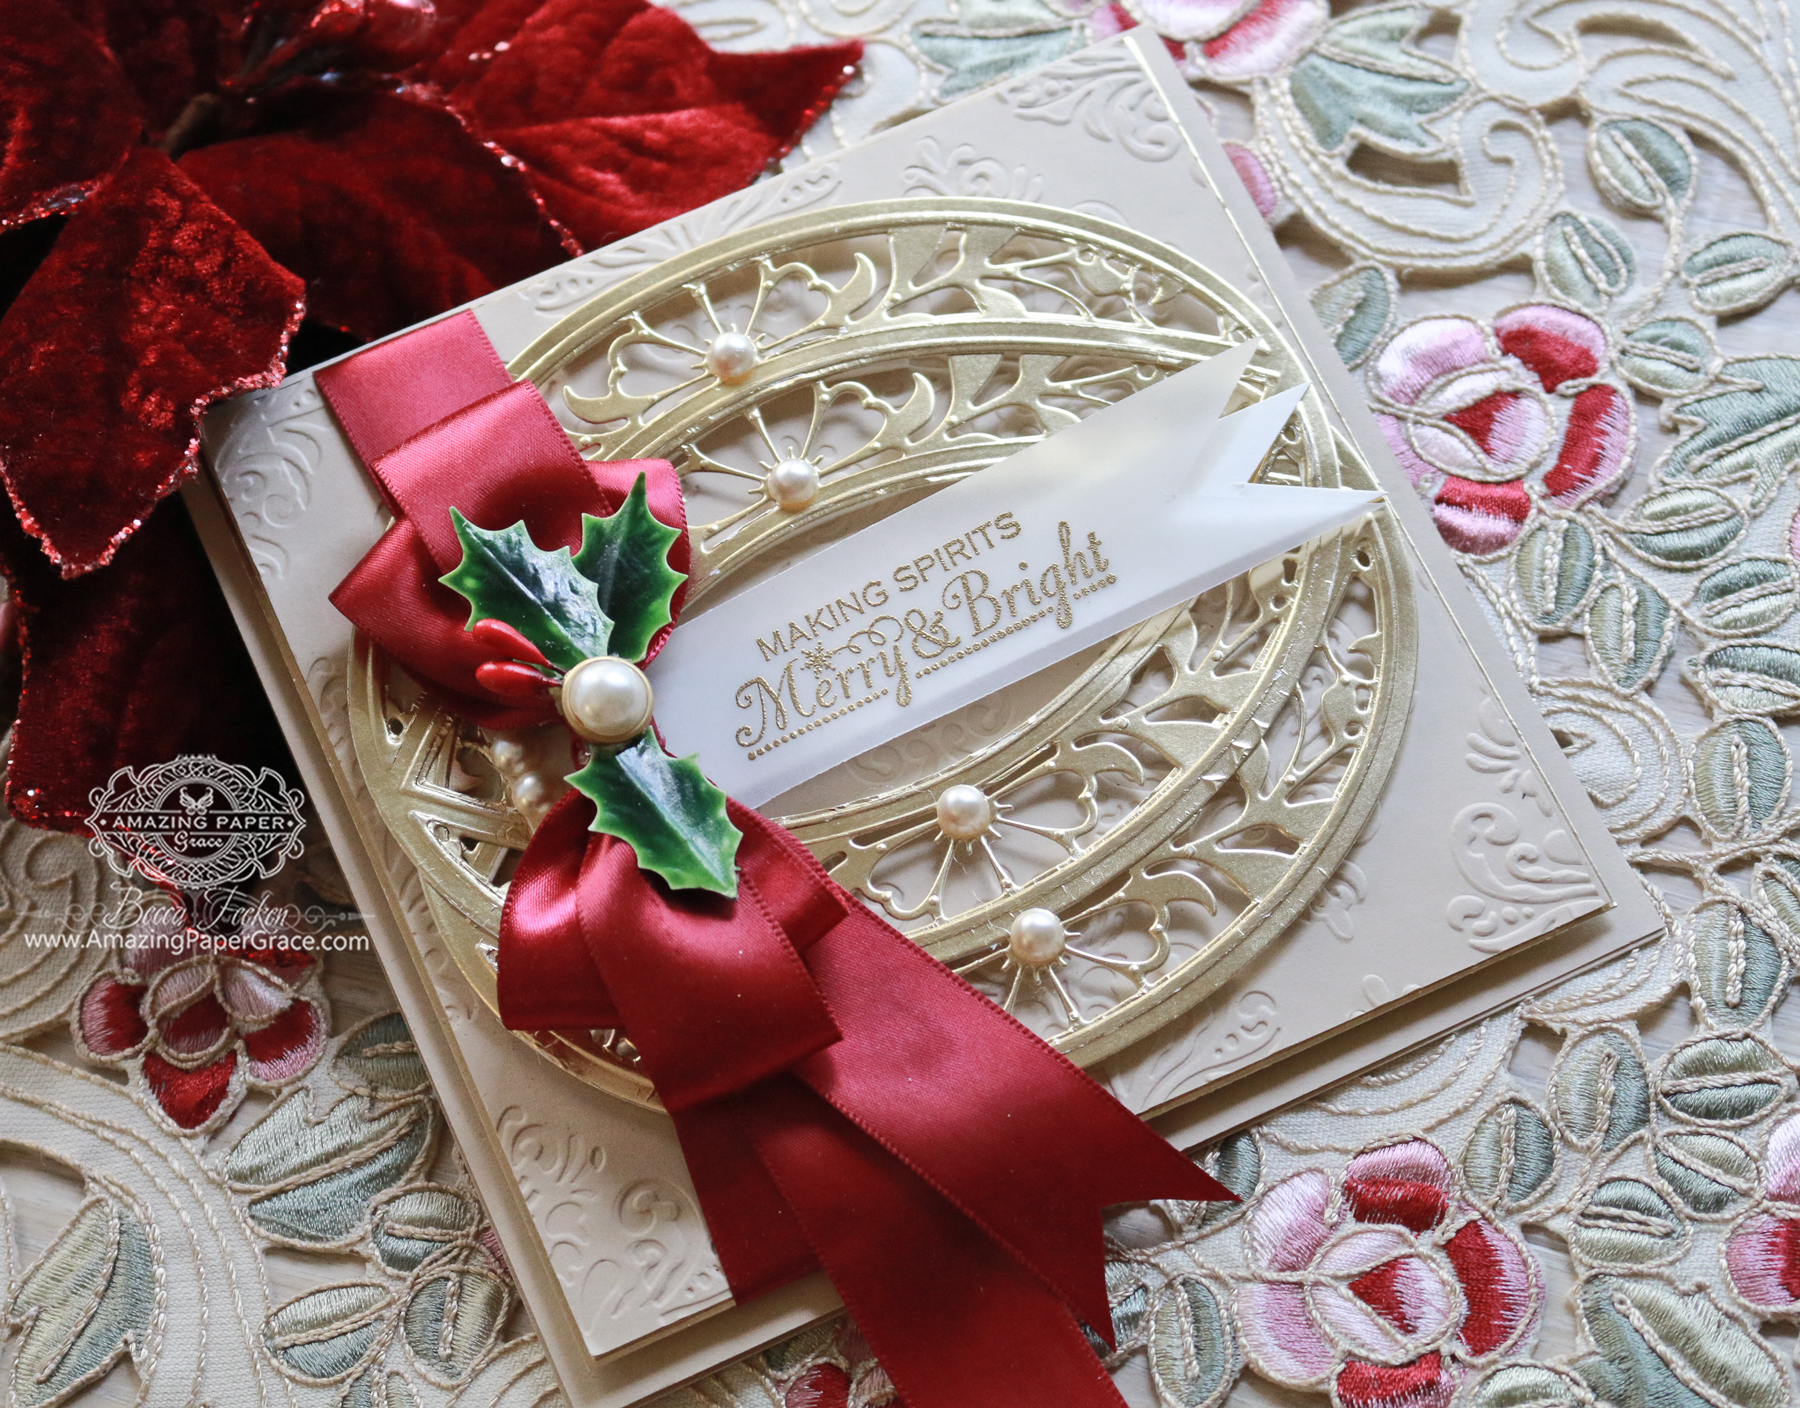
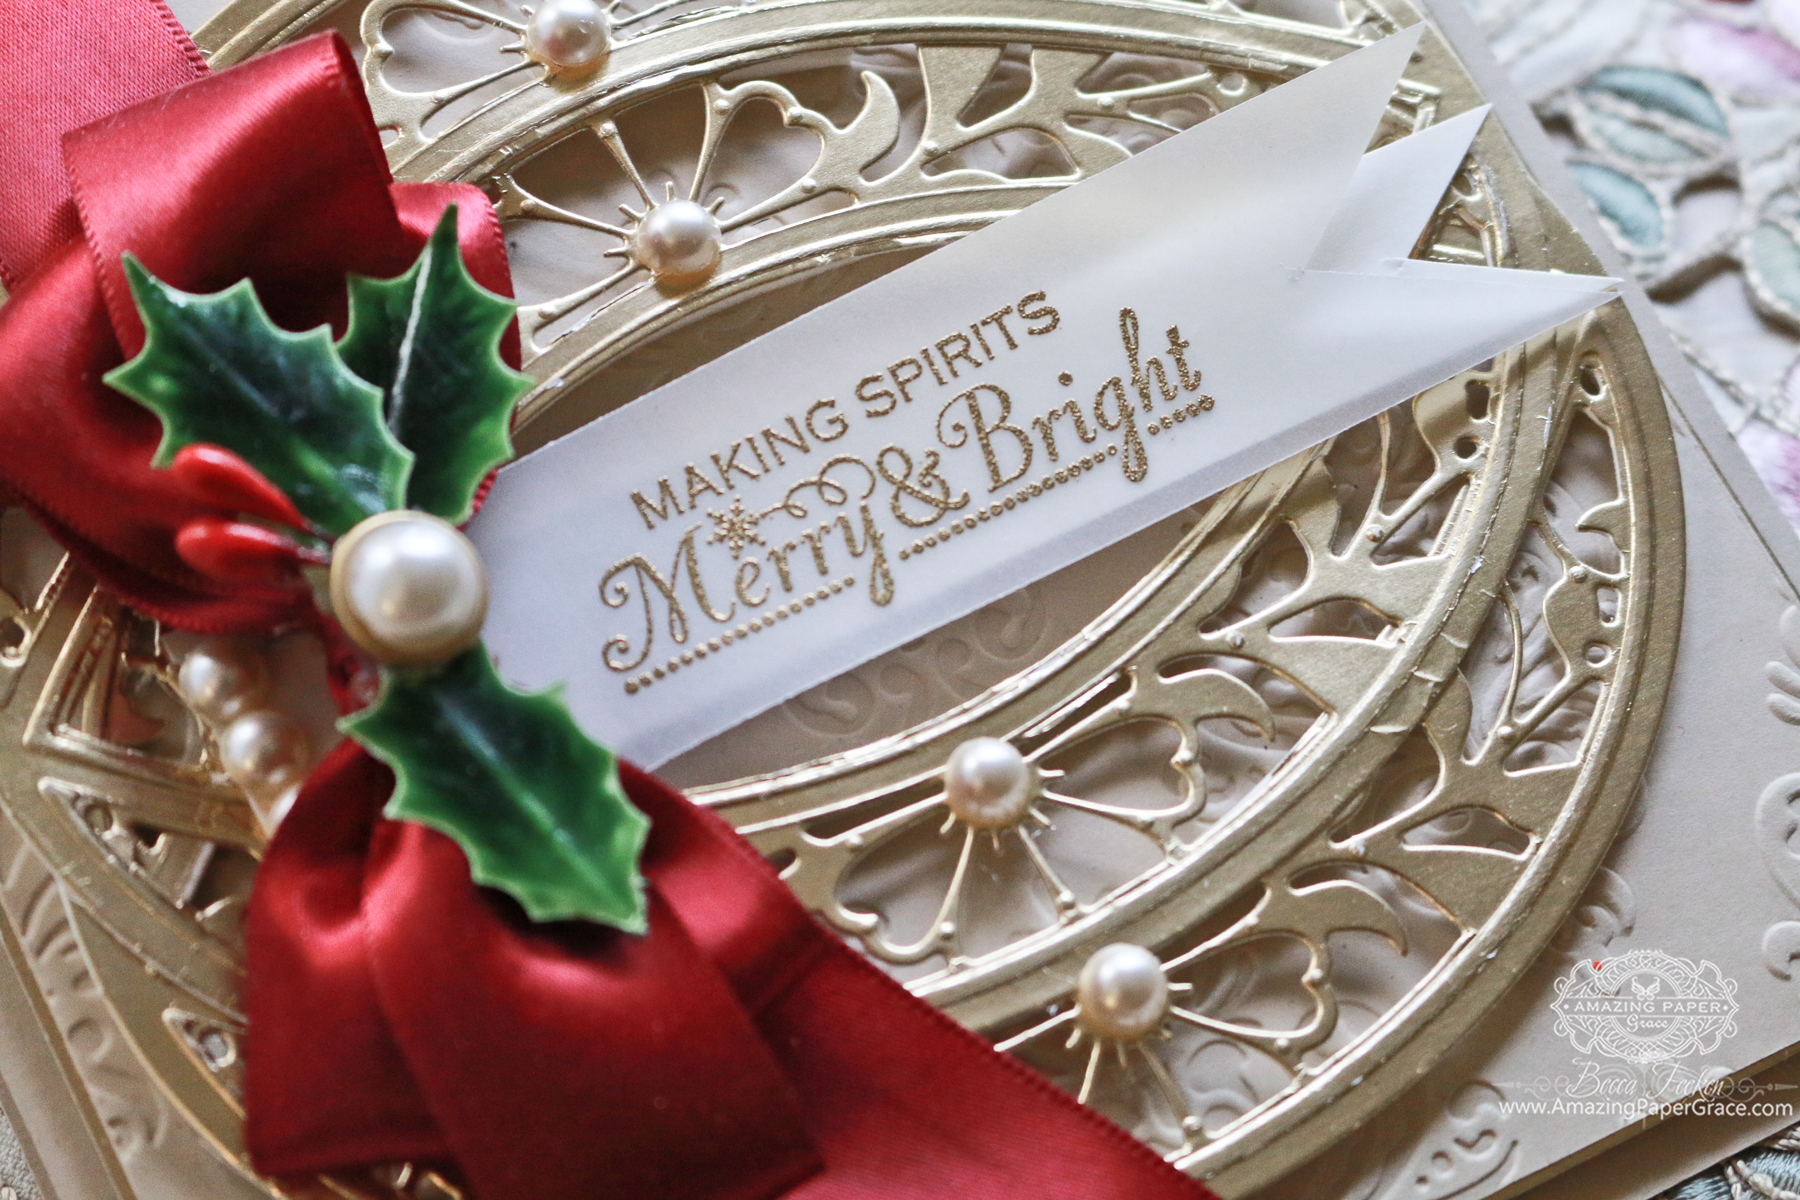
Recently I introduced Bella Rose Lattice Layering Die. The details are so pretty but one of the supporting dies had me thinking about how to use it and highlight it alone in a card. The center oval is a great element and it makes for such a stunning element when it is stacked on top of itself and then offset. It will give you a focal point as large as the main attraction in the package. That's a little trick I love to do, because repetition is eye-catching. The eye tries to figure out what makes up the motif. Let me show you how easy it is to get this combination.
The ovals snap together perfectly to make for an intriguing pattern. Two are used in this case but a repetition of three will make almost a full background.
Overlap left die onto right die, then use a clear glue product, like Ranger Glossy Accents, to sparingly attach one piece to the other.
Find the best real estate to put strips of doubly stacked foam tape to secure your project and raise it.
Looking for easy? This is easy. Cut repeating motifs, stack them together to compose a striking focal panel for your card, and you're done! I hope this will let you look at some of your supporting dies in a new way!!
Sending hugs!
Becca Feeken – www.amazingpapergrace.com
Building A Repeating Motif
Cut the Bella Rose Lattice Layering Die oval with two arched inserts, twice
Overlap left die onto right die, then use a clear glue product, like Ranger Glossy Accents, to sparingly attach one piece to the other.
Find the best real estate to put strips of doubly stacked foam tape to secure your project and raise it.
Looking for easy? This is easy. Cut repeating motifs, stack them together to compose a striking focal panel for your card, and you're done! I hope this will let you look at some of your supporting dies in a new way!!
Sending hugs!
Becca Feeken – www.amazingpapergrace.com

/>