☃️ Banner logo ☃️ Up to 50% Off ☃️

Spellbinders Blog

Shaped Cards Video Series. Episode #2 - It's Your Birthday

Shaped Cards Video Series. Episode #2 - It's Your Birthday

Hello, everyone! This is Yana Smakula and thank you for joining me! This blog post and video continues the monthly feature I’m hosting on Spellbinders blog and Youtube channel called “Shaped Cards with Spellbinders”. Once a month I am posting a card and and video tutorial featuring a shaped card base using Spellbinders dies!
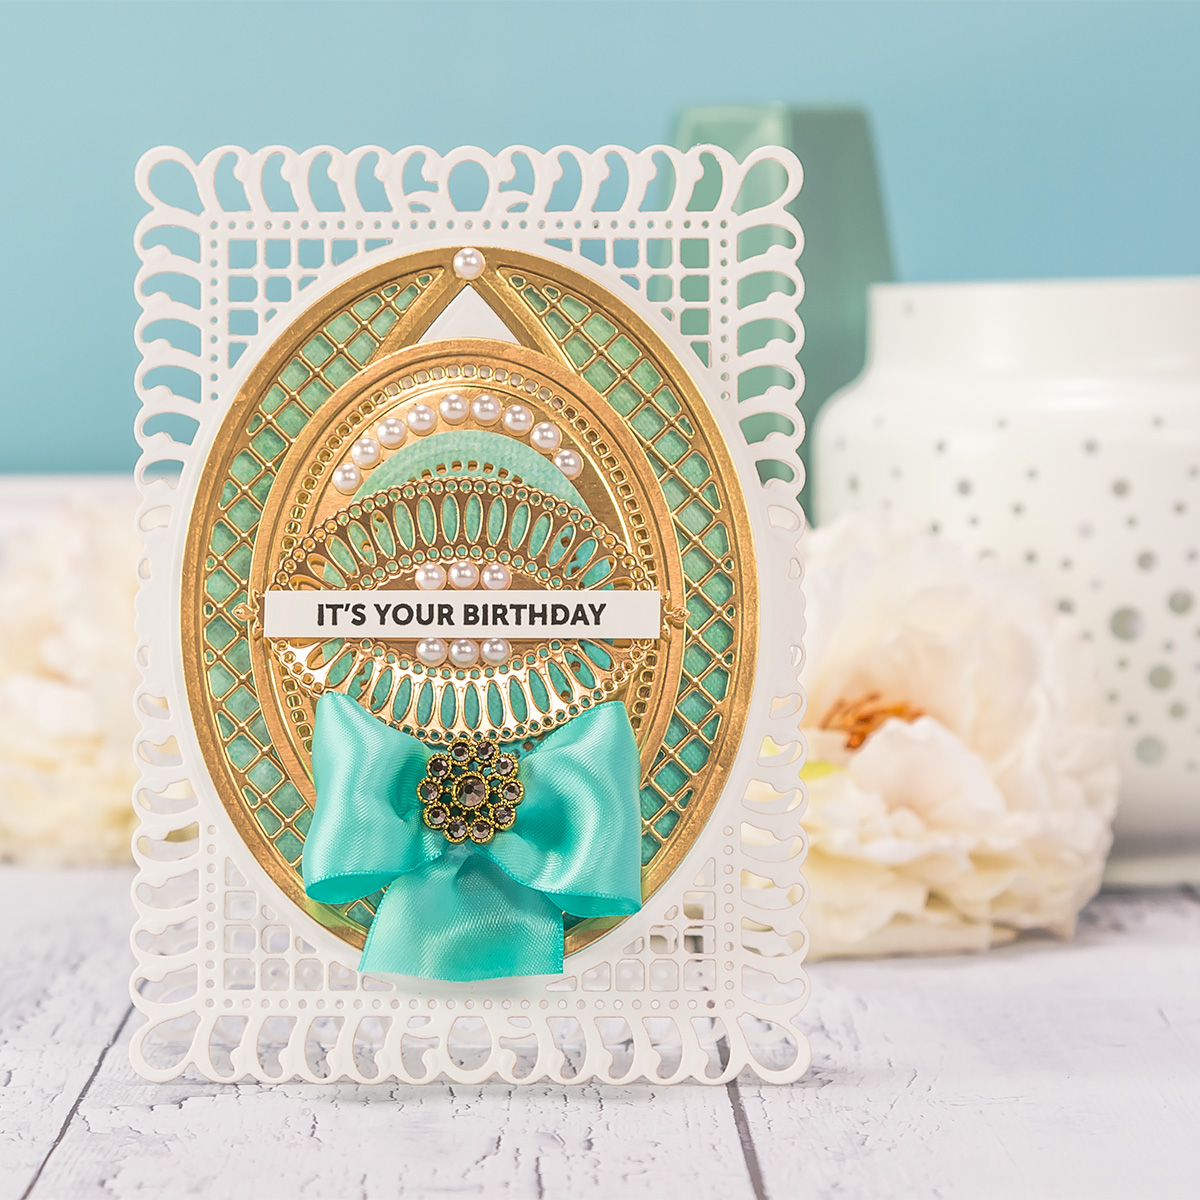
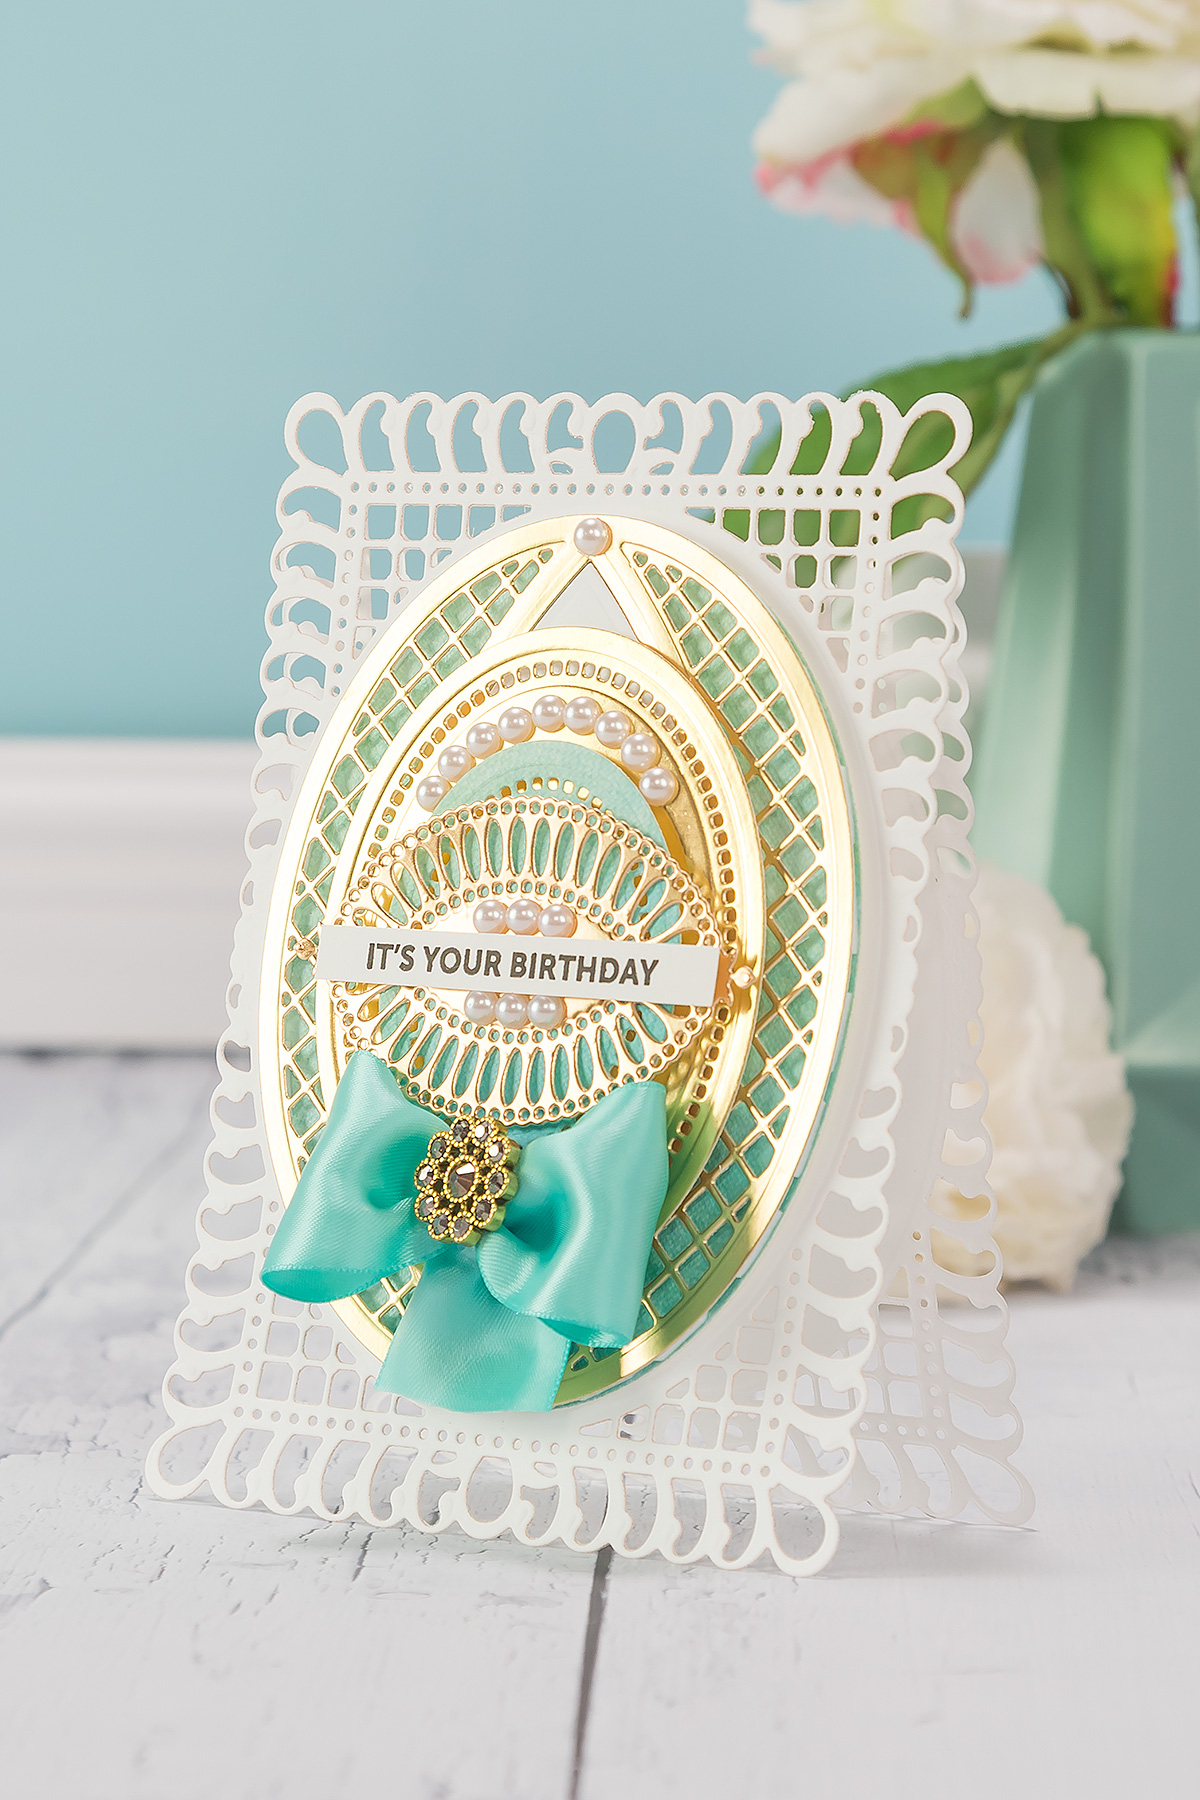
Shaped Cards Video Series. Episode #2 - It's Your Birthday Card by Yana Smakula for Spellbinders

You can catch the first episode from this series HERE.

I started working on this card by creating a card base. I decided to use the largest die from the Bella Rose Lattice Layering Frame Large set - this die measures 5x7” inches so it makes a full size 5x7” card.

There are several ways to create a shaped card base. In my previous episode I was using an outer frame die, so not a detailed die, and was able to die cut through a piece of cardstock folded in half to create a base. Today, since I am using a much more detailed die for my card base I am taking a slightly different approach.

To create my card base I cut 2 identical pieces, scored one and used glue to adhere them together to create a base. Because I needed my die cut and my card base to be sturdy I used 110 LB white cardstock. Since this is an intercut die and because of how thick of cardstock I used it was a bit difficult to cut through it in a single pass, but running  die through my Platinum Die Cutting machine a few times cut the piece out no problem.

I always like to tape my dies down with some low tack tape to make sure the die will not move on my paper especially when I go to die cut it second and third time. This really helps a lot and eliminates frustration.

Using a scoring board and a bone folder I added a score line about 1 ½” from the top of one of my die cuts, this gives me plenty of space to add glue and adhere my die cuts together. You can chose to set less space for glue, maybe just an inch or a half of an inch, but seeing how detailed this die is I decided I needed more space to make sure my card base would be really sturdy.
Video Tutorial

Watch my video tutorial to learn how to make shaped card base for this card and how to embellish it.

Spellbinders Supplies:

Other Supplies:

White Cardstock (Neenah Solar White 110LB & 80 LB); Gold Foil Cardstock; Patterned Paper (First Edition - Sweet Nothings); Fun Foam; Tape Adhesive; Clear Stamp (Simon Says Stamp - Big Birthday Wishes); Versafine Onyx Black Ink; Self Adhesive Pearls; Pearl Brad; 1 Aqua Grosgrain Ribbon

Thank you so much for stopping by today and have fun die cutting!

Read more

Shaped Cards Video Series. Episode #2 - It's Your Birthday

Shaped Cards Video Series. Episode #2 - It's Your Birthday

Hello, everyone! This is Yana Smakula and thank you for joining me! This blog post and video continues the monthly feature I’m hosting on Spellbinders blog and Youtube channel called “Shaped Cards with Spellbinders”. Once a month I am posting a card and and video tutorial featuring a shaped card base using Spellbinders dies!

Shaped Cards Video Series. Episode #2 - It's Your Birthday Card by Yana Smakula for Spellbinders

You can catch the first episode from this series HERE.

I started working on this card by creating a card base. I decided to use the largest die from the Bella Rose Lattice Layering Frame Large set - this die measures 5x7” inches so it makes a full size 5x7” card.

There are several ways to create a shaped card base. In my previous episode I was using an outer frame die, so not a detailed die, and was able to die cut through a piece of cardstock folded in half to create a base. Today, since I am using a much more detailed die for my card base I am taking a slightly different approach.

To create my card base I cut 2 identical pieces, scored one and used glue to adhere them together to create a base. Because I needed my die cut and my card base to be sturdy I used 110 LB white cardstock. Since this is an intercut die and because of how thick of cardstock I used it was a bit difficult to cut through it in a single pass, but running  die through my Platinum Die Cutting machine a few times cut the piece out no problem.

I always like to tape my dies down with some low tack tape to make sure the die will not move on my paper especially when I go to die cut it second and third time. This really helps a lot and eliminates frustration.

Using a scoring board and a bone folder I added a score line about 1 ½” from the top of one of my die cuts, this gives me plenty of space to add glue and adhere my die cuts together. You can chose to set less space for glue, maybe just an inch or a half of an inch, but seeing how detailed this die is I decided I needed more space to make sure my card base would be really sturdy.

Video Tutorial

Watch my video tutorial to learn how to make shaped card base for this card and how to embellish it.

Spellbinders Supplies:

Other Supplies:

White Cardstock (Neenah Solar White 110LB & 80 LB); Gold Foil Cardstock; Patterned Paper (First Edition - Sweet Nothings); Fun Foam; Tape Adhesive; Clear Stamp (Simon Says Stamp - Big Birthday Wishes); Versafine Onyx Black Ink; Self Adhesive Pearls; Pearl Brad; 1 Aqua Grosgrain Ribbon

Thank you so much for stopping by today and have fun die cutting!

Read more

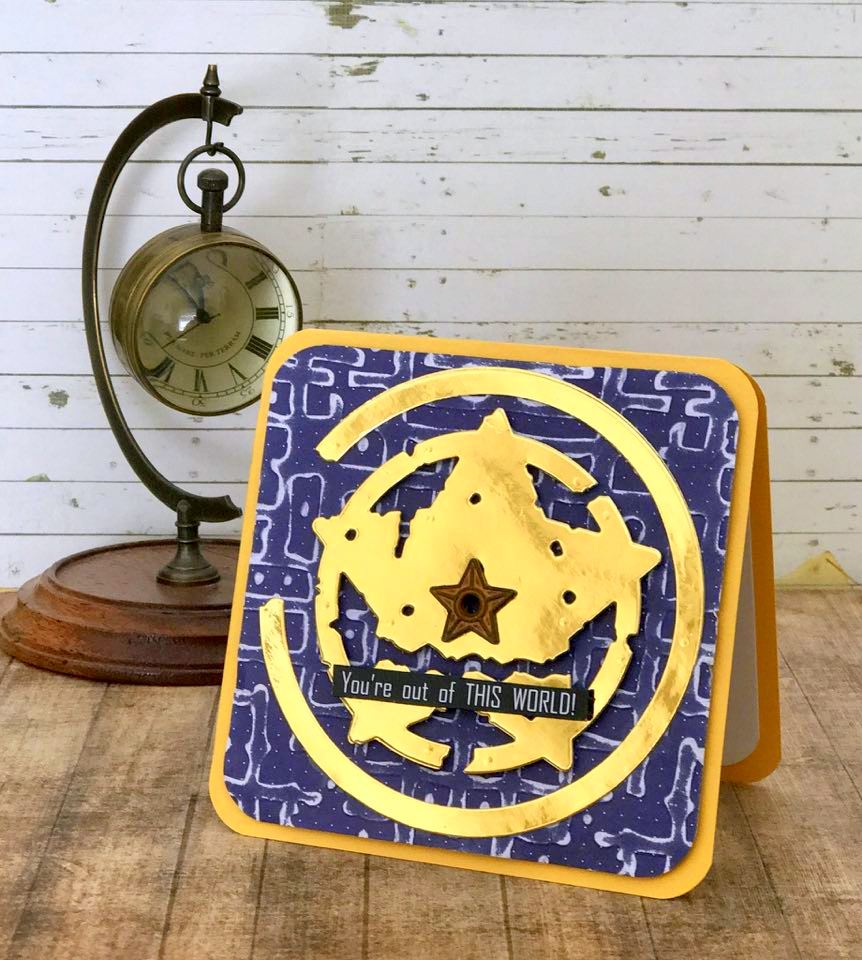
Out Of This World Card with Seth Apter's New Dies

Out Of This World Card with Seth Apter's New Dies

Hello it is Linda Lucas, I am so glad you have joined me.  I am sharing ​​​​a card created using one of the new dies by Seth Apter - the Urban Grunge appeal of these dies is not limited to Mixed Media - I love to use them in card making - and it is so easy as you can see in this step by step tutorial.

Out Of This World Card with Seth Apter's New Dies. Project by Linda Lucas

It is as easy as using one die set and an embossing folder

Out Of This World Card with Seth Apter's New Dies

1.Cut & emboss one Outlaw Etched dies by Seth Apter using both inner and outer dies.

Out Of This World Card with Seth Apter's New Dies

2. Emboss blue patterned paper 4 1/4" x 41/4" using the Seth Apter Gridiron embossing folder. 3. Round the Corners. ​ 4. Pop up onto a pre-cut yellow card base, 4 1/2" x 4 1/2", using 3D foam squares. 5. Pop up the inner die cut onto the centre of the card front using 3D foam squares. 6. Glue the outer die cut onto the card front using liquid glue. 7. Glue the Star embellishment to the centre of the star. 8. Adhere the computer generated sentiment across the base of the star.

Spellbinders Supplies:

Other Supplies: Scrapbook Adhesives by 3L® (Extreme Double Sided Tape 1/4″ (6 yds)); Imagine Crafts (Memento Ink – Tuxedo Black); Sanding Block; Want2Scrap© Bling;  Cardstock; Liquid Glue; Star Embellishment; Computer Generated Sentiment. Thank you so much for stopping by I hope you are inspired to get out your dies and get creating. I would love for you to visit me at Lovely Linda’s Craft Central {{{hugs}}} and happy creating!

Read more